White Mountain Camping


IMG_2443


A few weeks ago we went camping in the White Mountains in NH. The campsite was right off of the Kancamagus Highway, a beautifully scenic highway across the White Mountains.

There are multiple campsites along the highway, only one of which takes reservations, but since we were staying Sunday-Tuesday, we didn’t expect any issues in getting a campsite. We settled on Hancock Campground.

The first thing we see when we pull into the campground is this lovely sign:
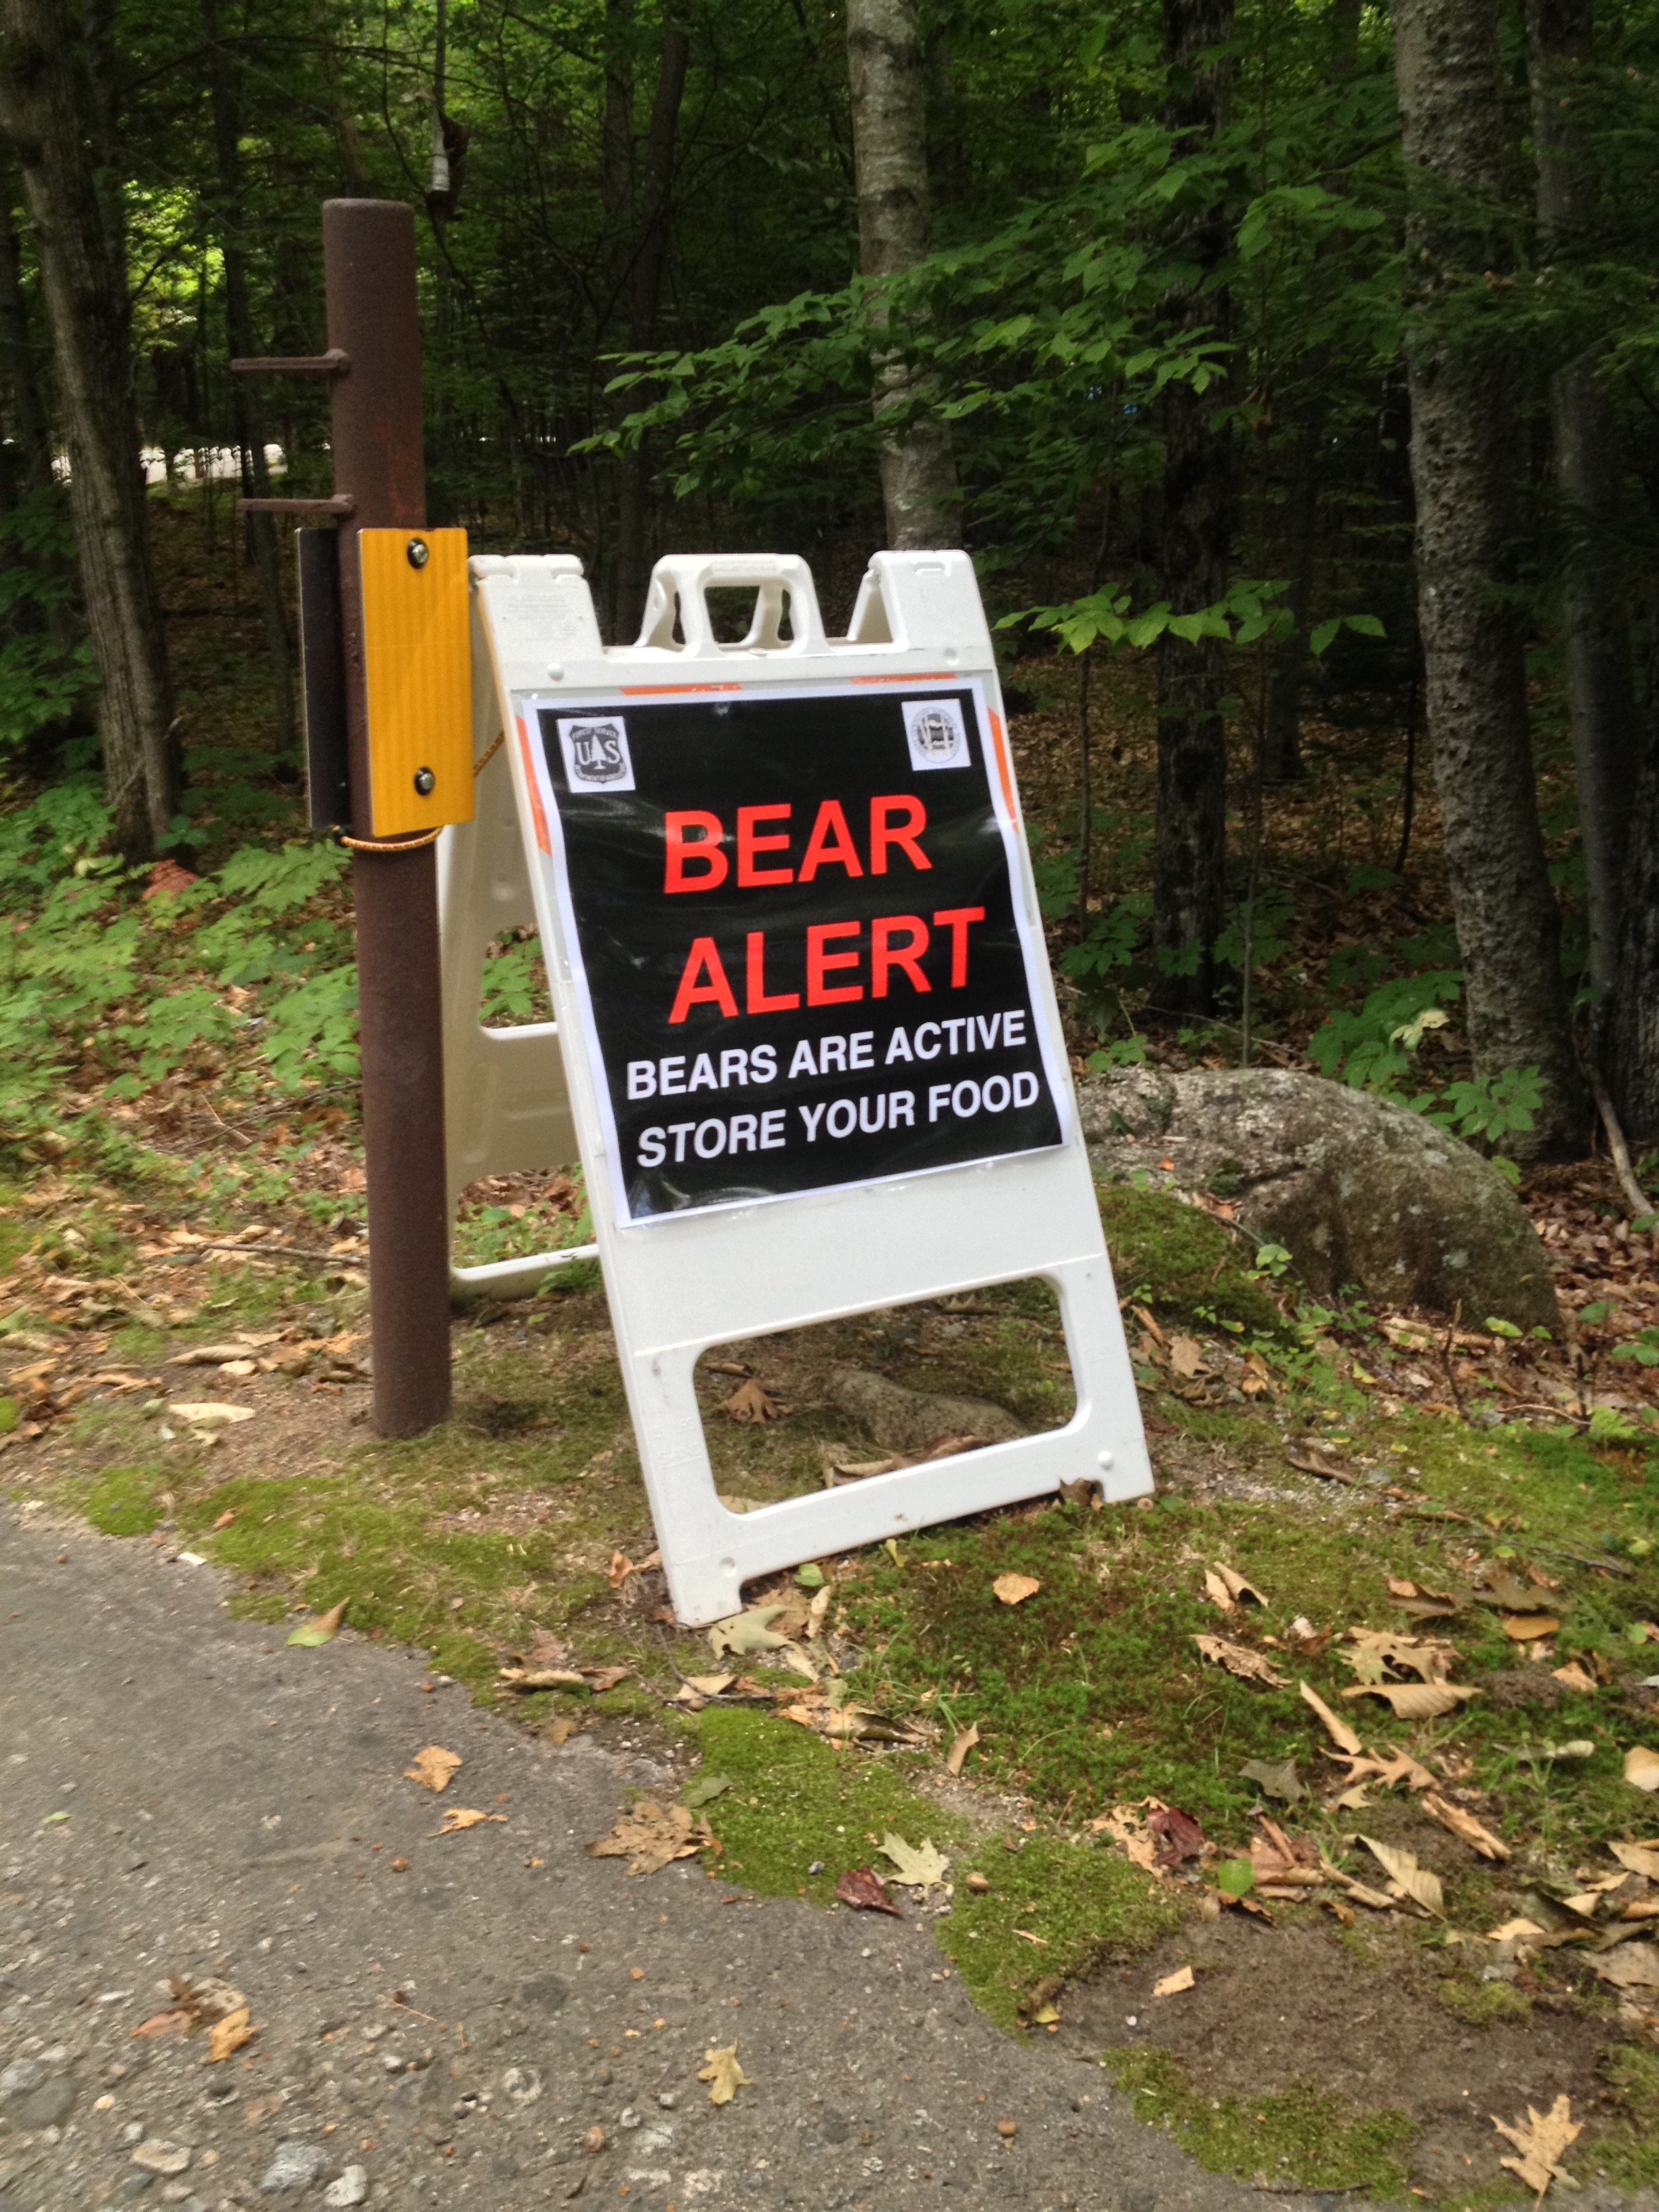
IMG_2458

awesome.


The campground is wonderfully maintained with bathrooms throughout the site.

We pulled in, paid our ‘rent’ ($24/night) and pitched our tent!

IMG_2426

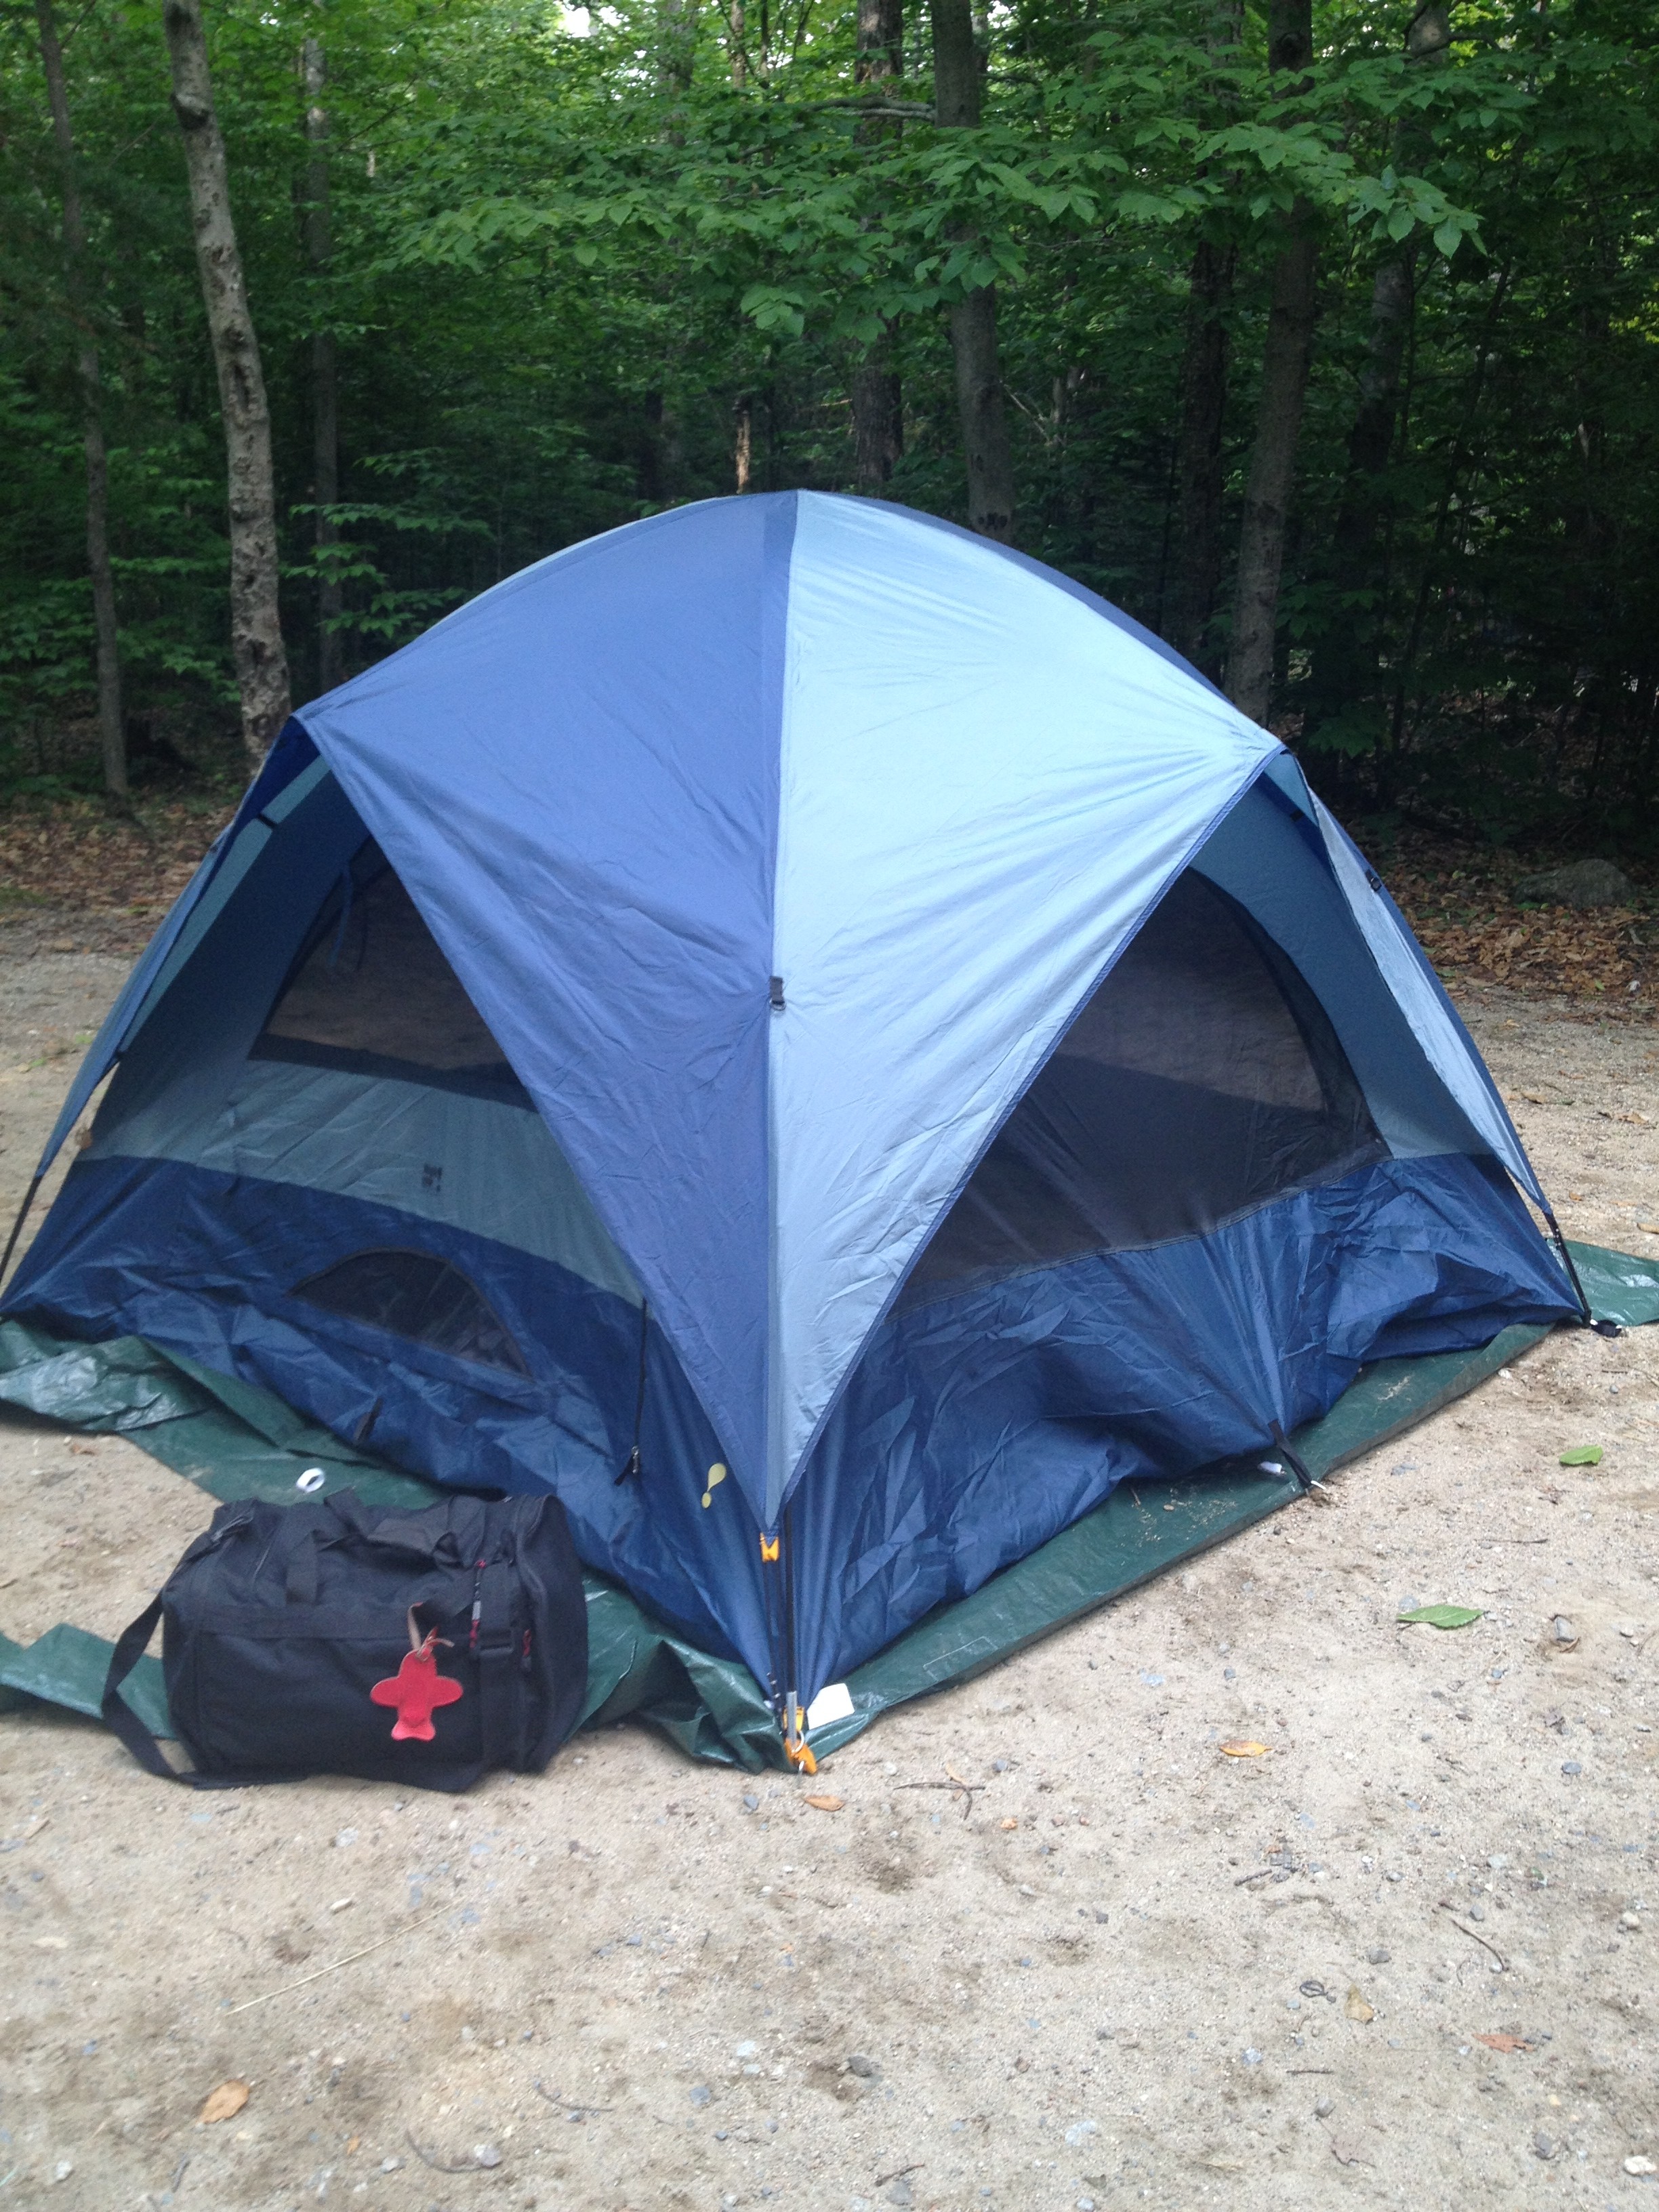
We didn’t think we needed the rain tarp, but luckily we put it on anyway. That night, sounds (that we initially thought were trucks) were actually thunder and it rained like crazy for hours!


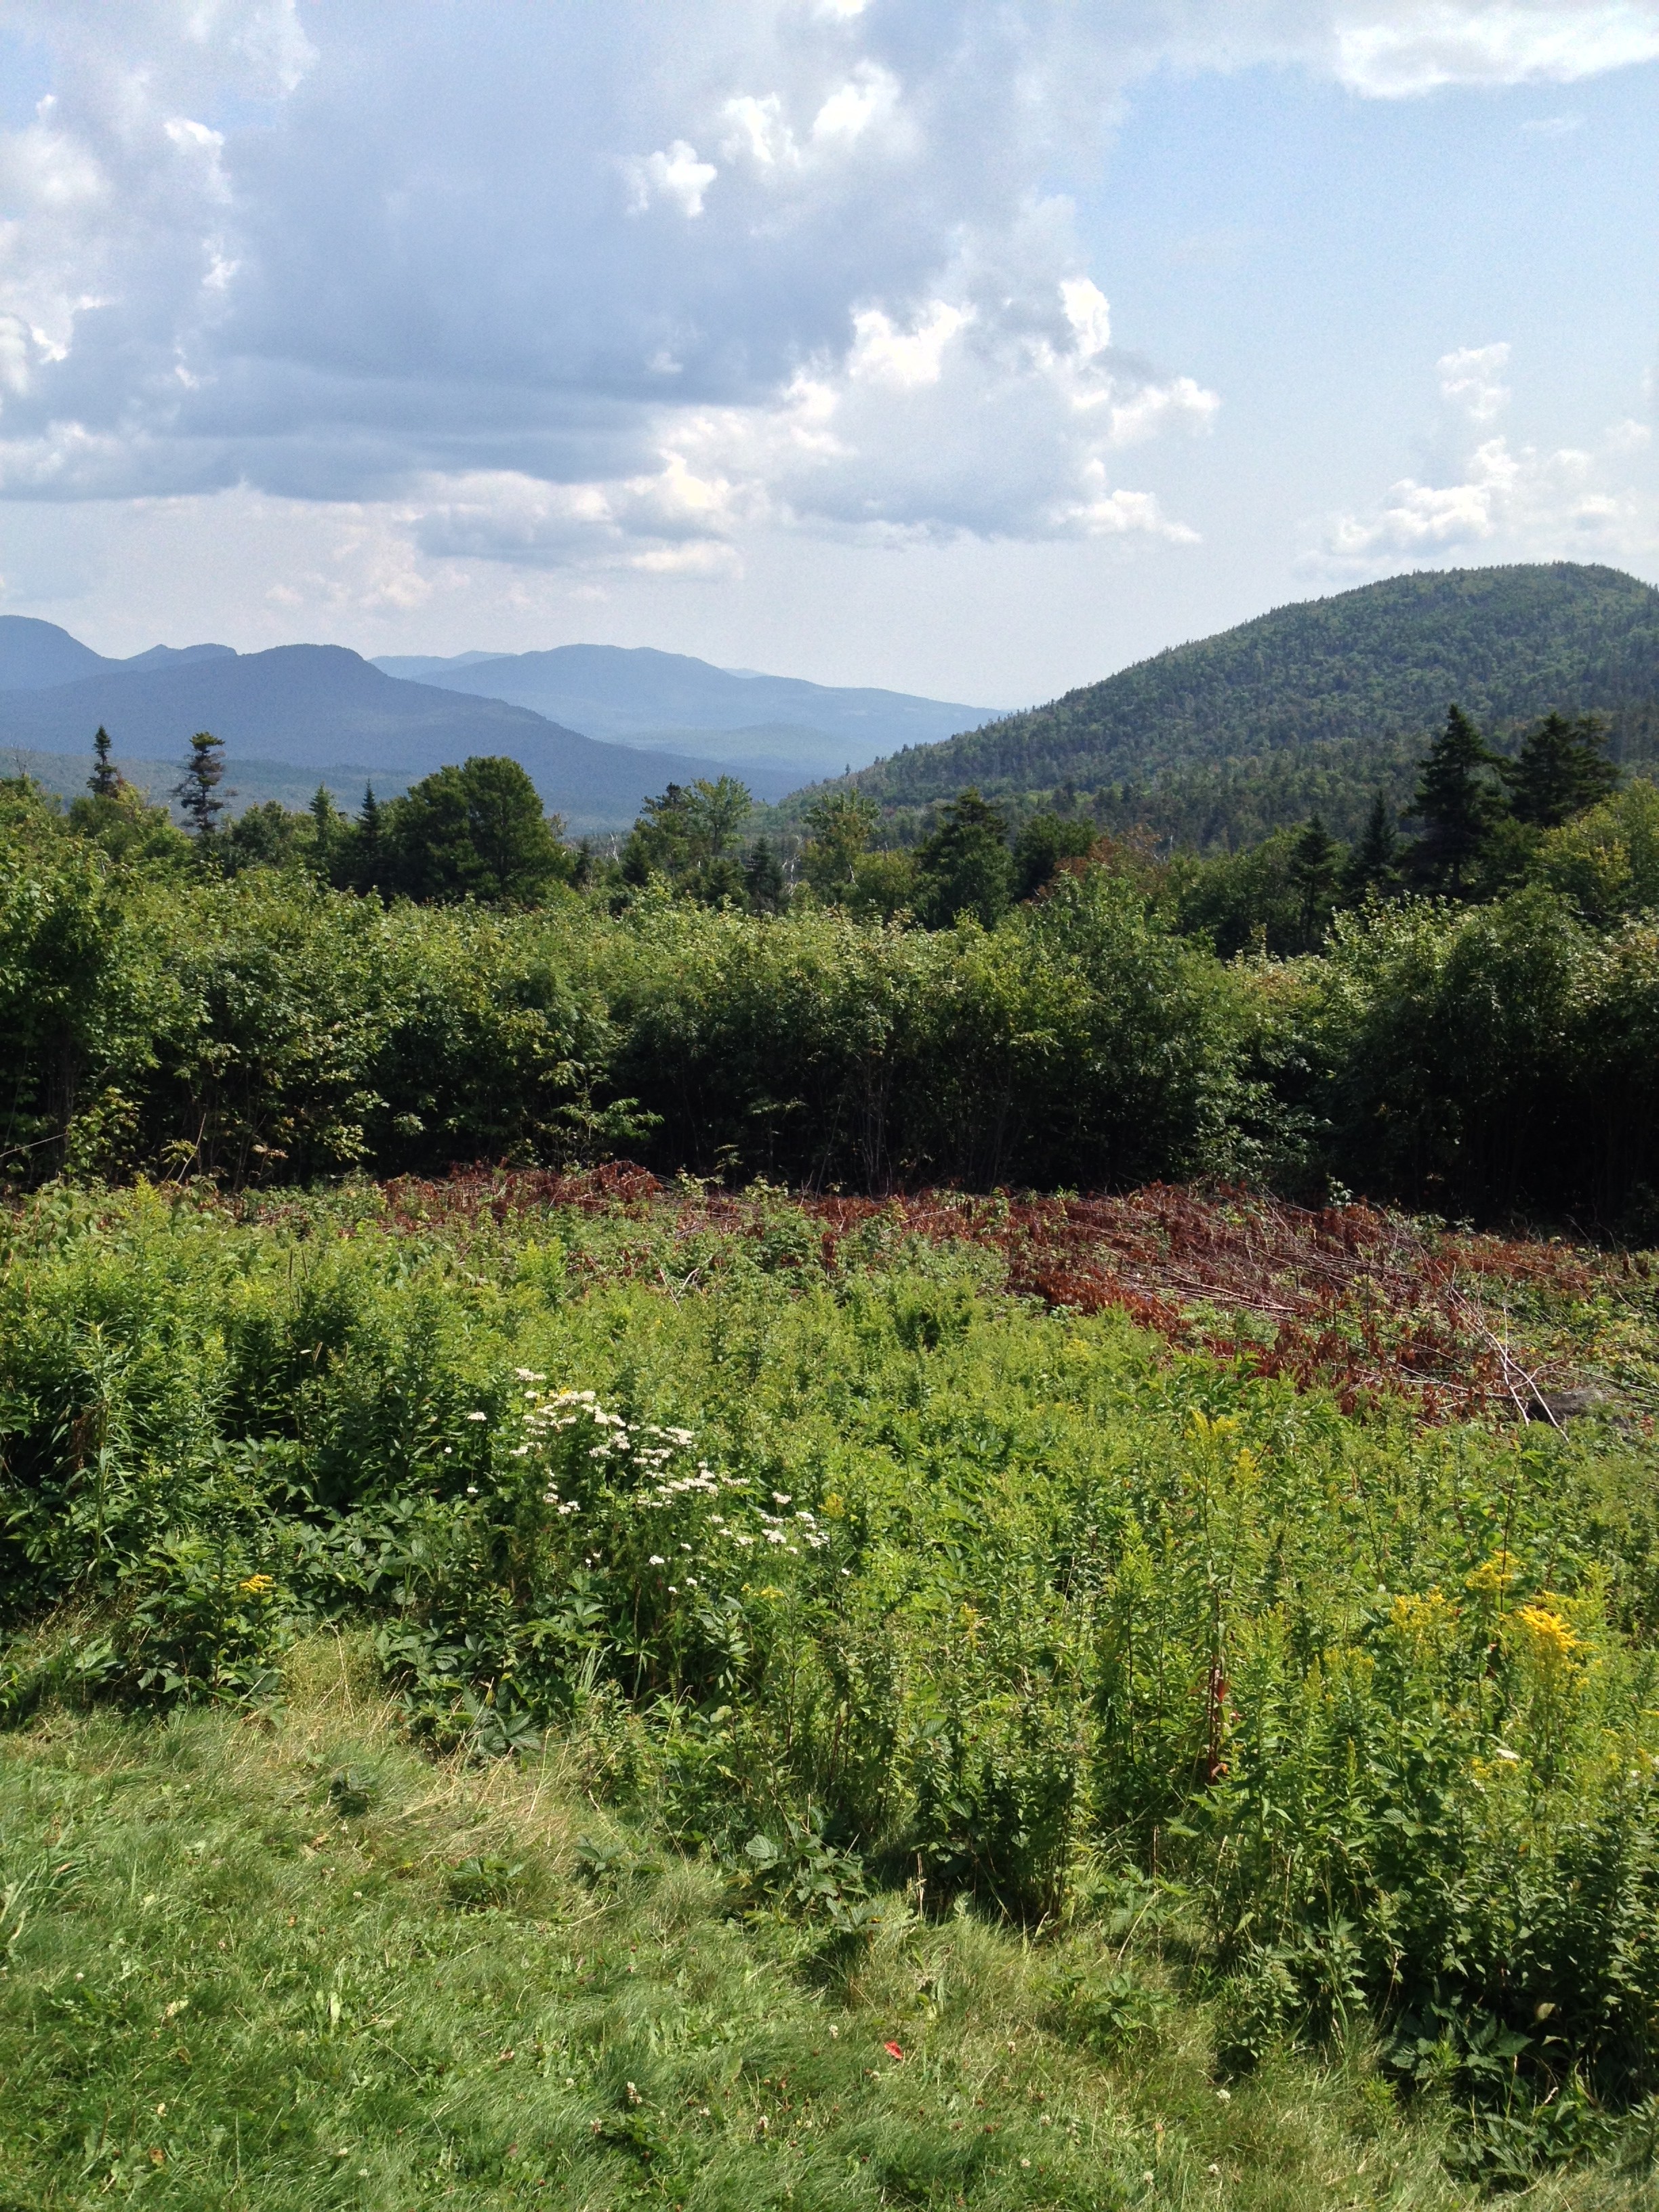
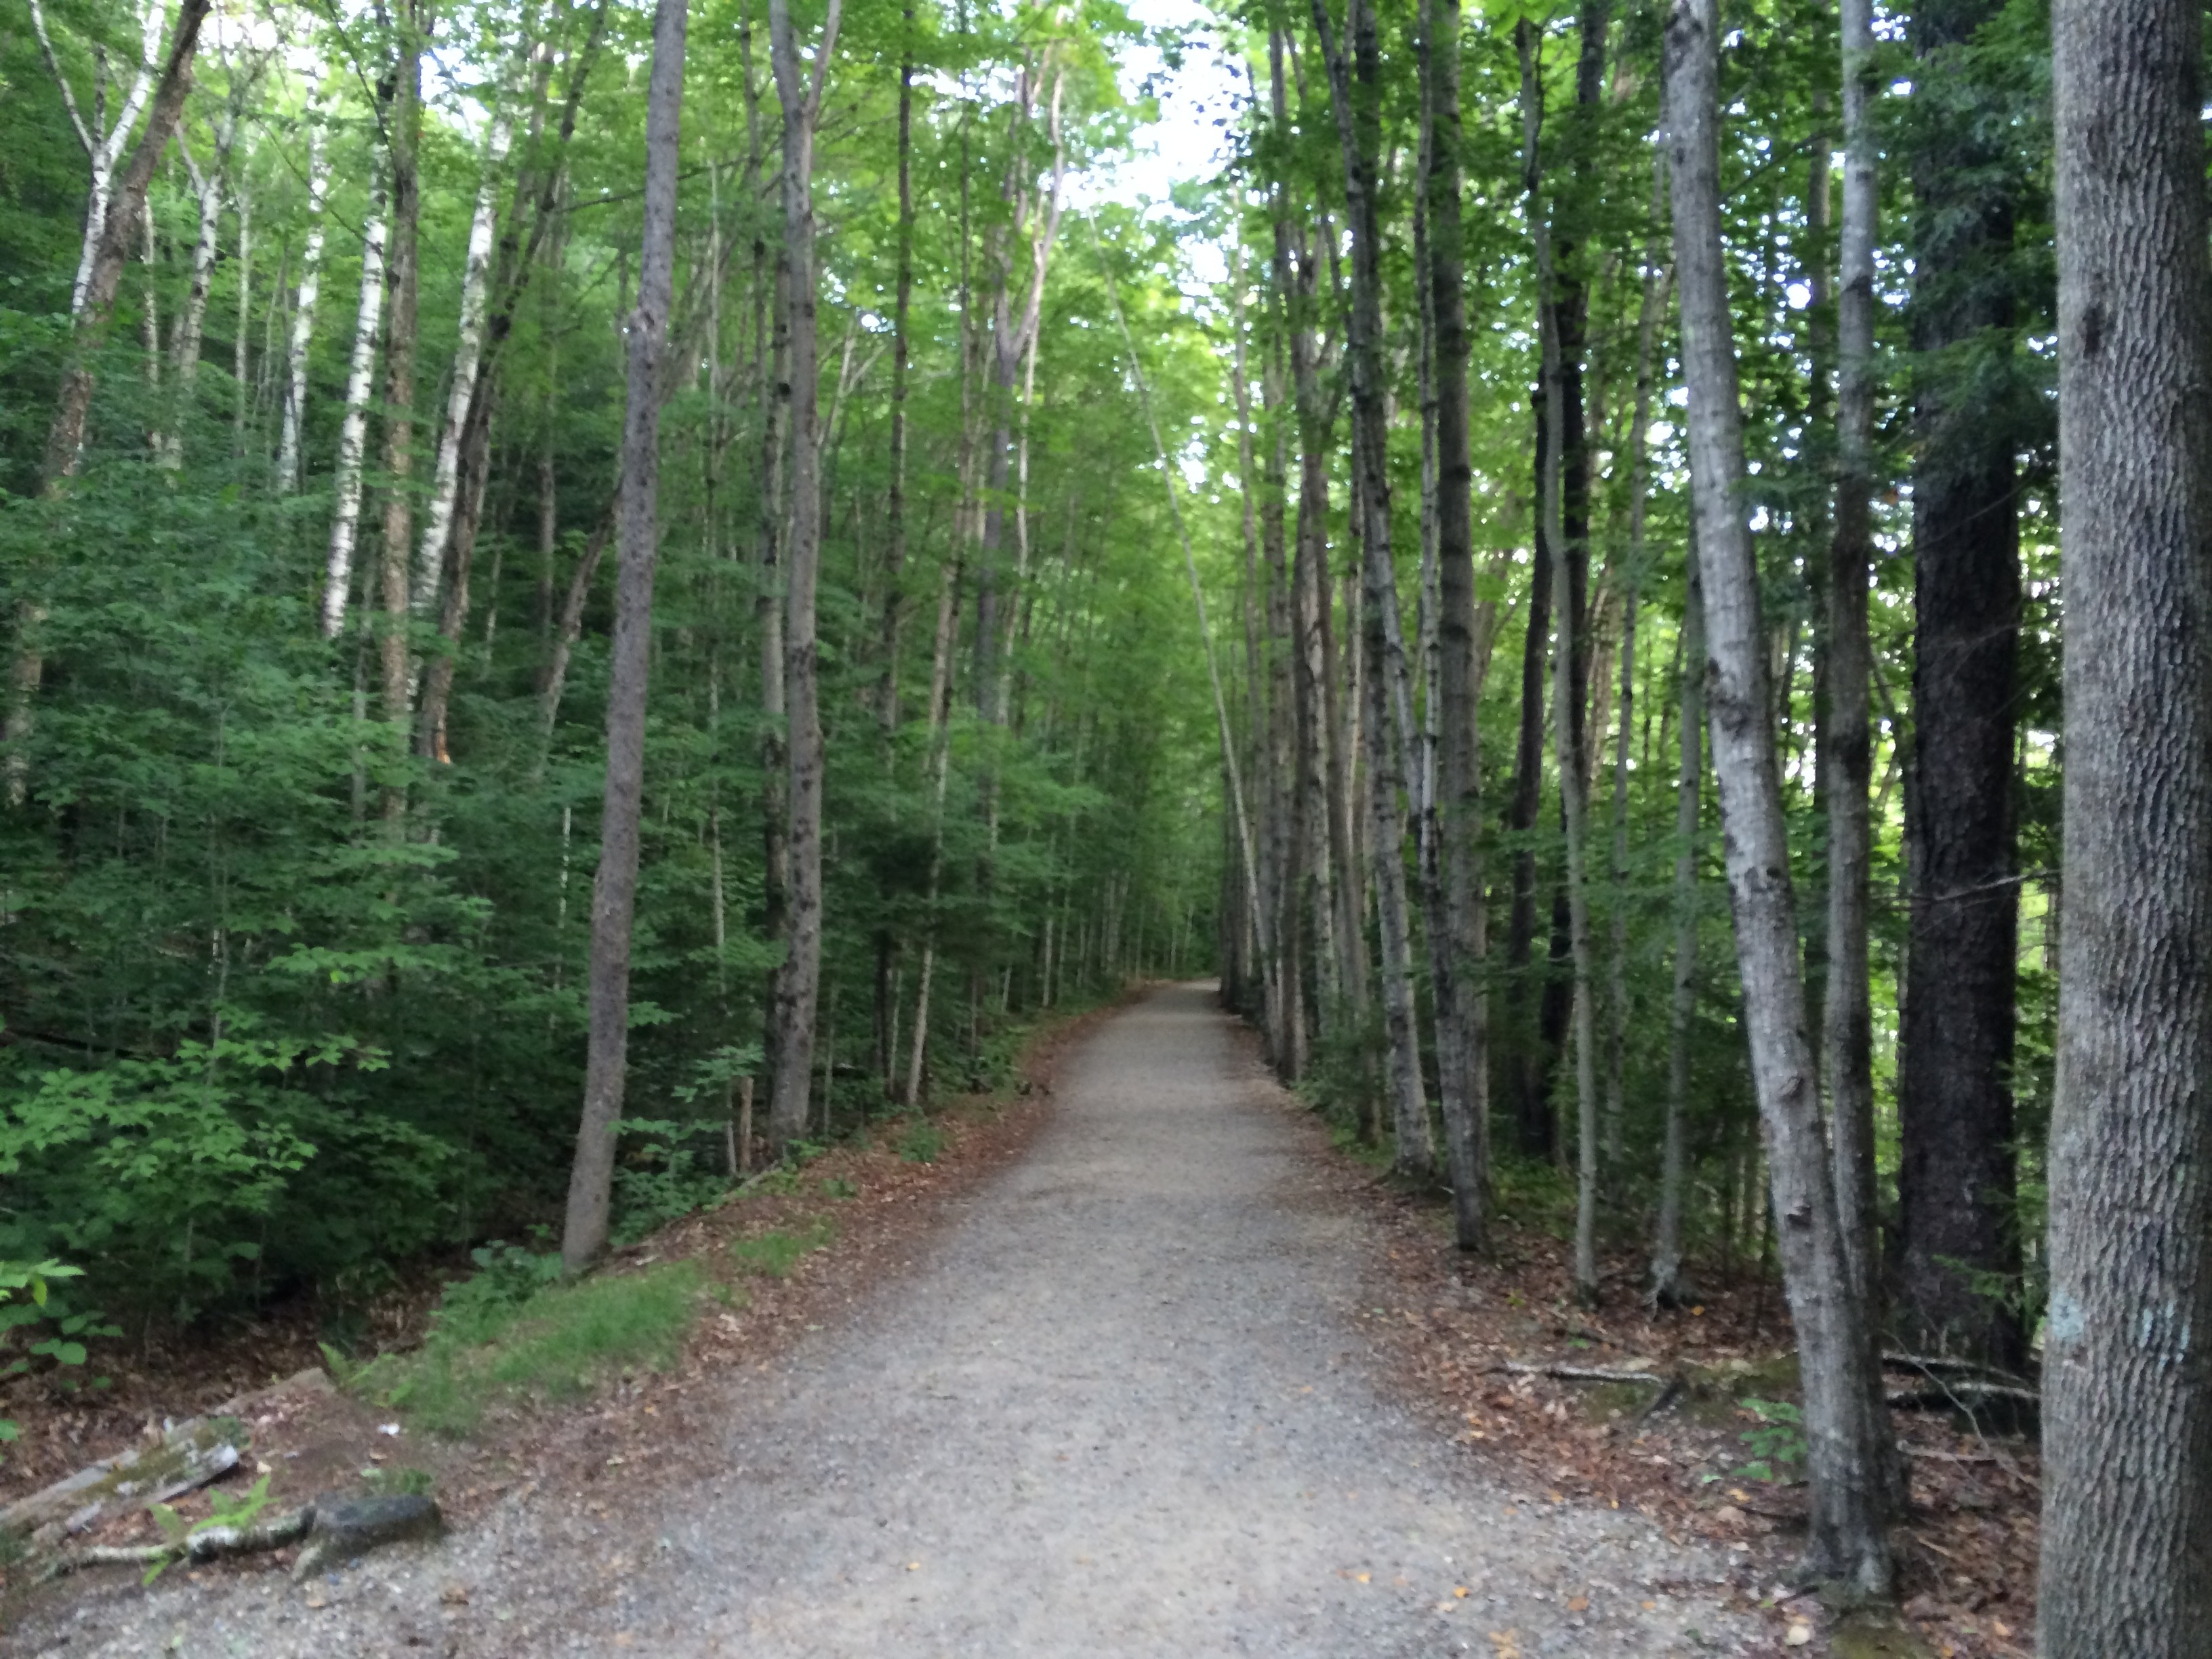
After we put up the tent,  we went for a short walk in the woods. There are a ton of trails to choose from along the highway!

IMG_2256

IMG_2450

IMG_2254

IMG_2433


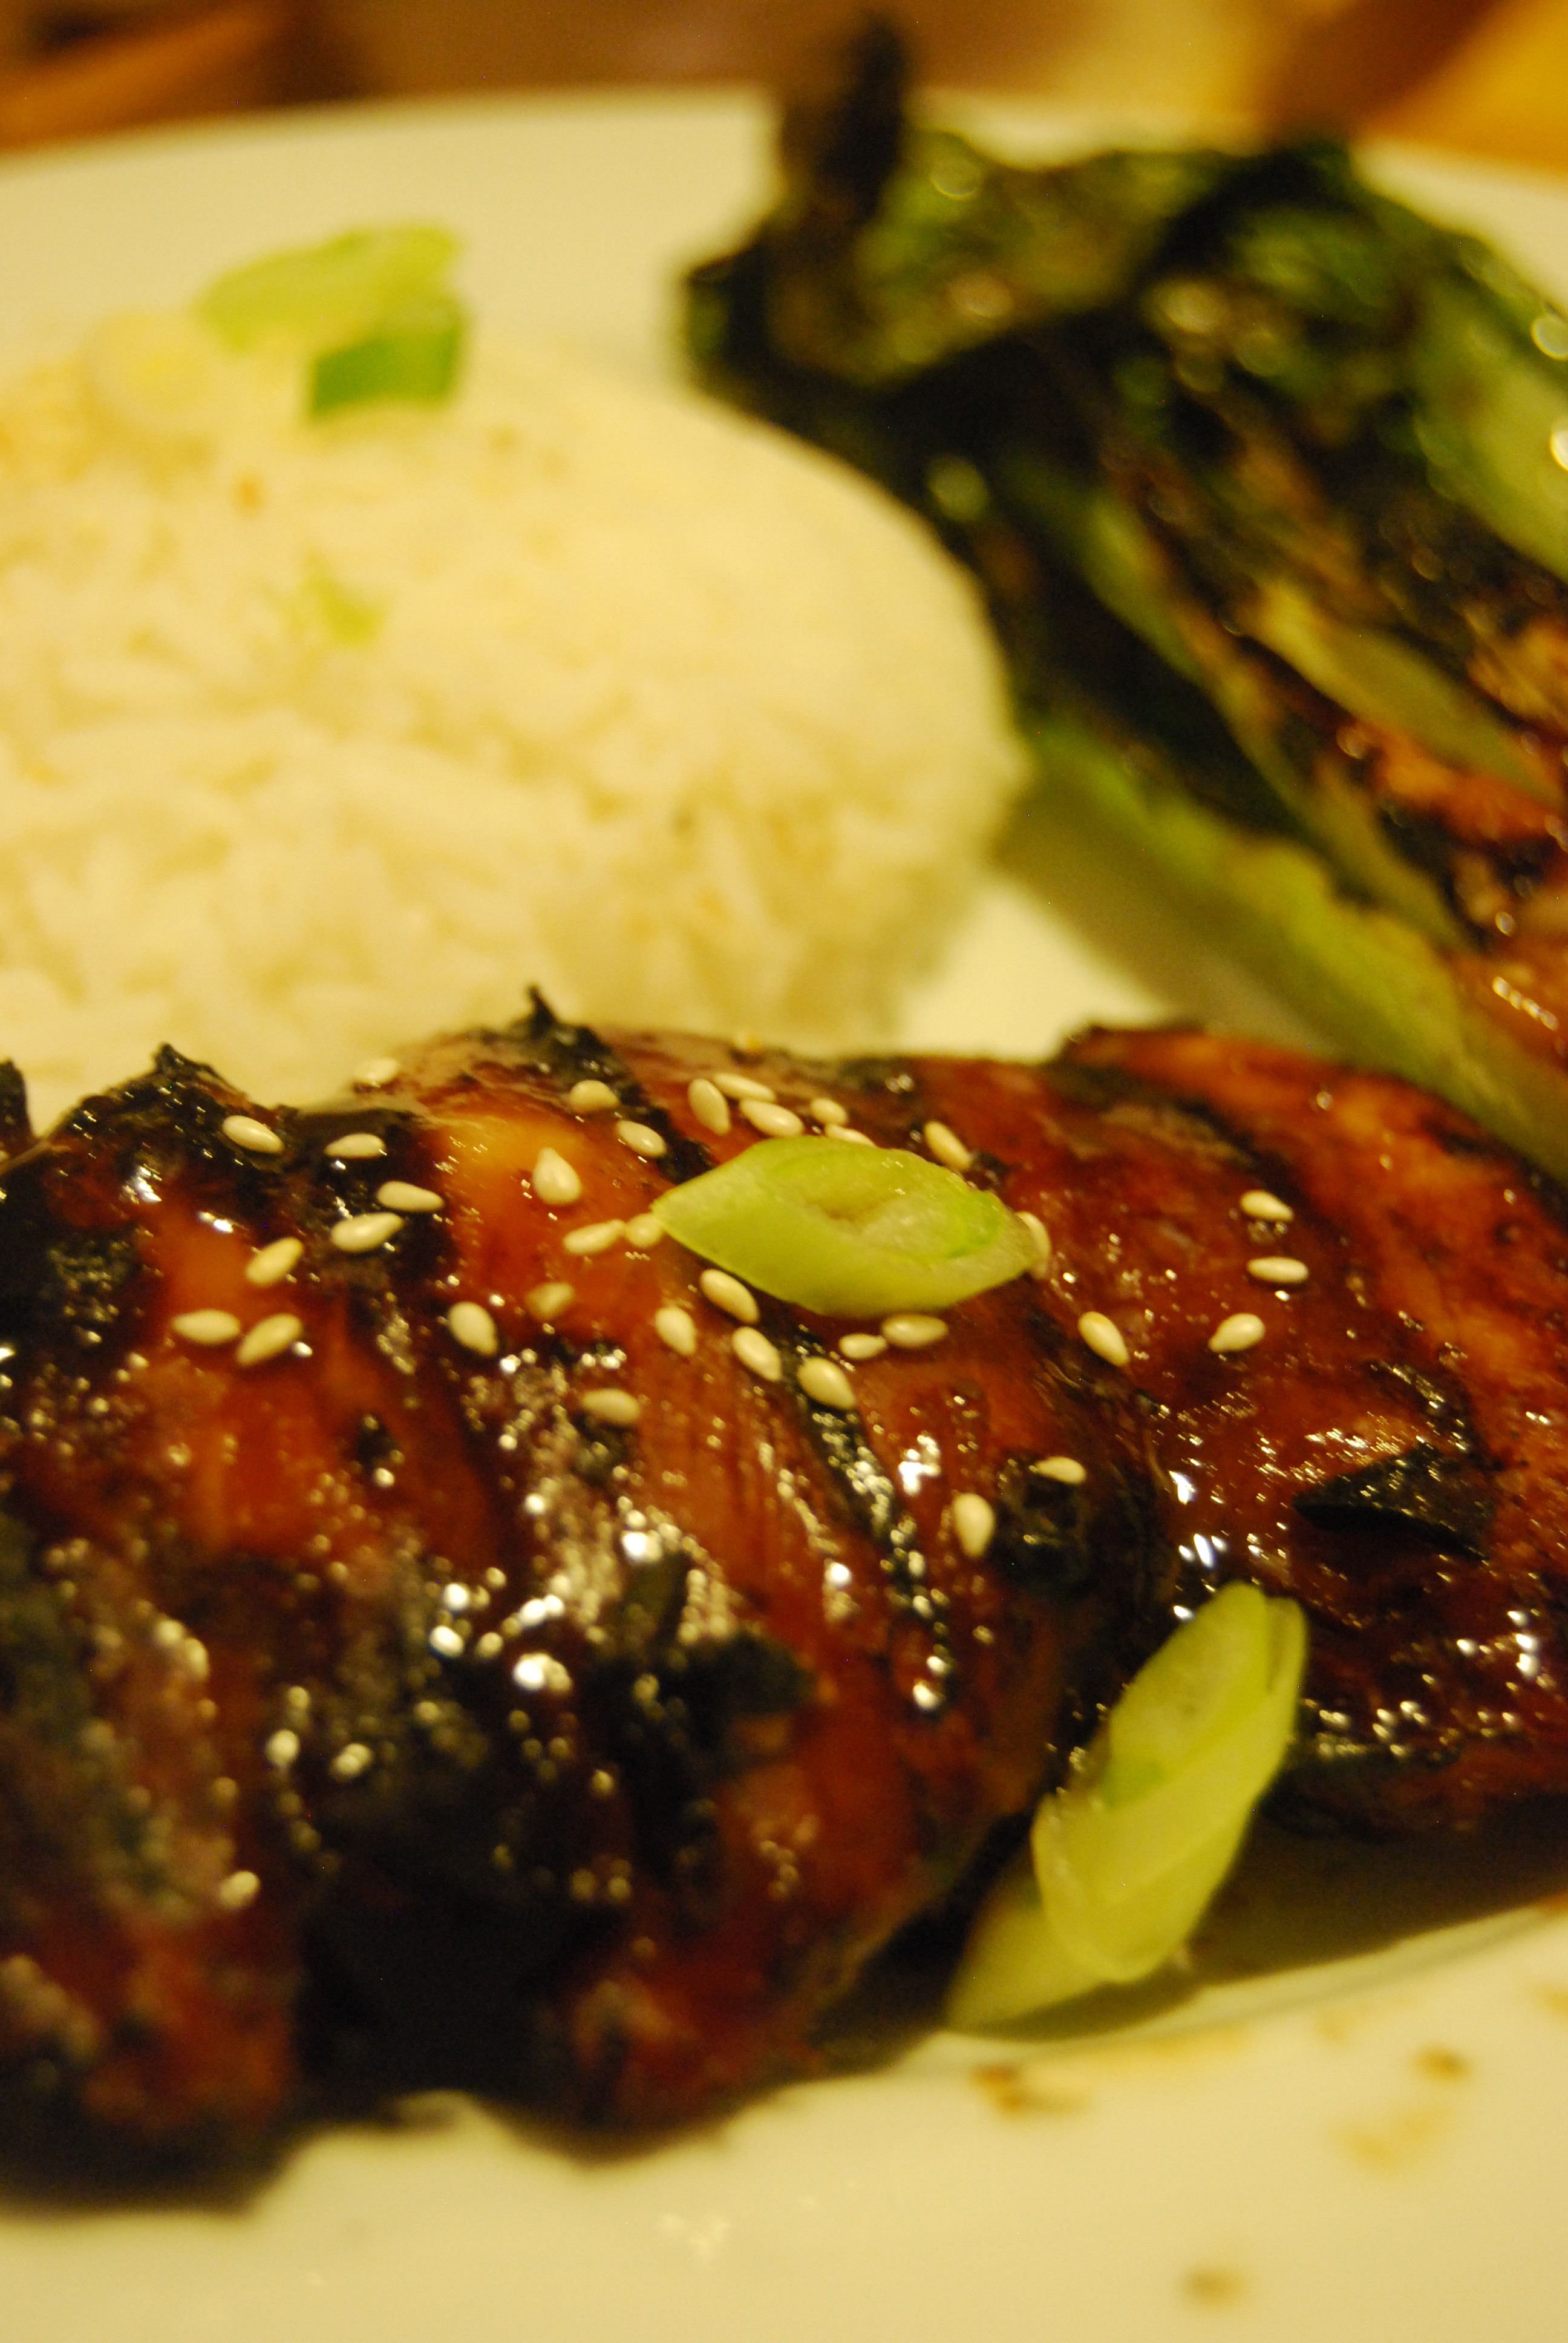
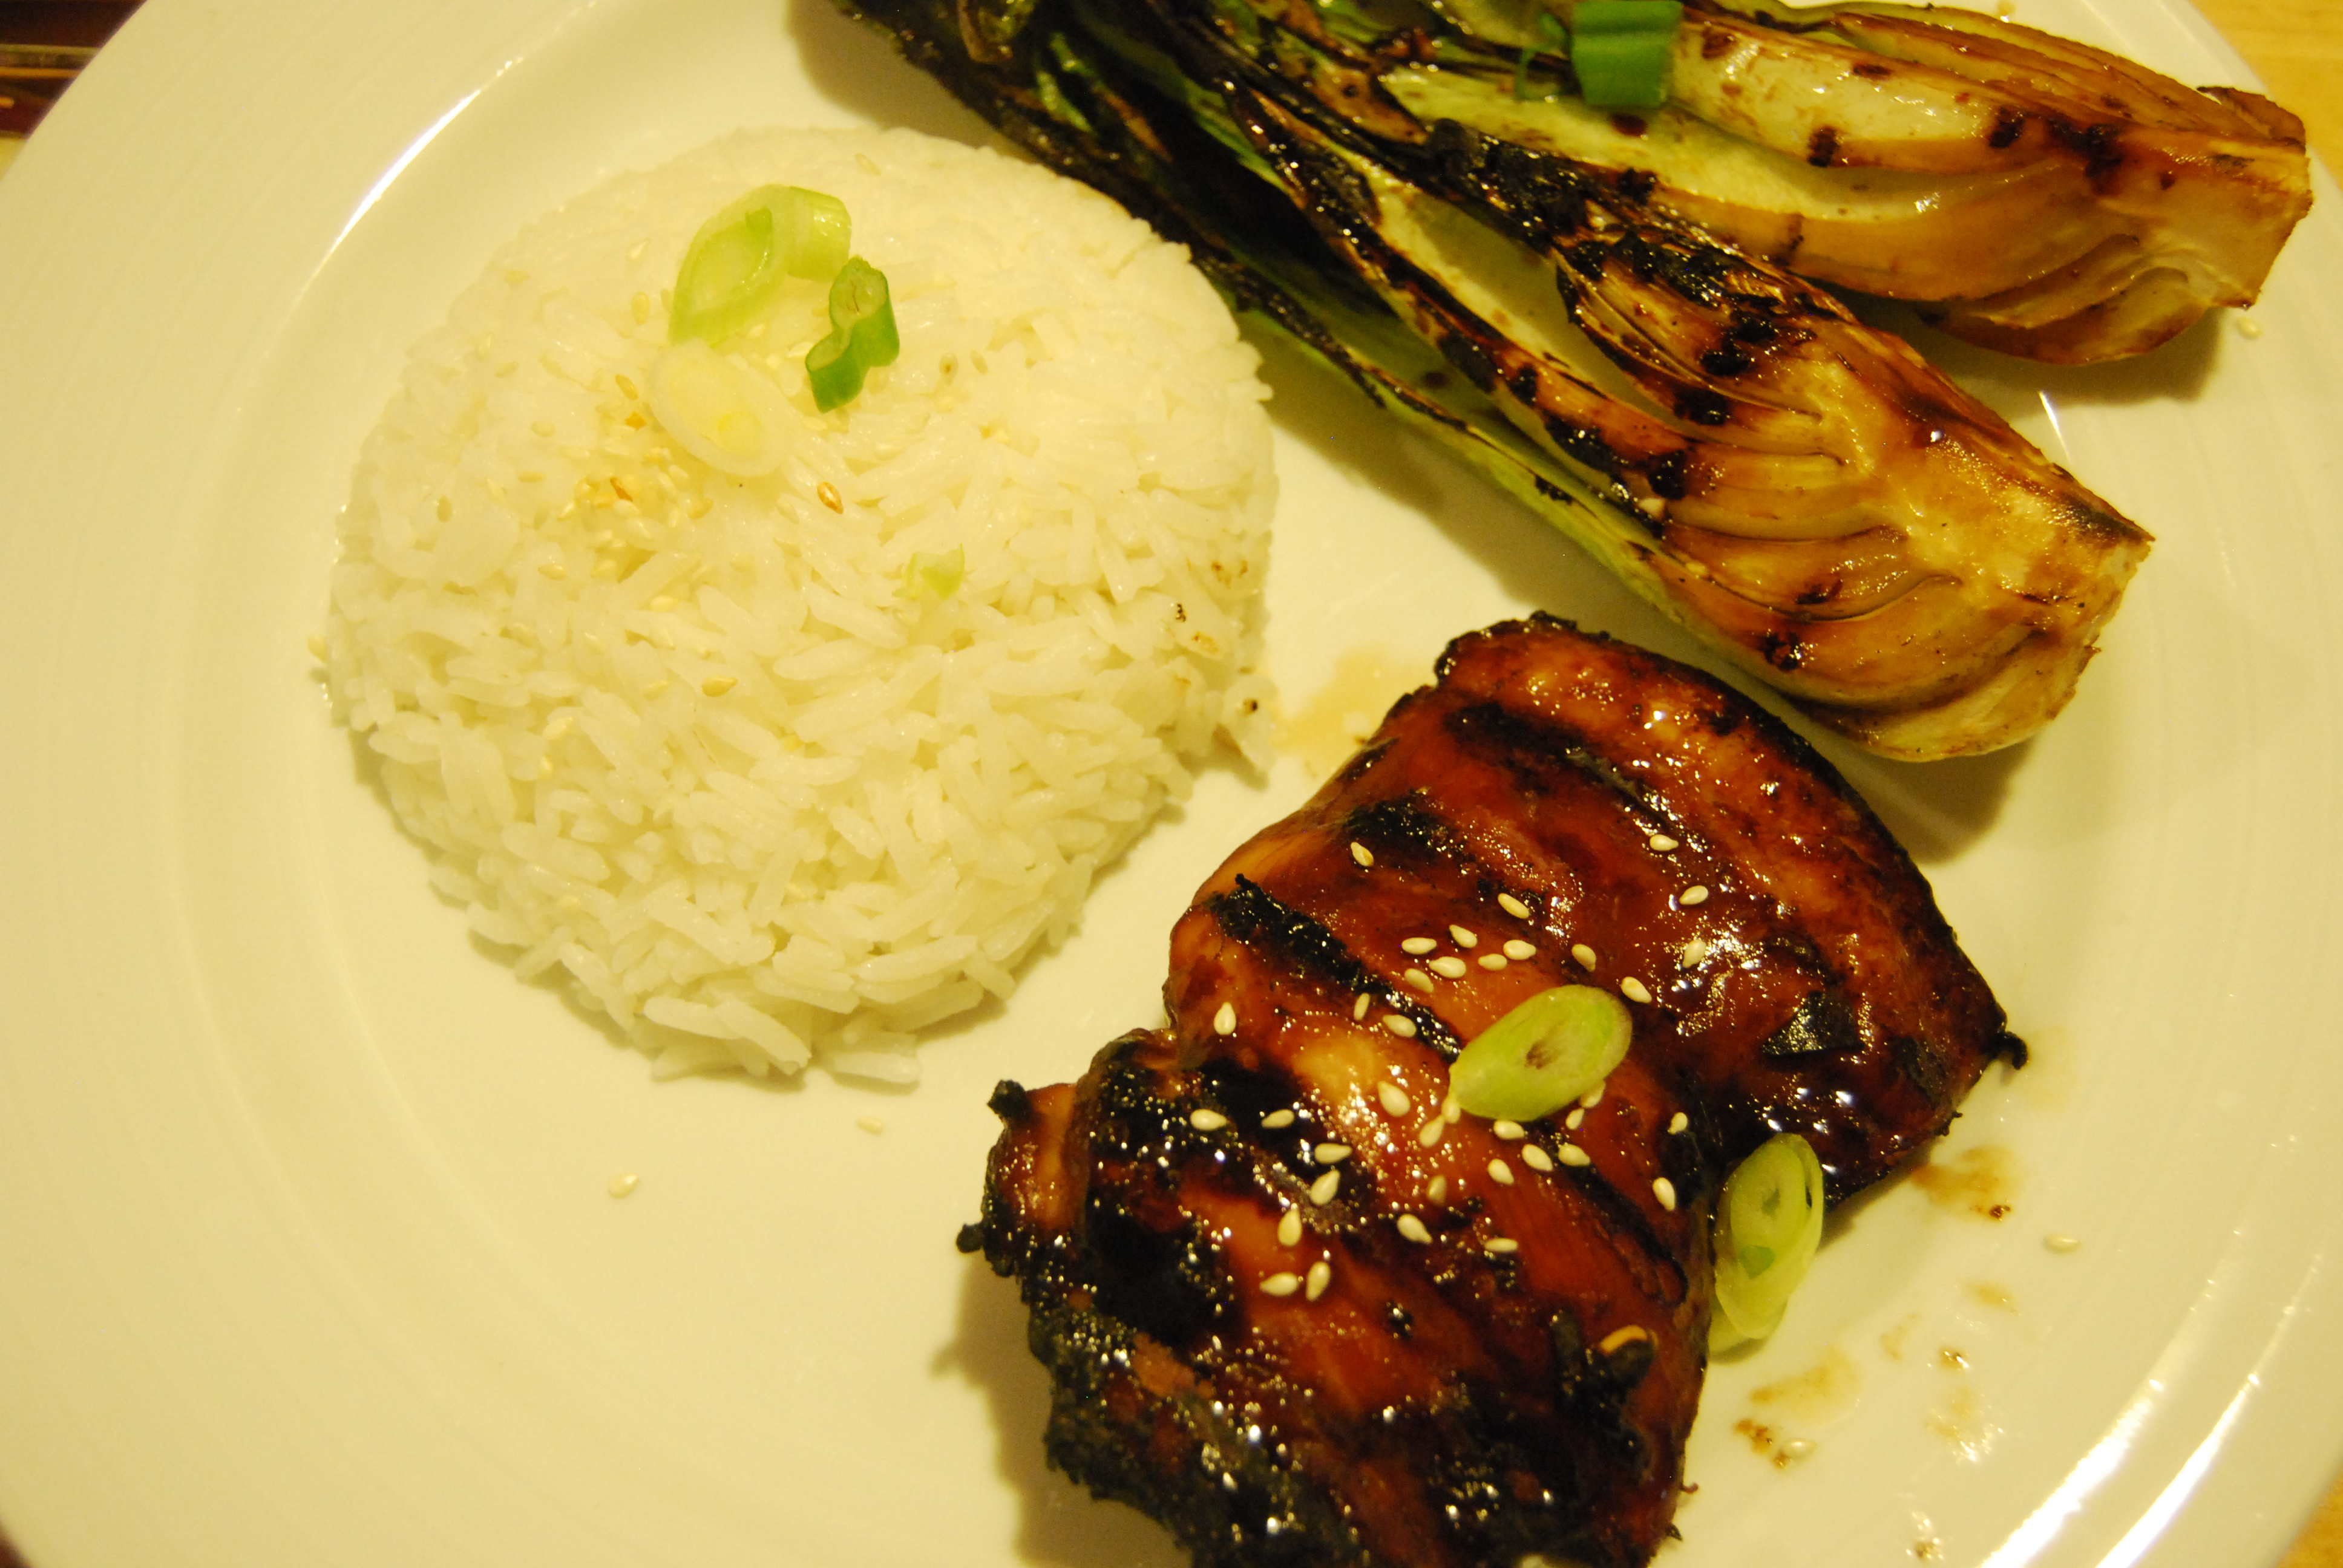
Dinner that night consisted of burgers and grilled eggplant (from my dad’s garden). I put a little olive oil and za’atar on the eggplant before grilling them. Delicious! (Luckily we ate before the rain came)

IMG_2438


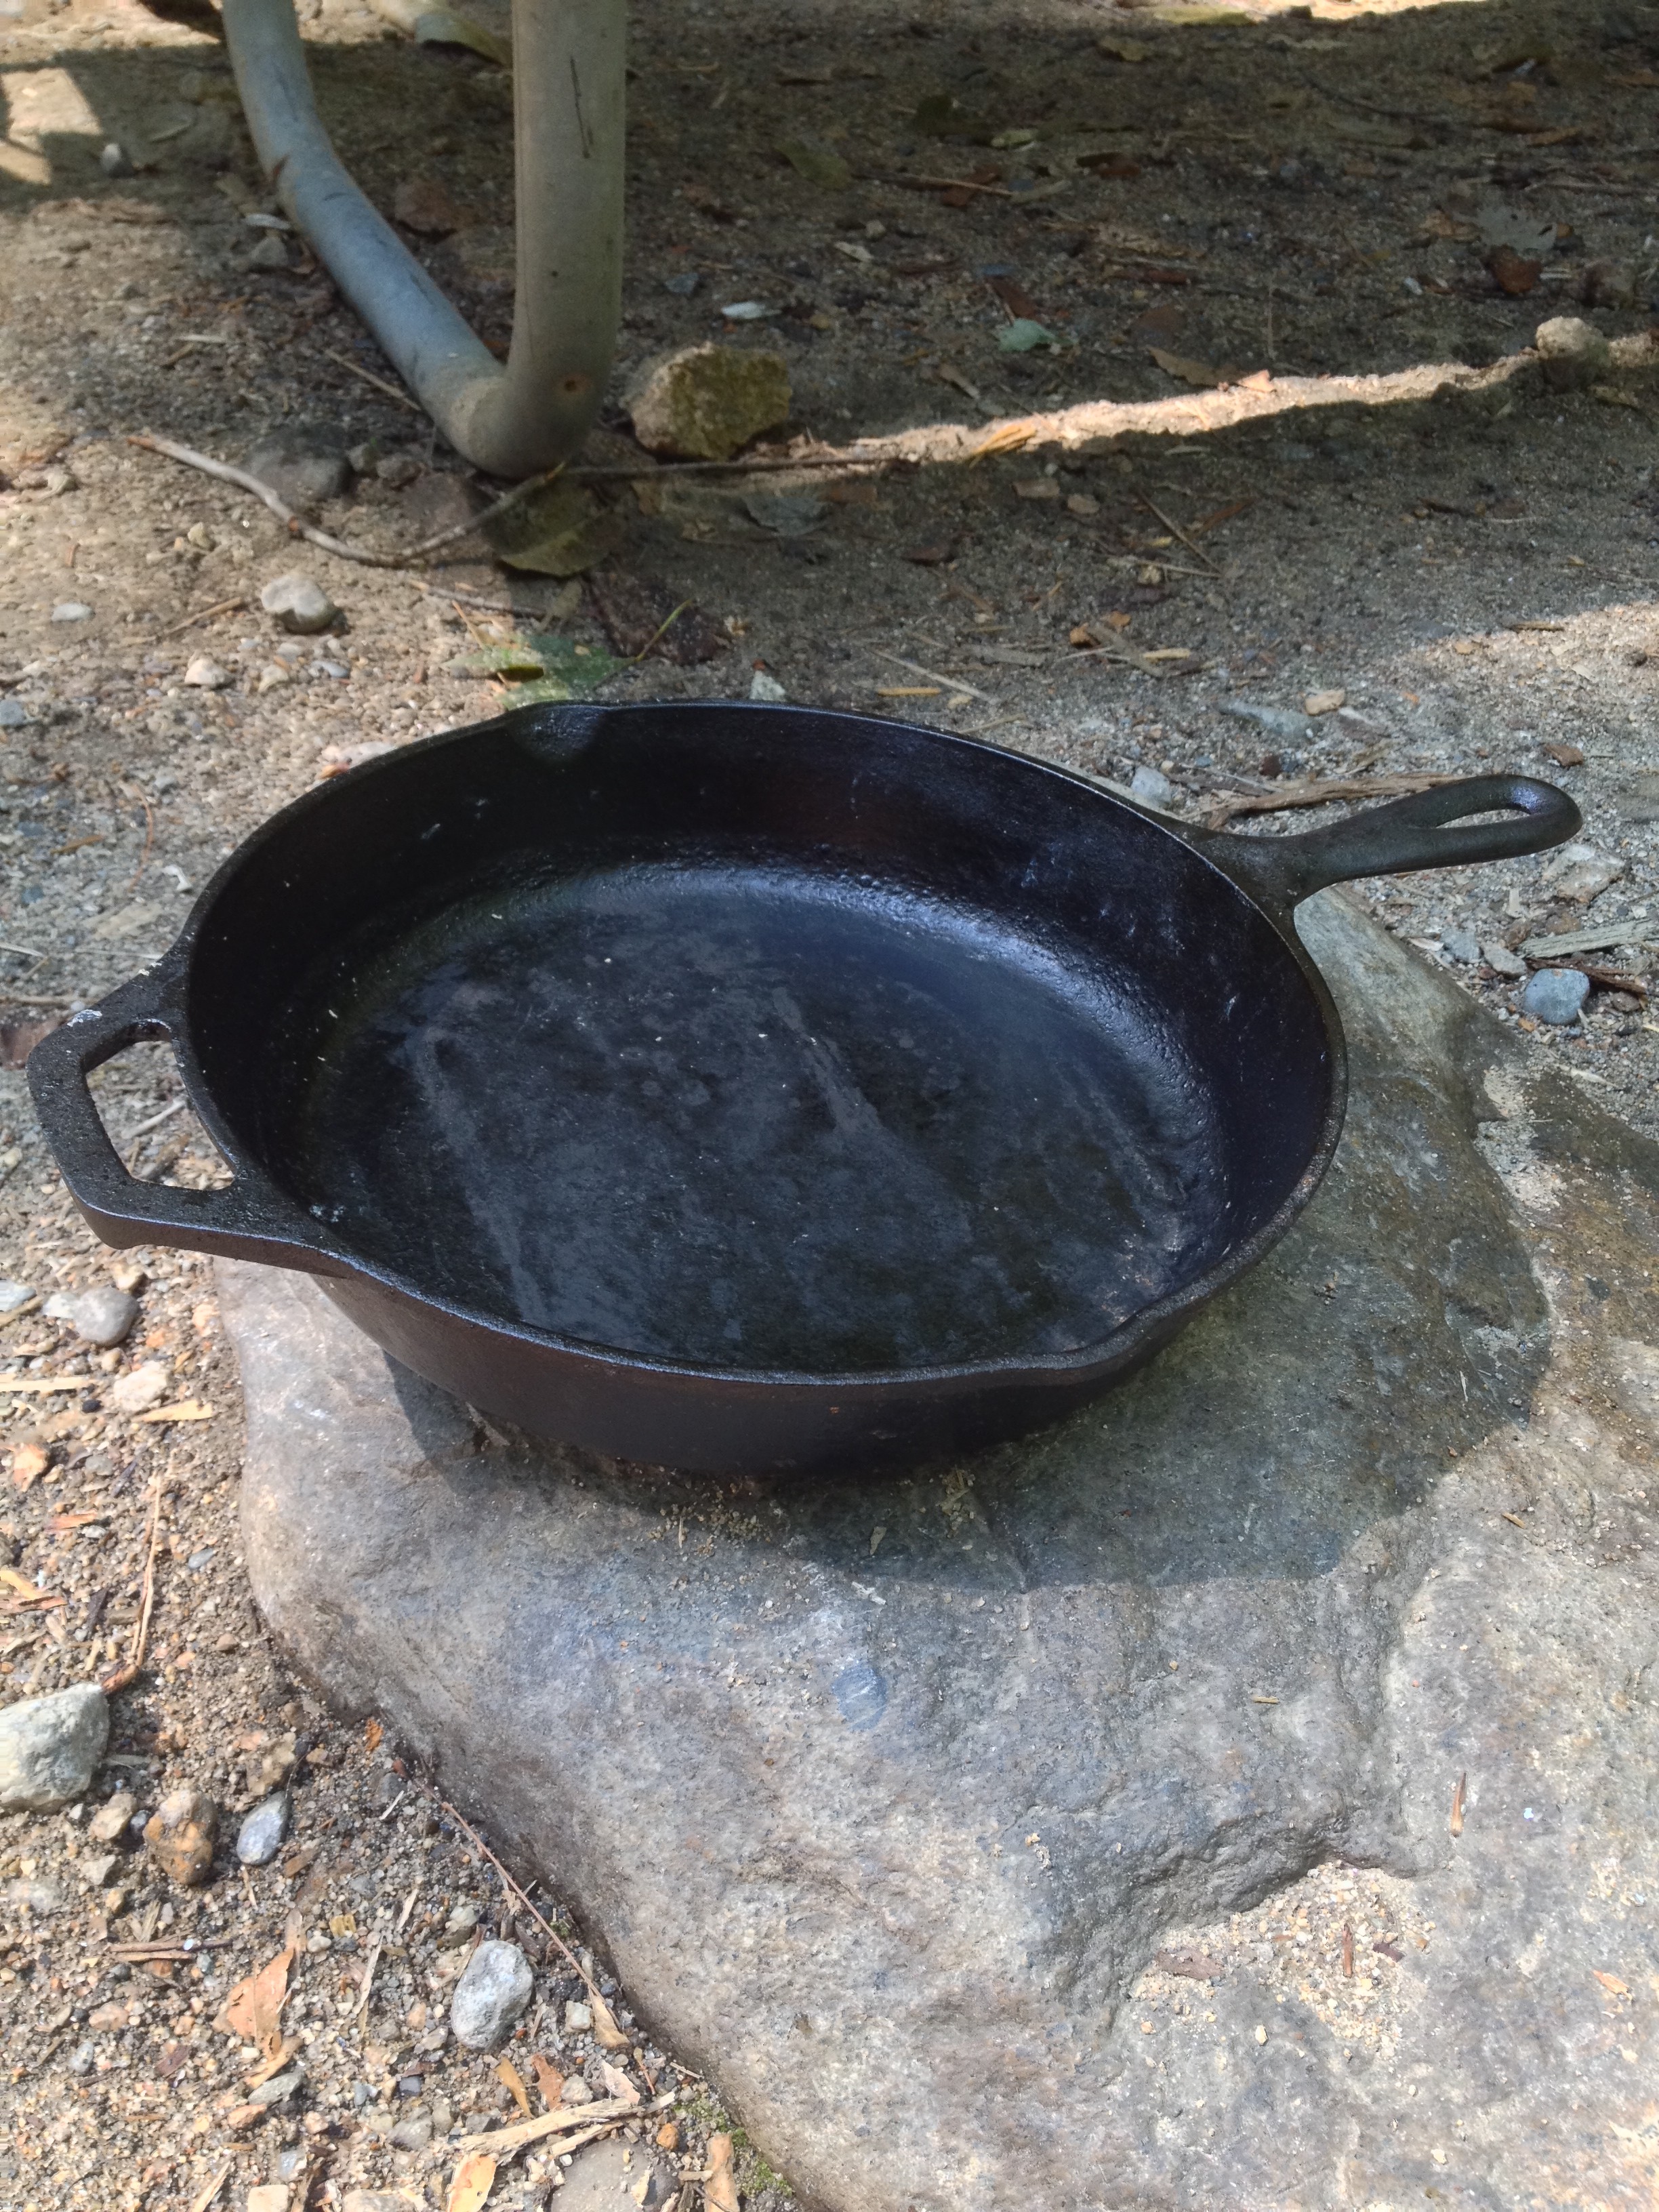
In the morning, I used my trusty cast-iron skillet (a camping must) to make bacon and egg sandwiches.

IMG_2442


And off we went on a long hike.

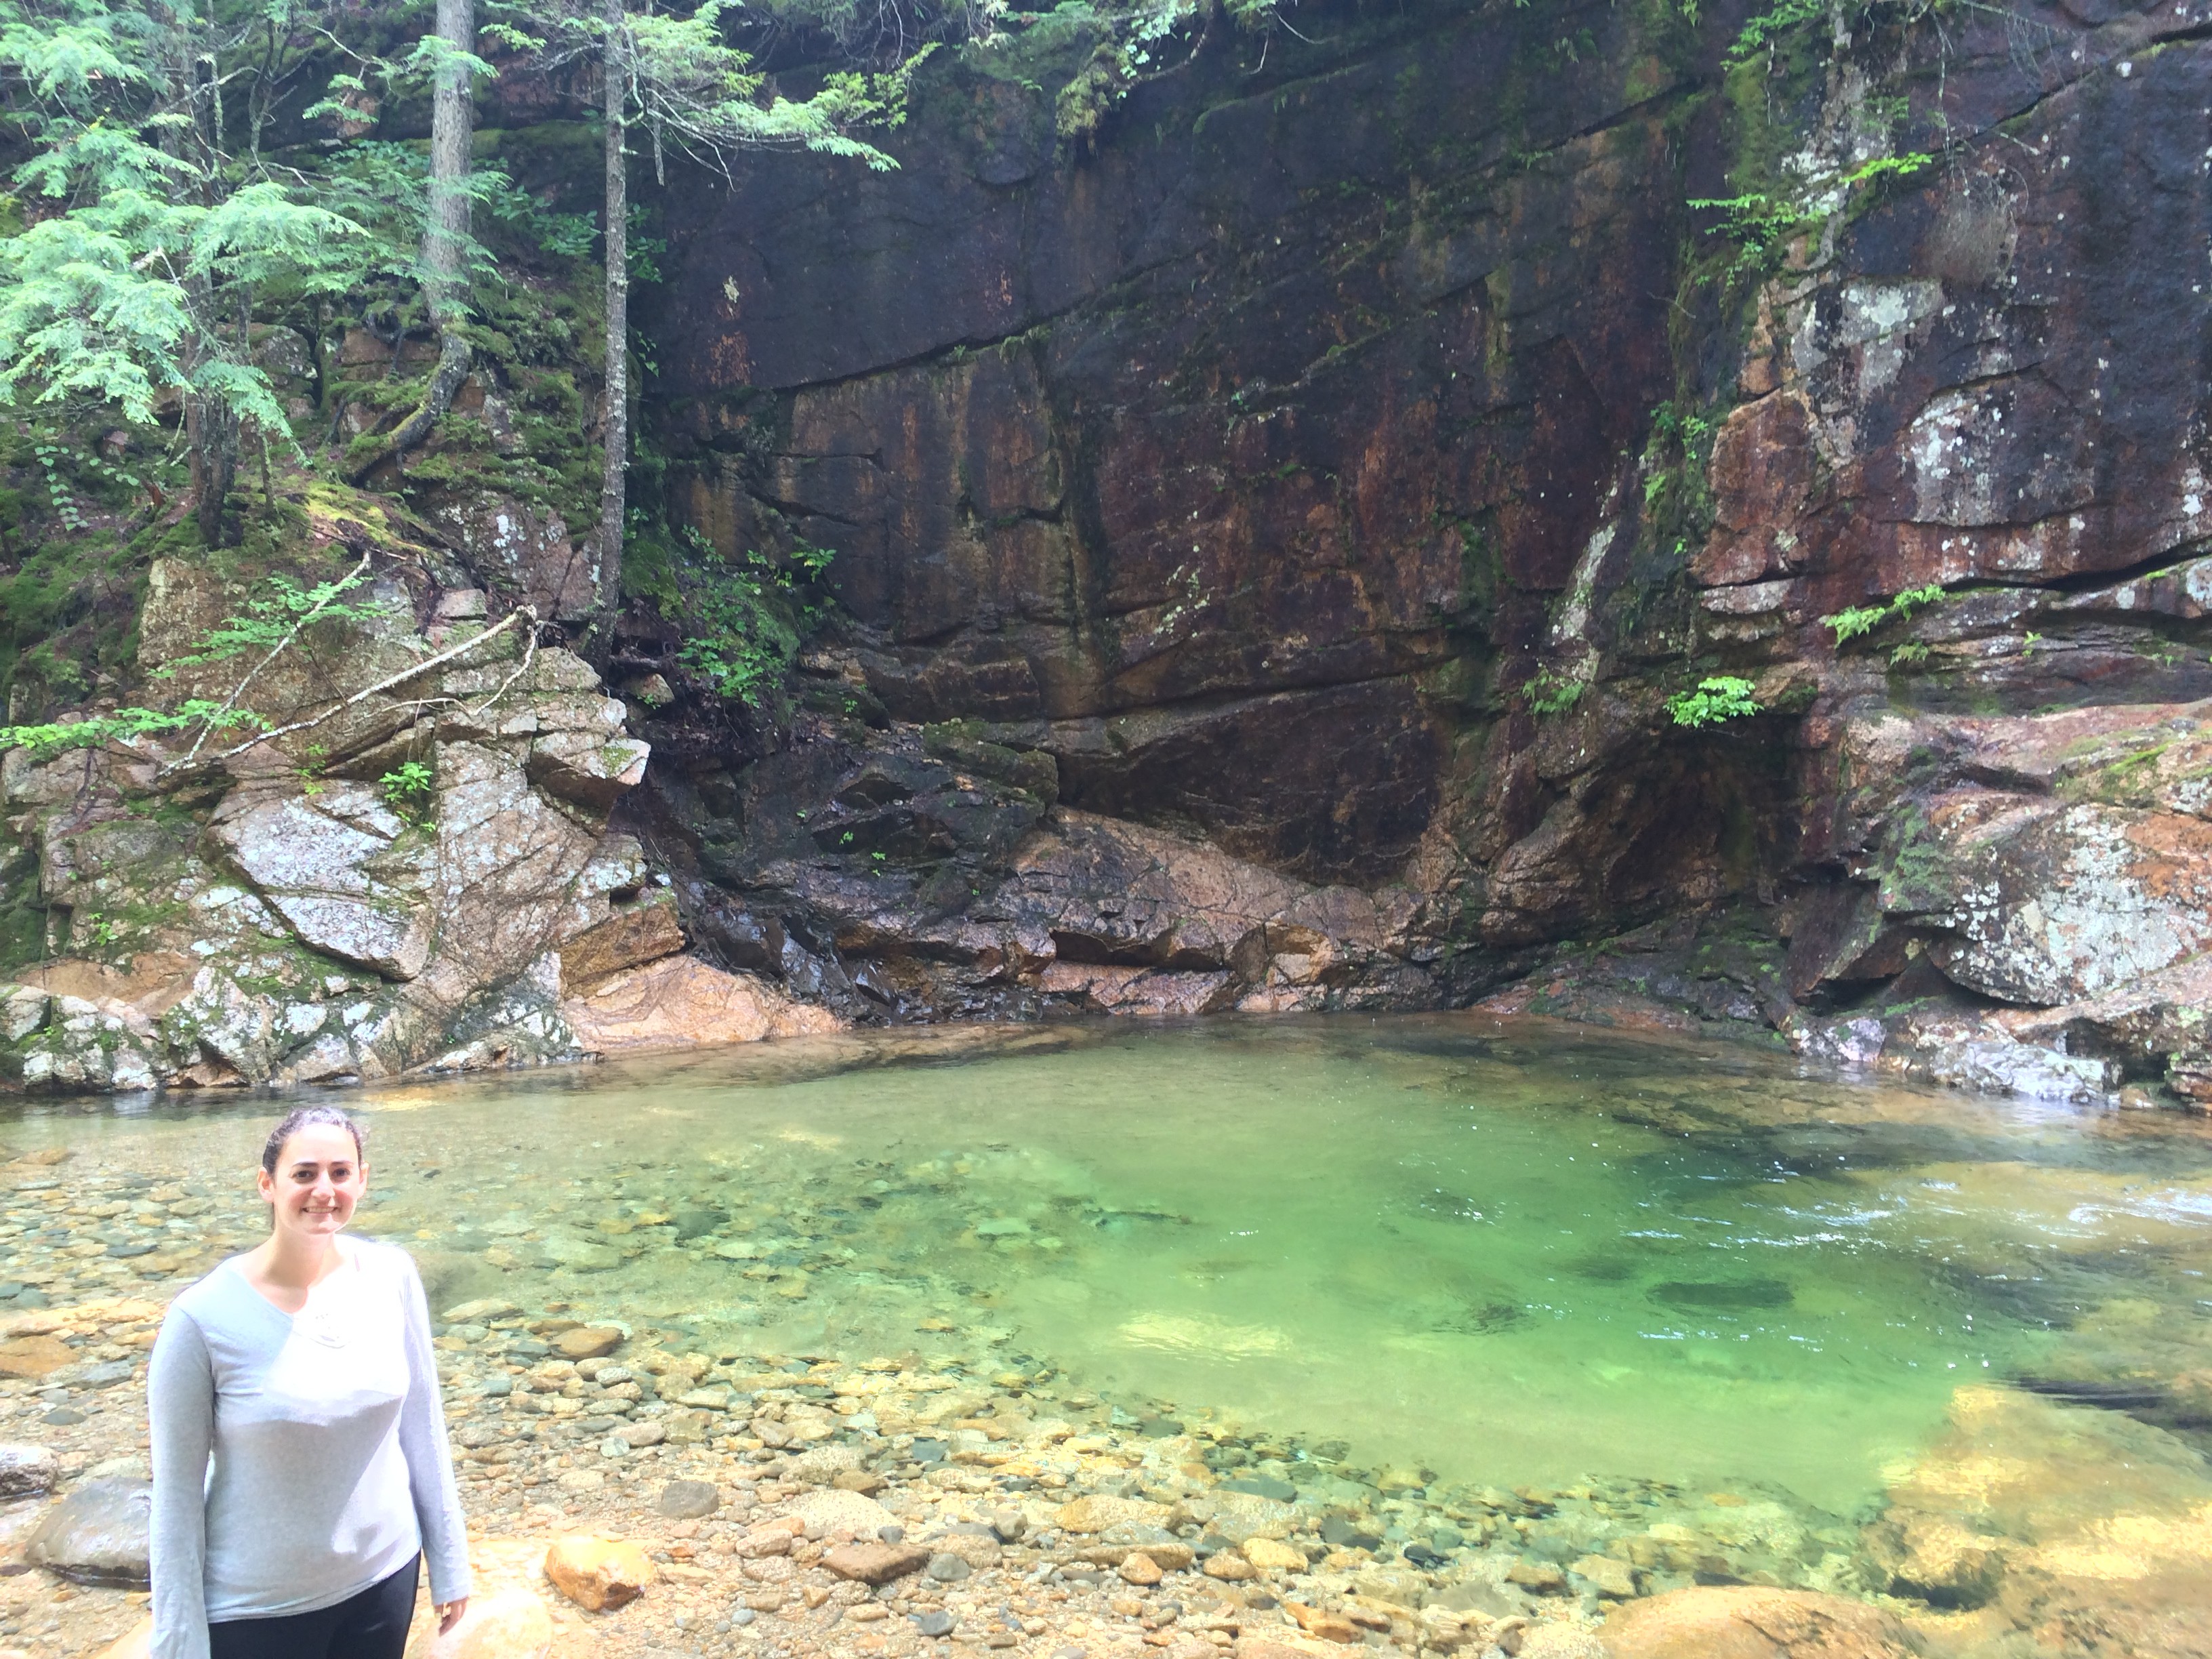
We started at Sabbaday Falls.  It’s a very easy walk (I did it in flip flops!) and it brings you a wooden and slightly slippery path to the falls.

IMG_2446

IMG_2262

IMG_2448

IMG_2449


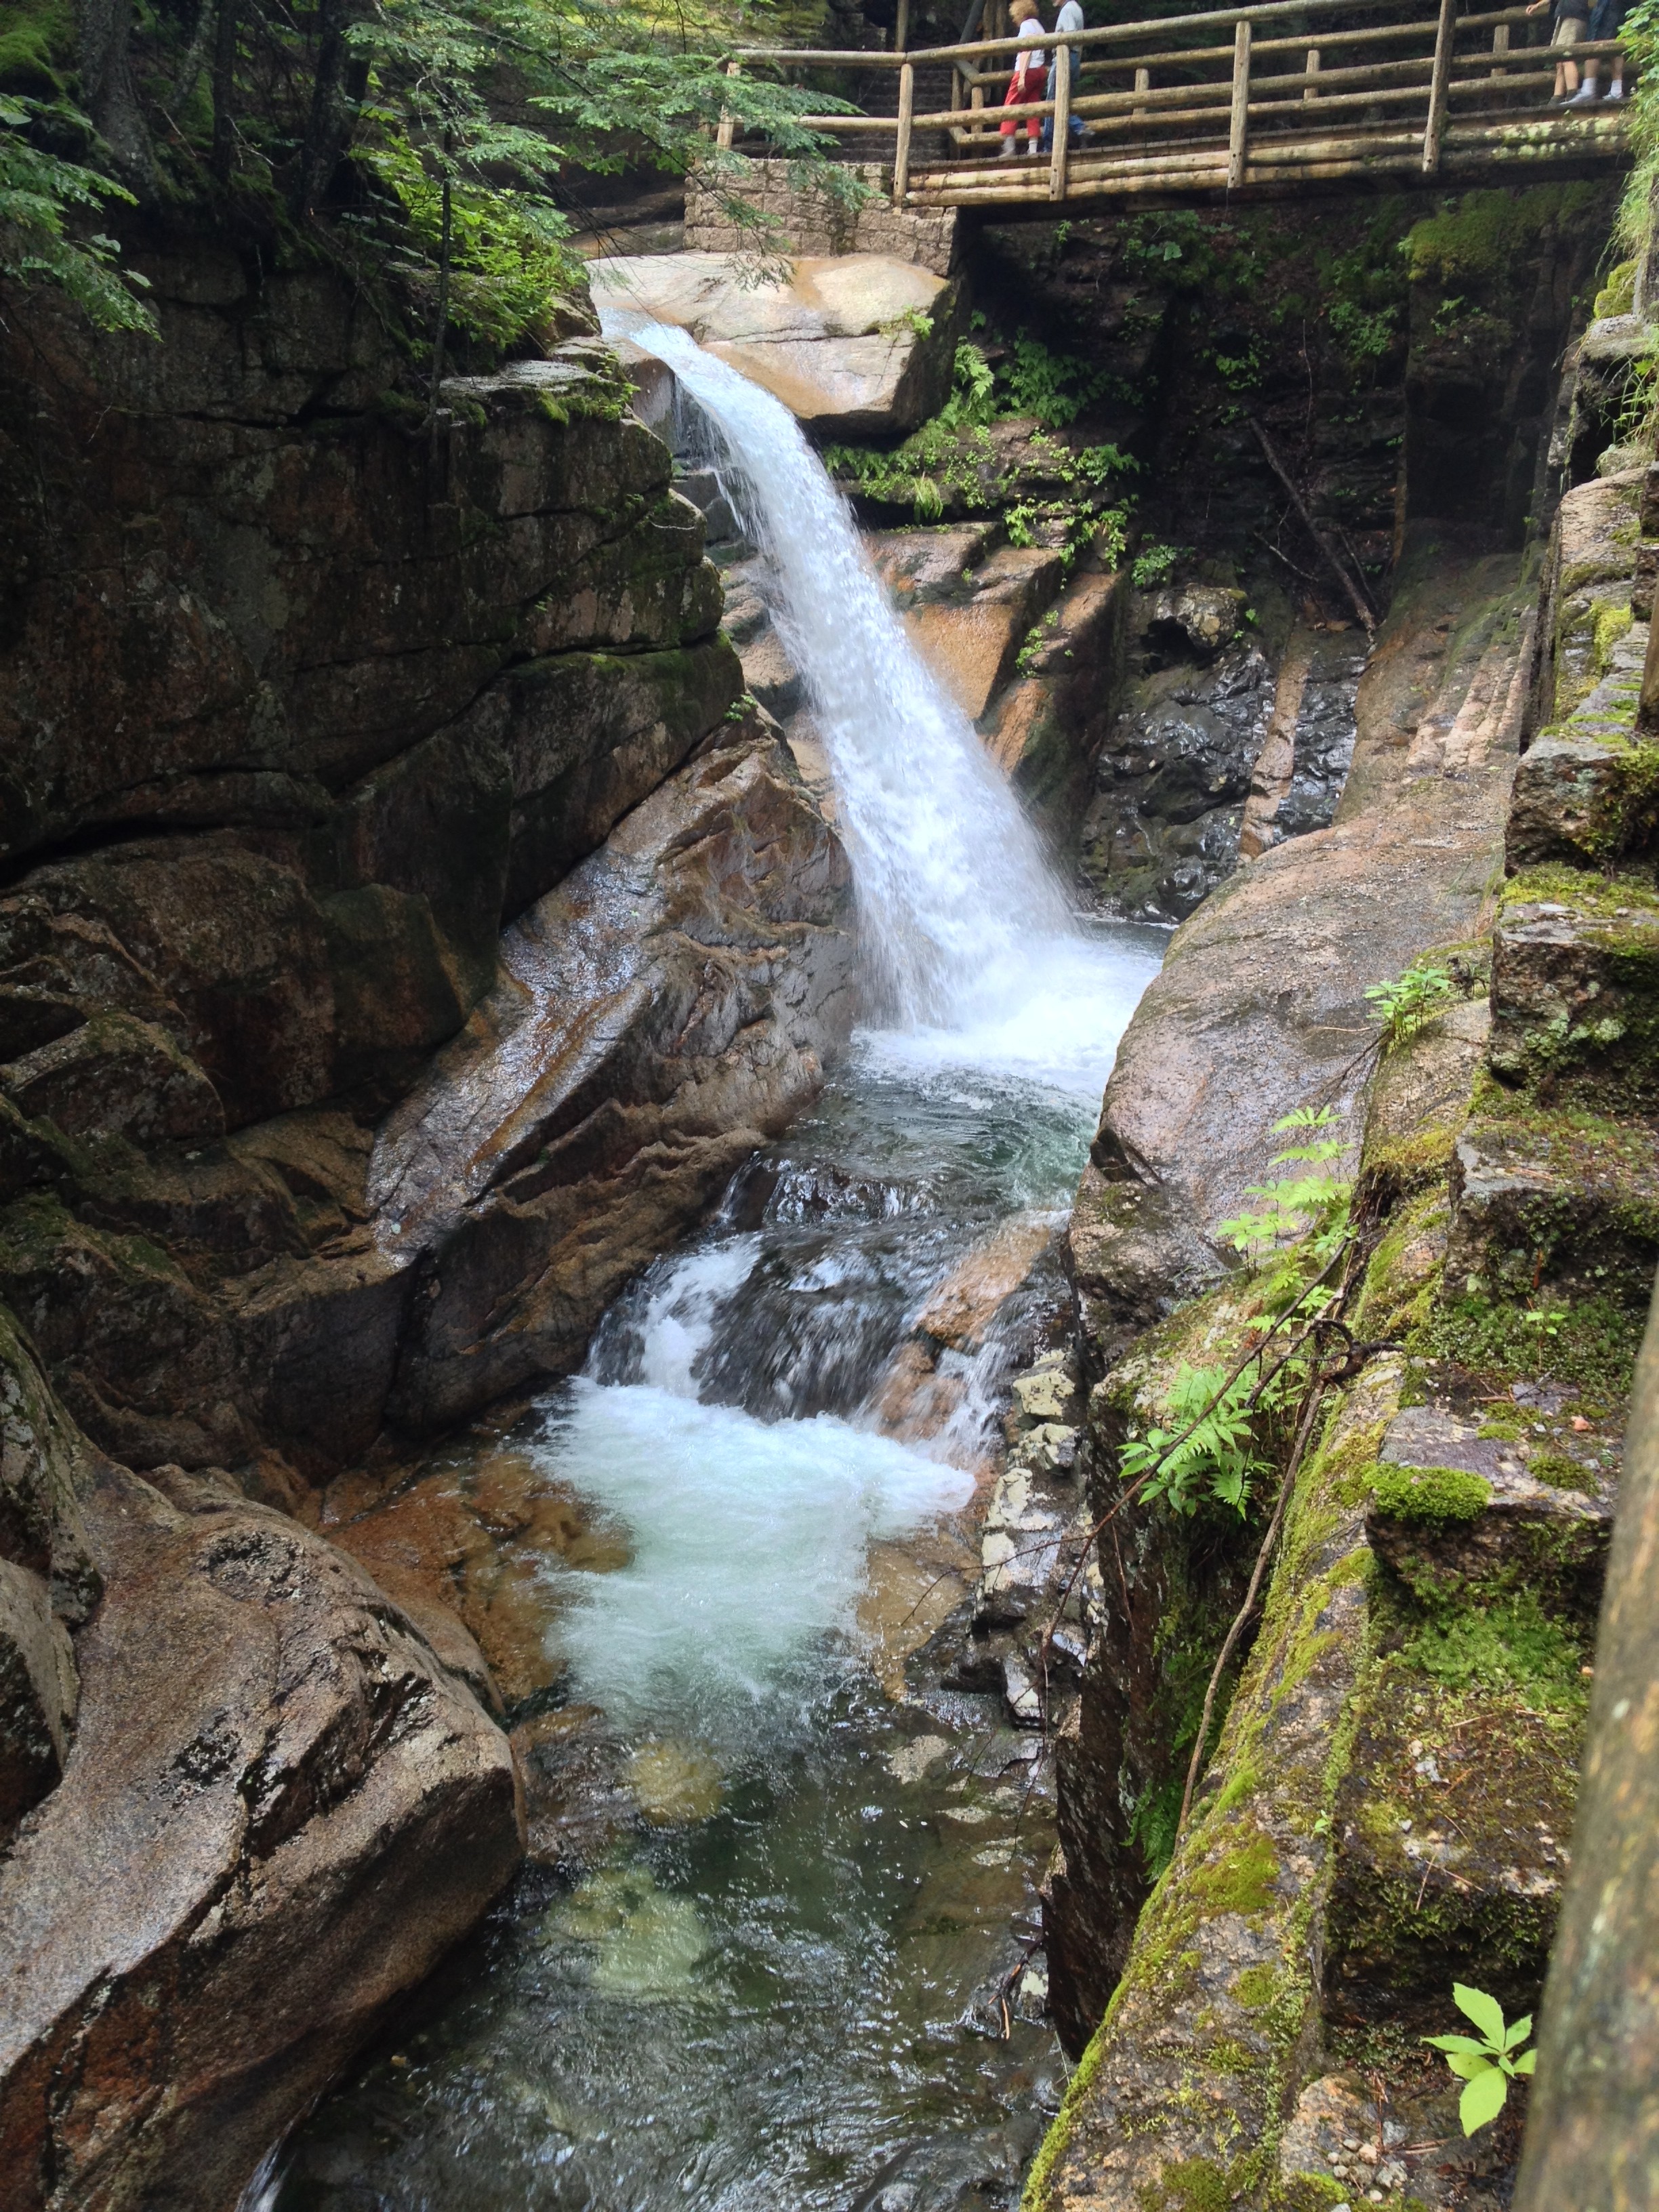
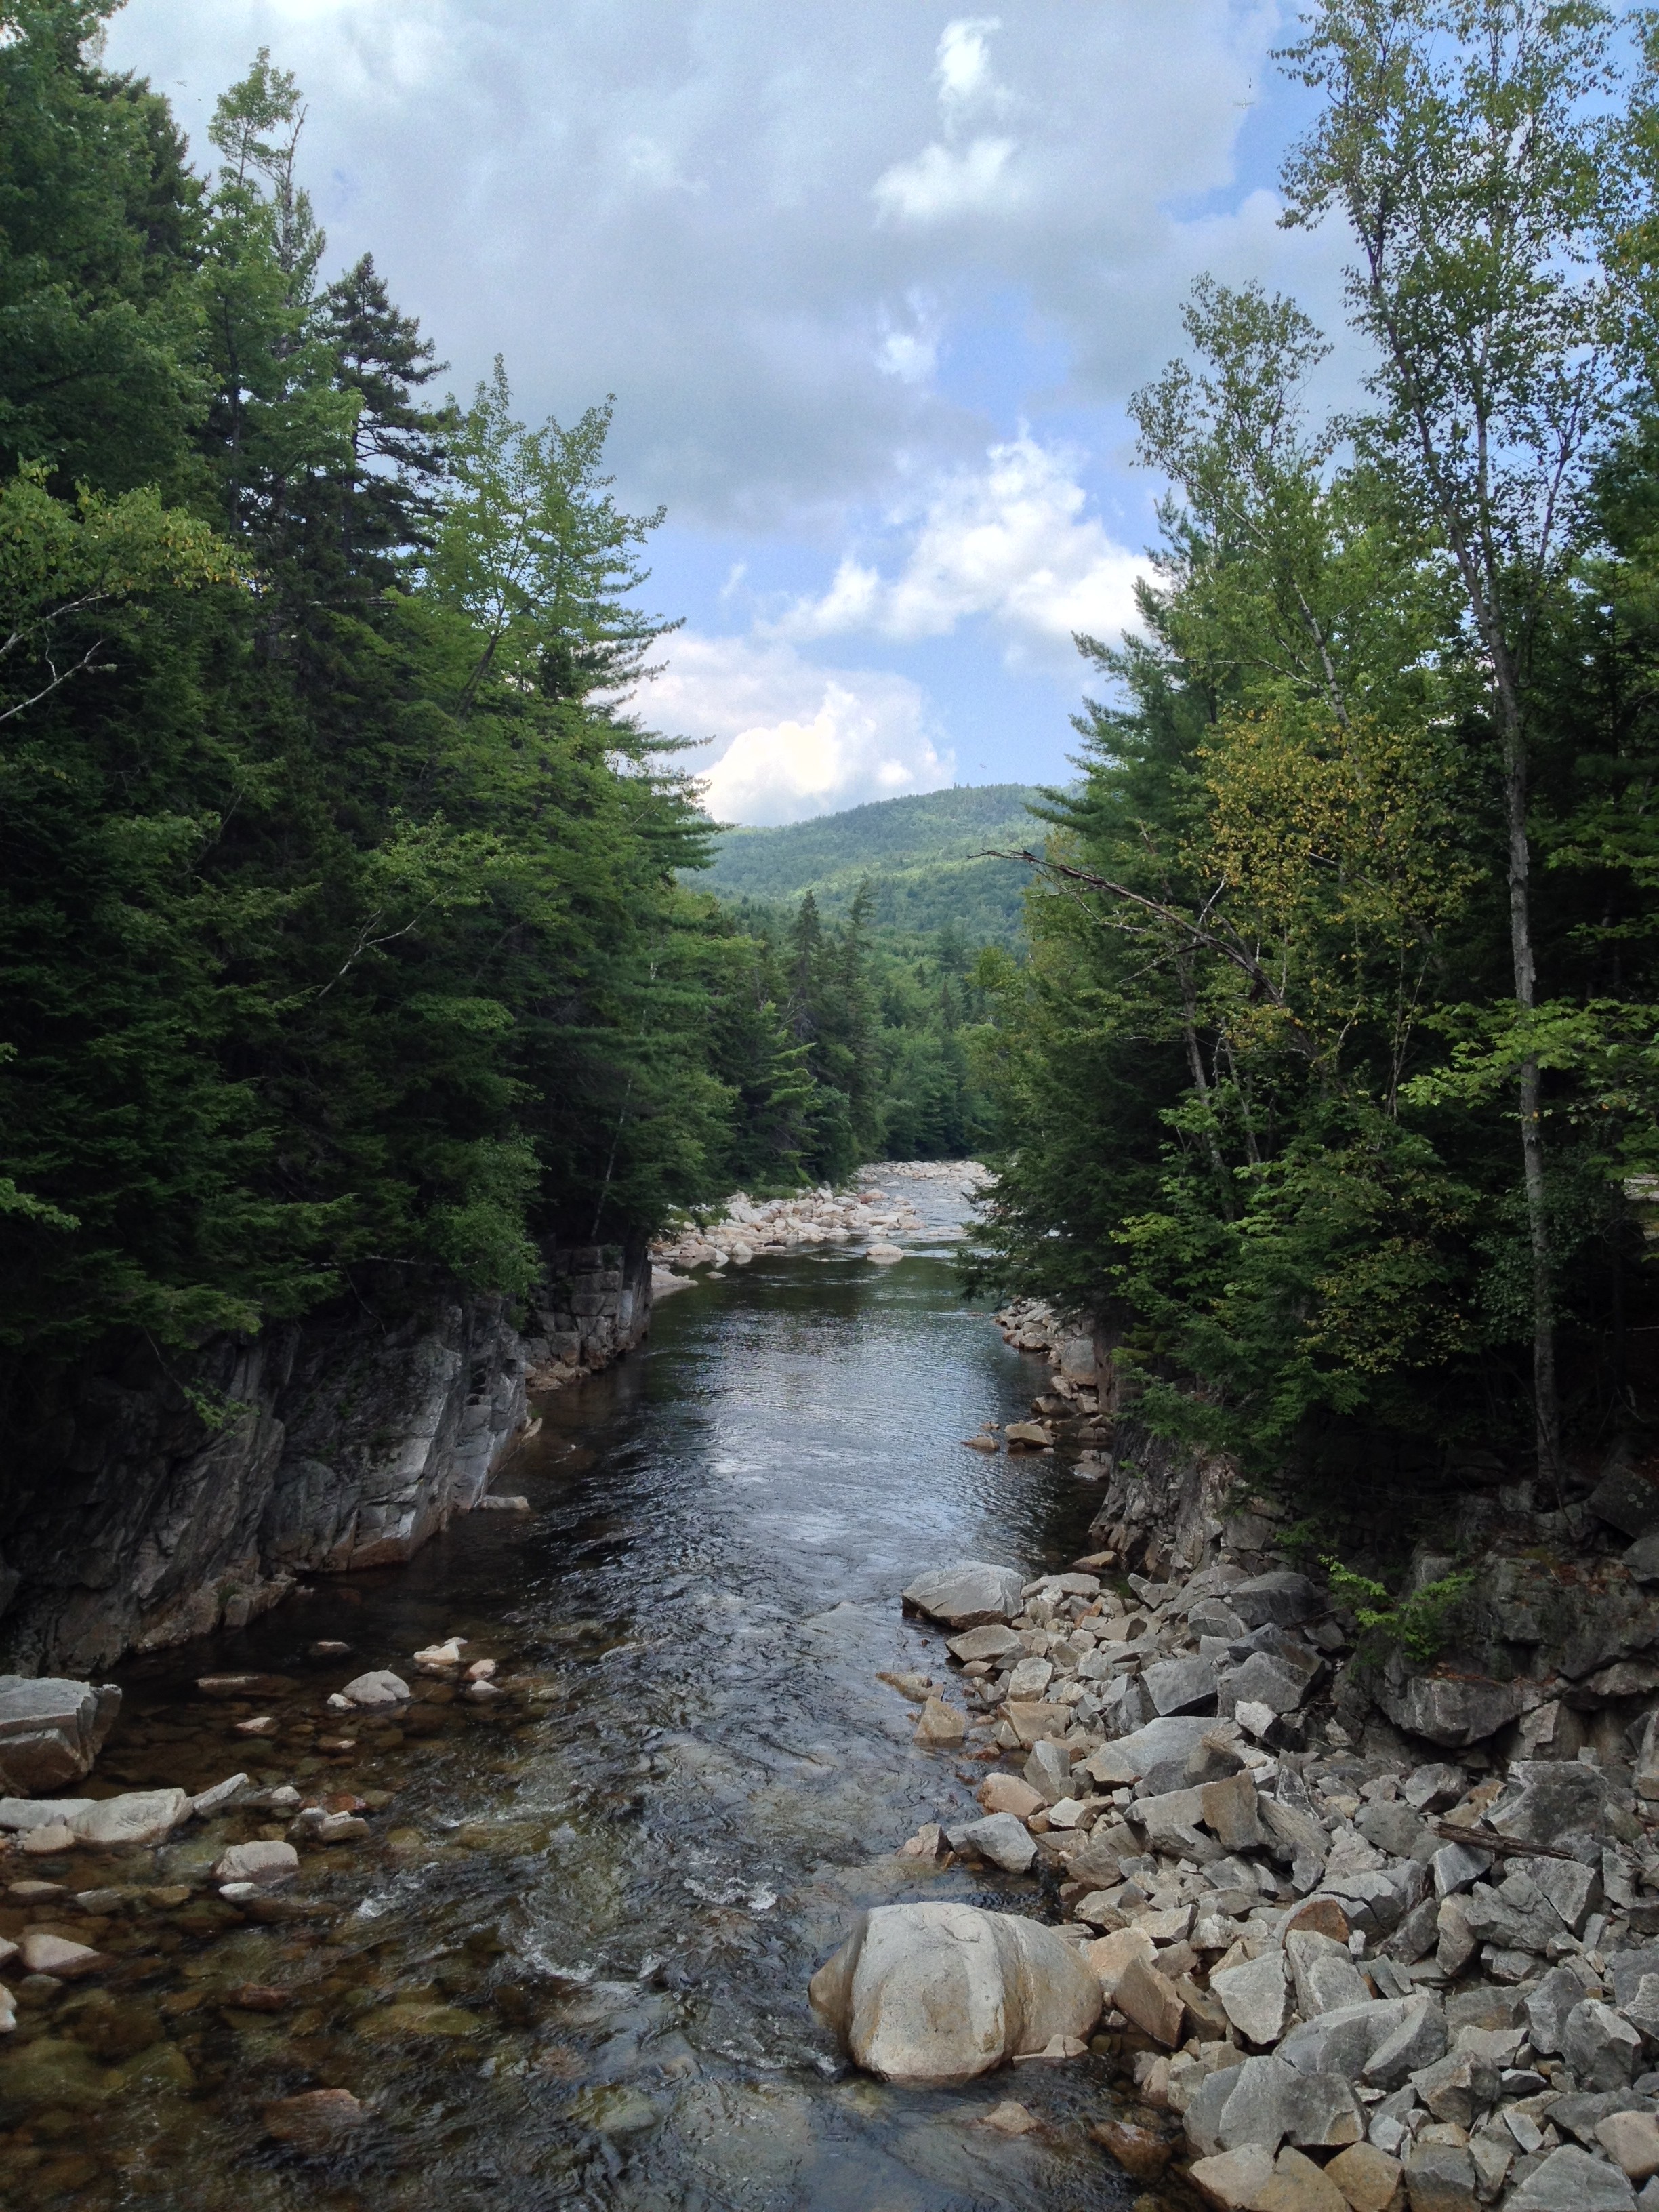
Then we continued to Lincoln Woods Path.  It’s a 3 mile hike to a natural water slide!!! (I didn’t go in, the water was way too cold). The hike was medium difficulty but it was totally worth it!

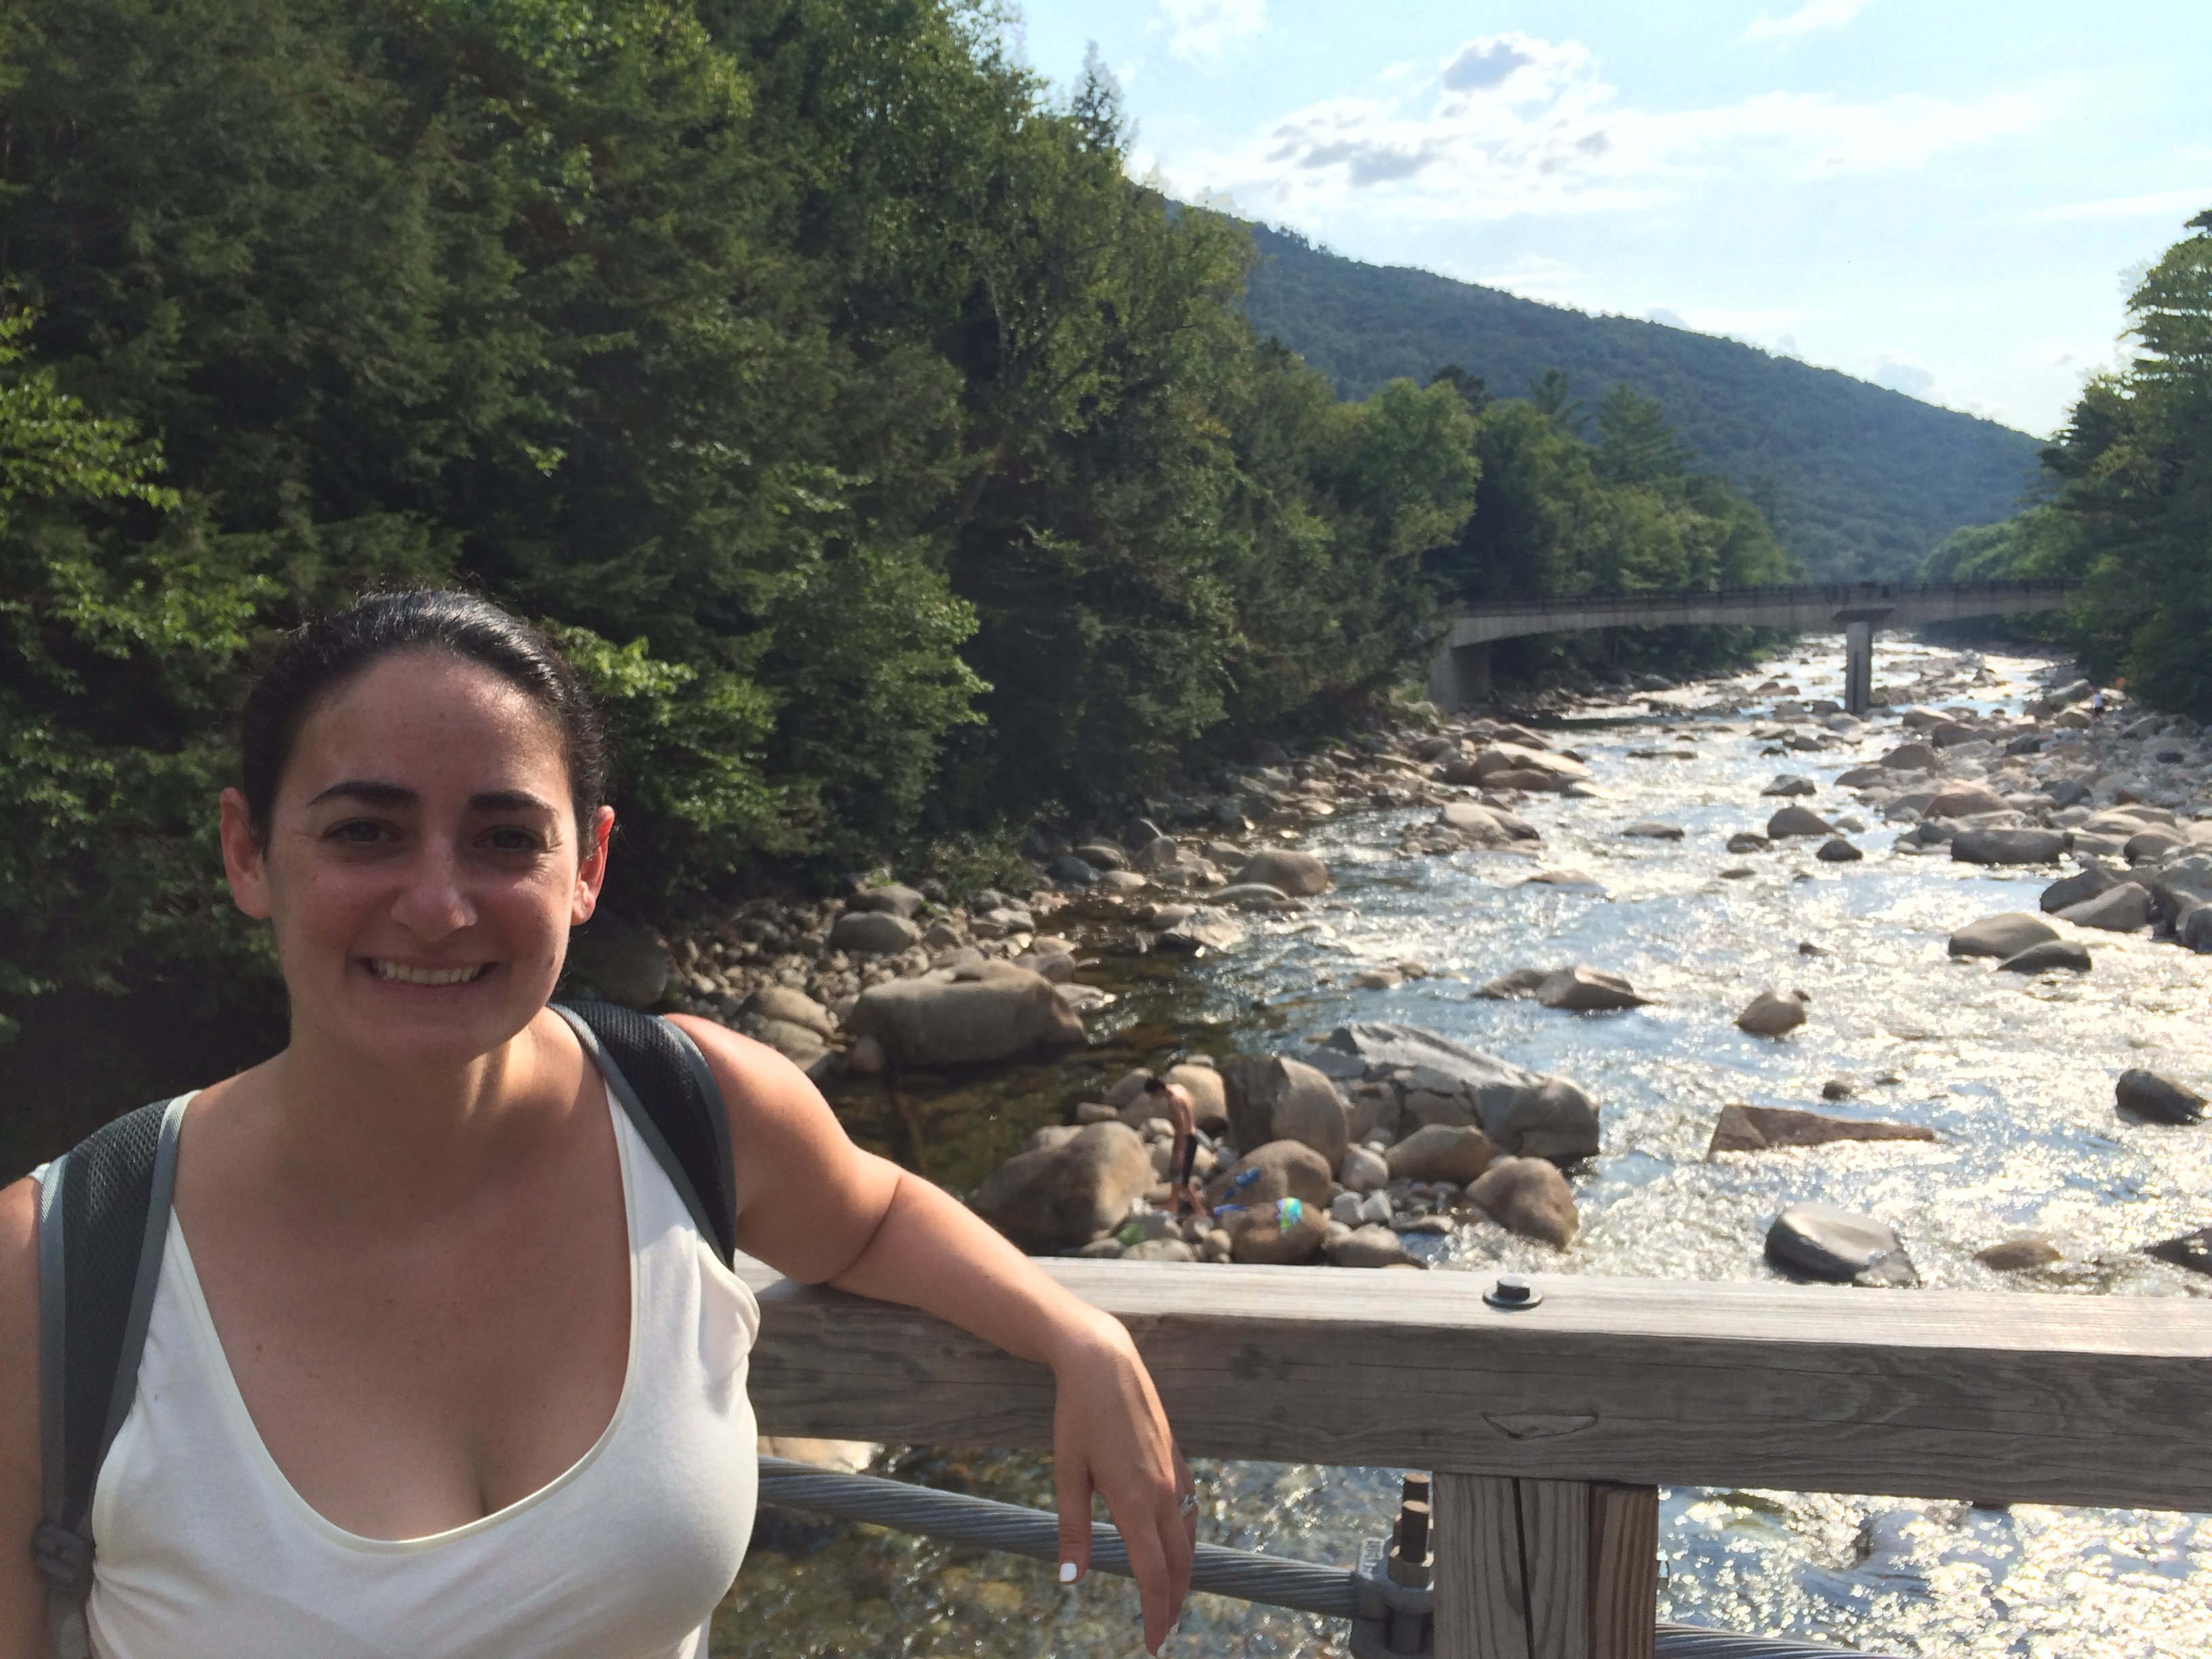
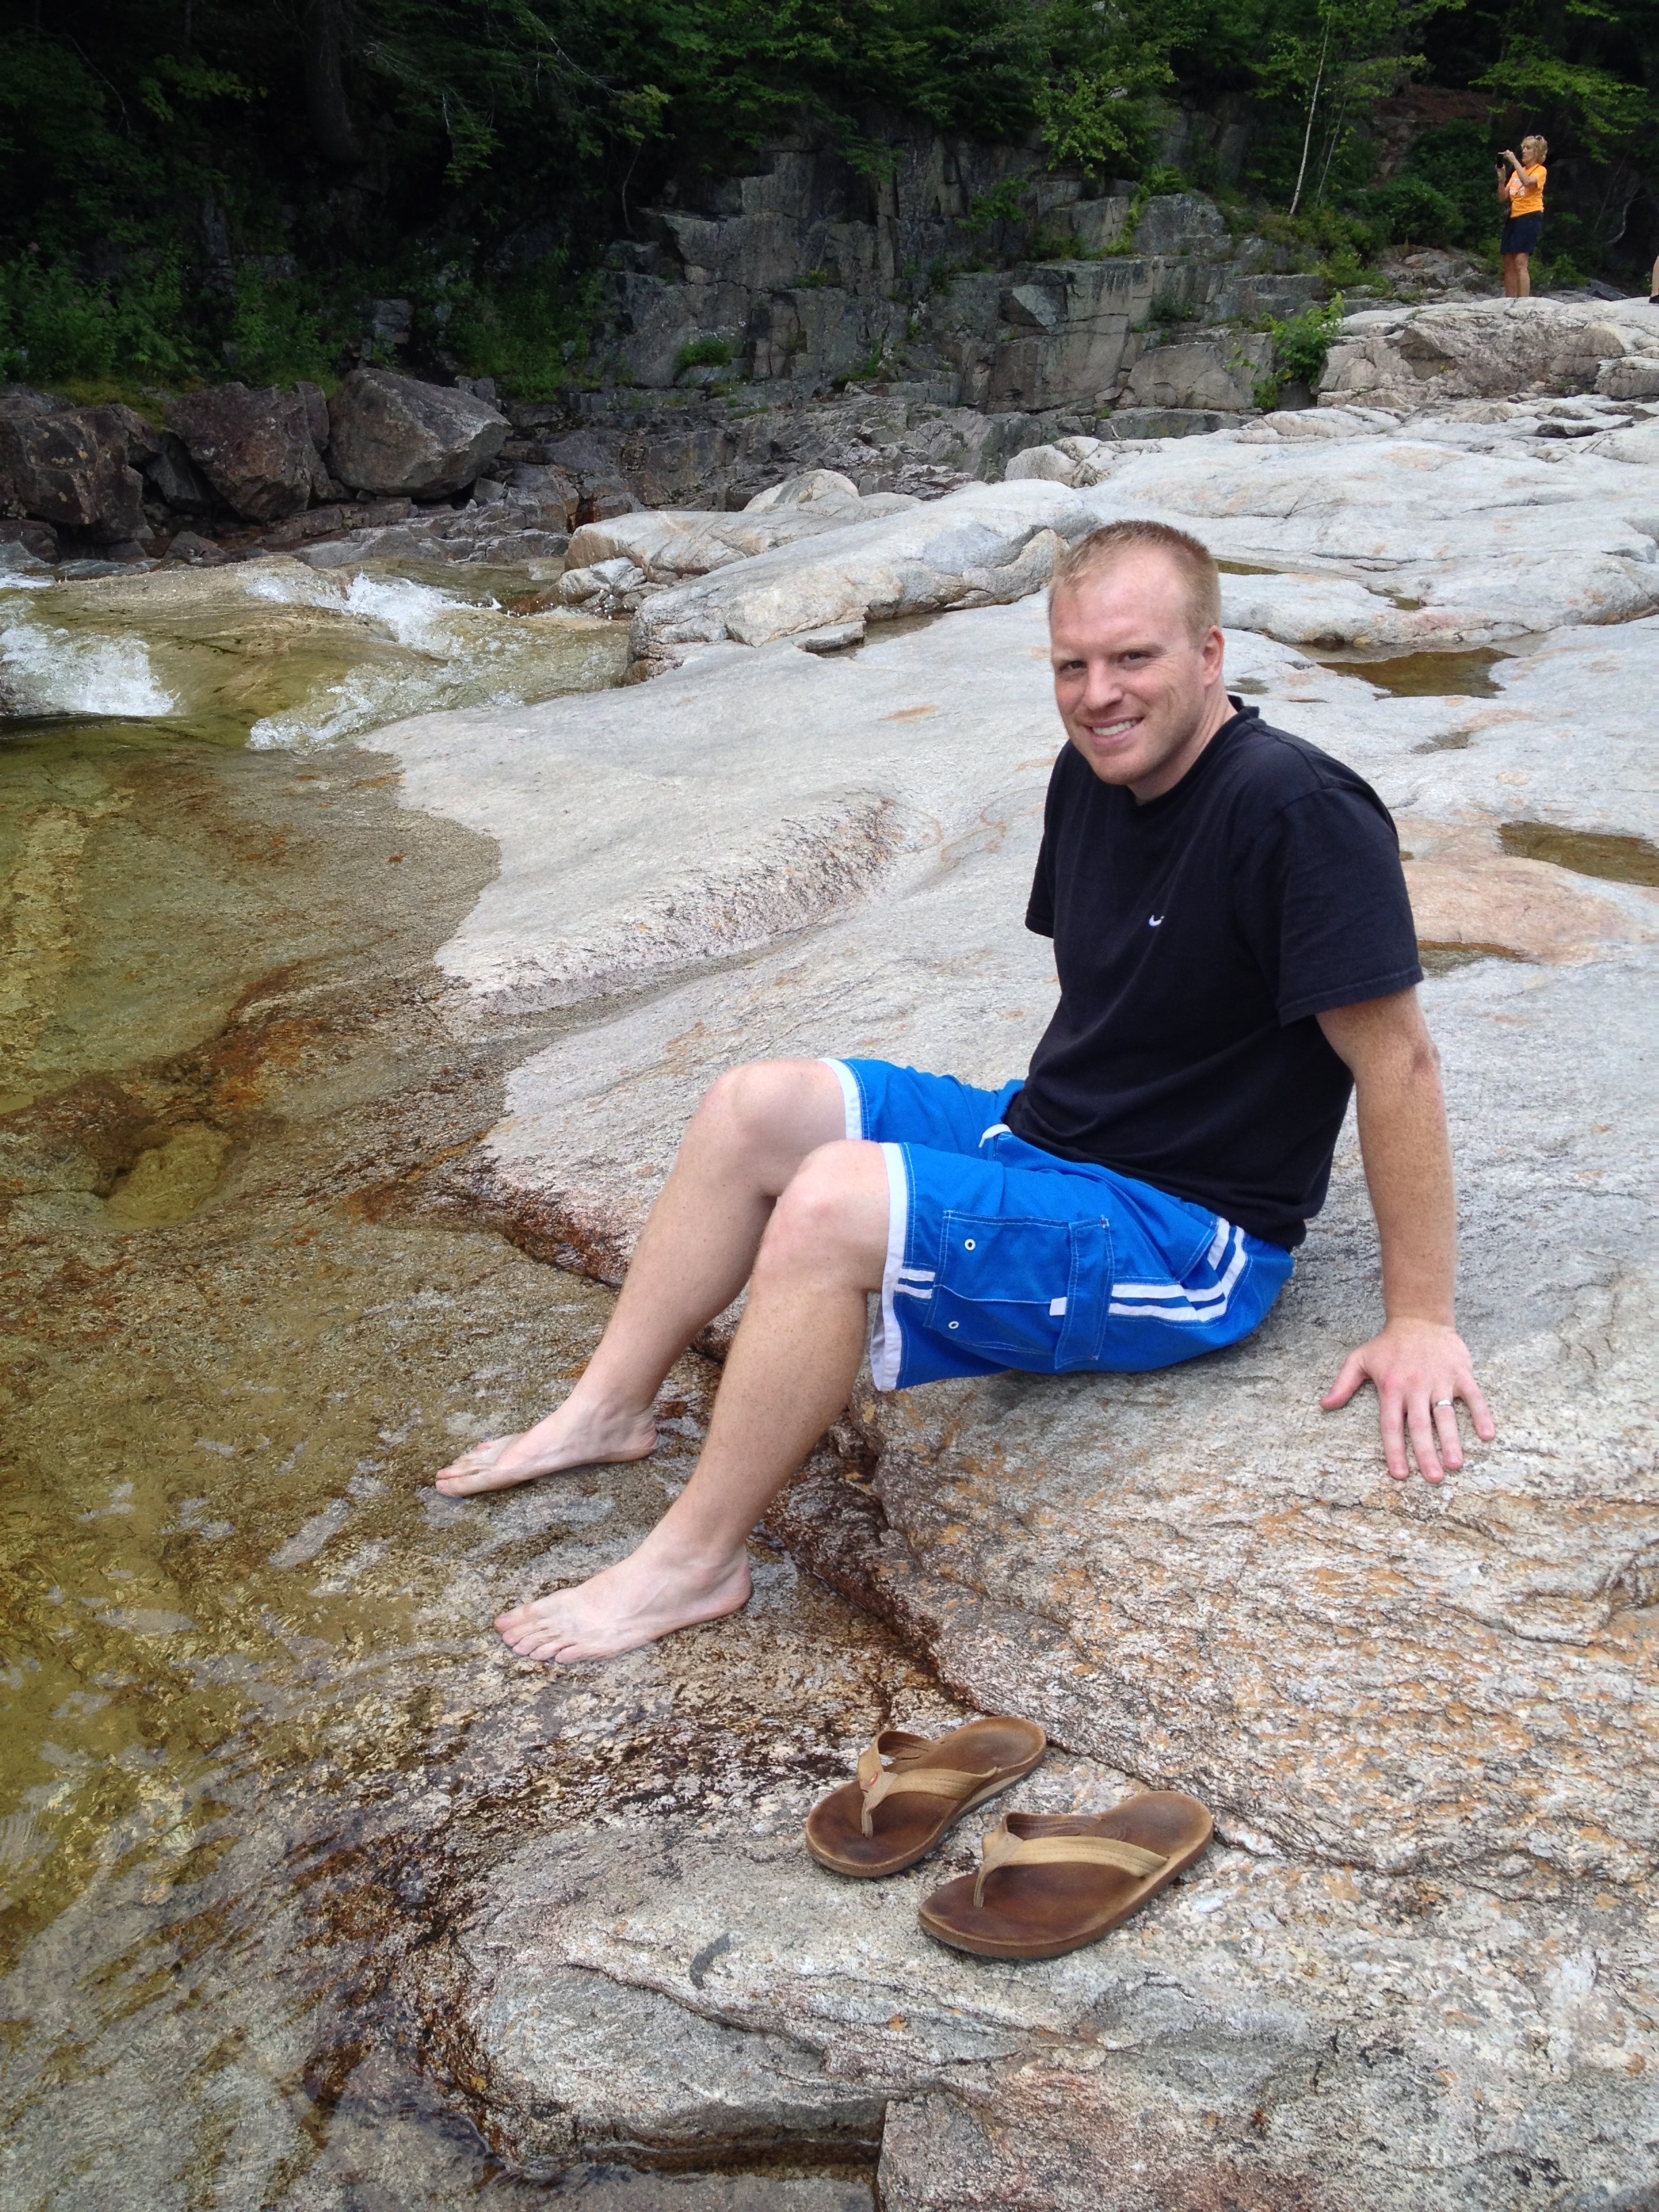
We dipped our feet in the freezing water.

IMG_2452


natural water slide!

IMG_2284


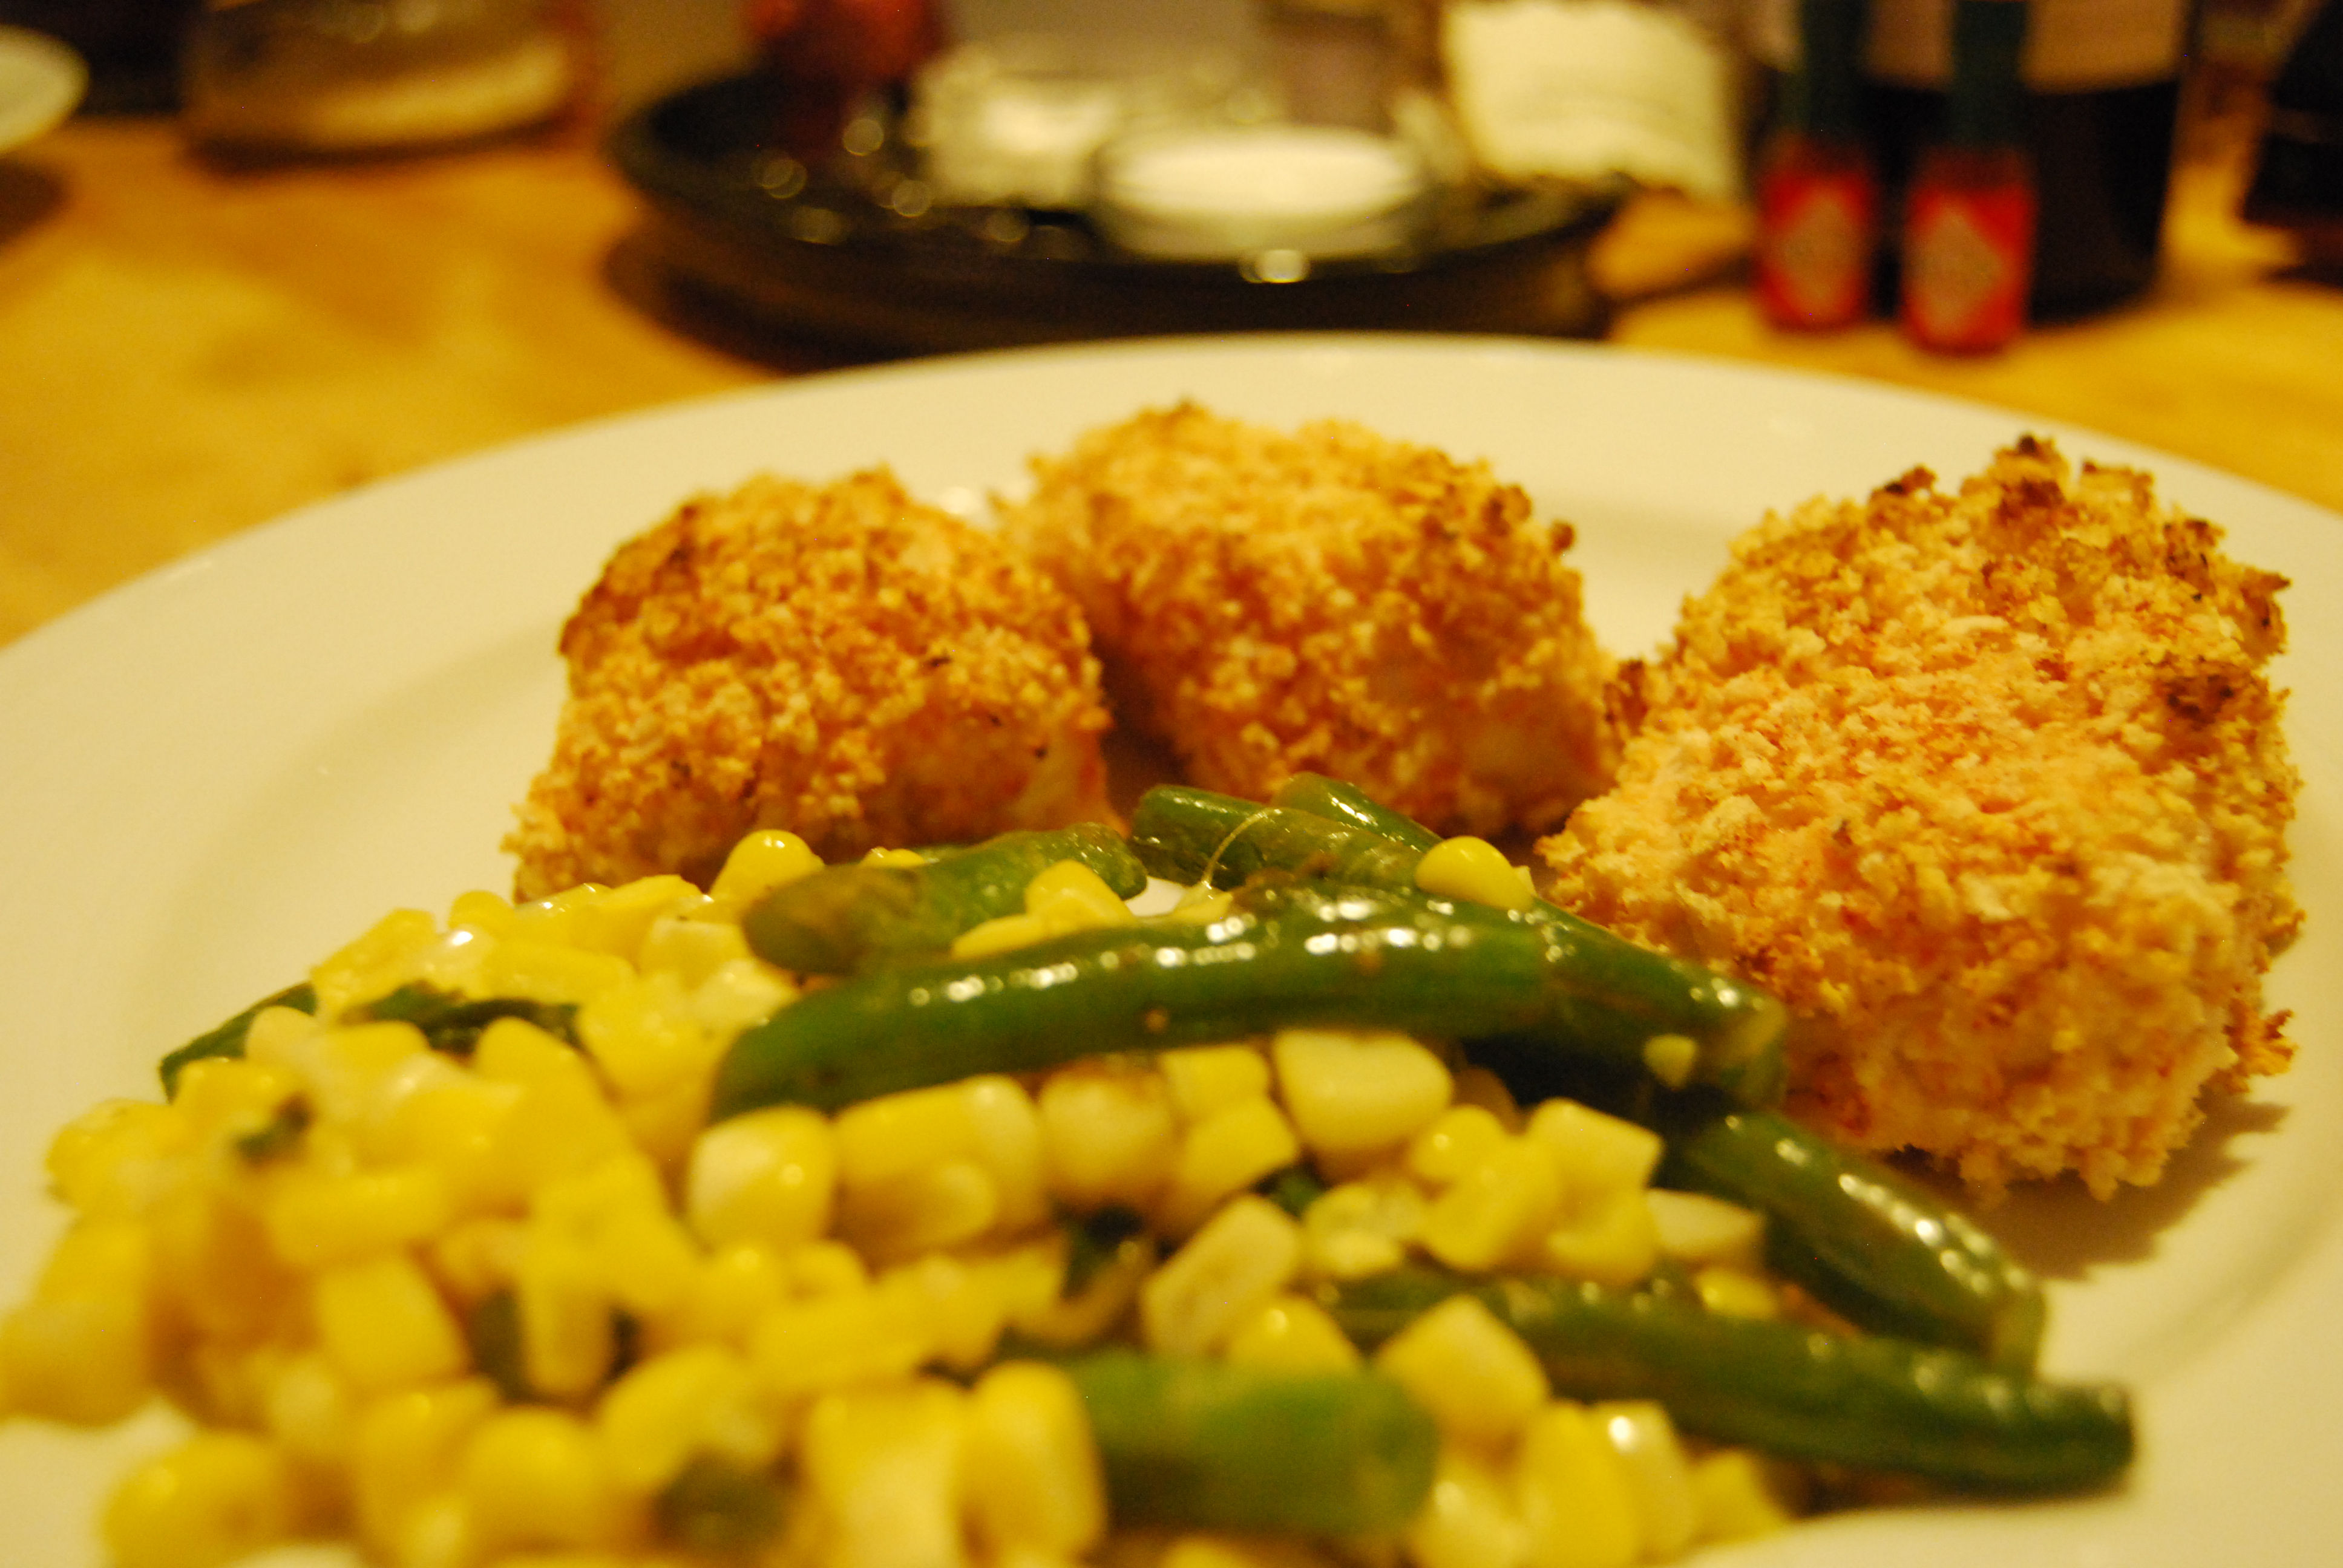
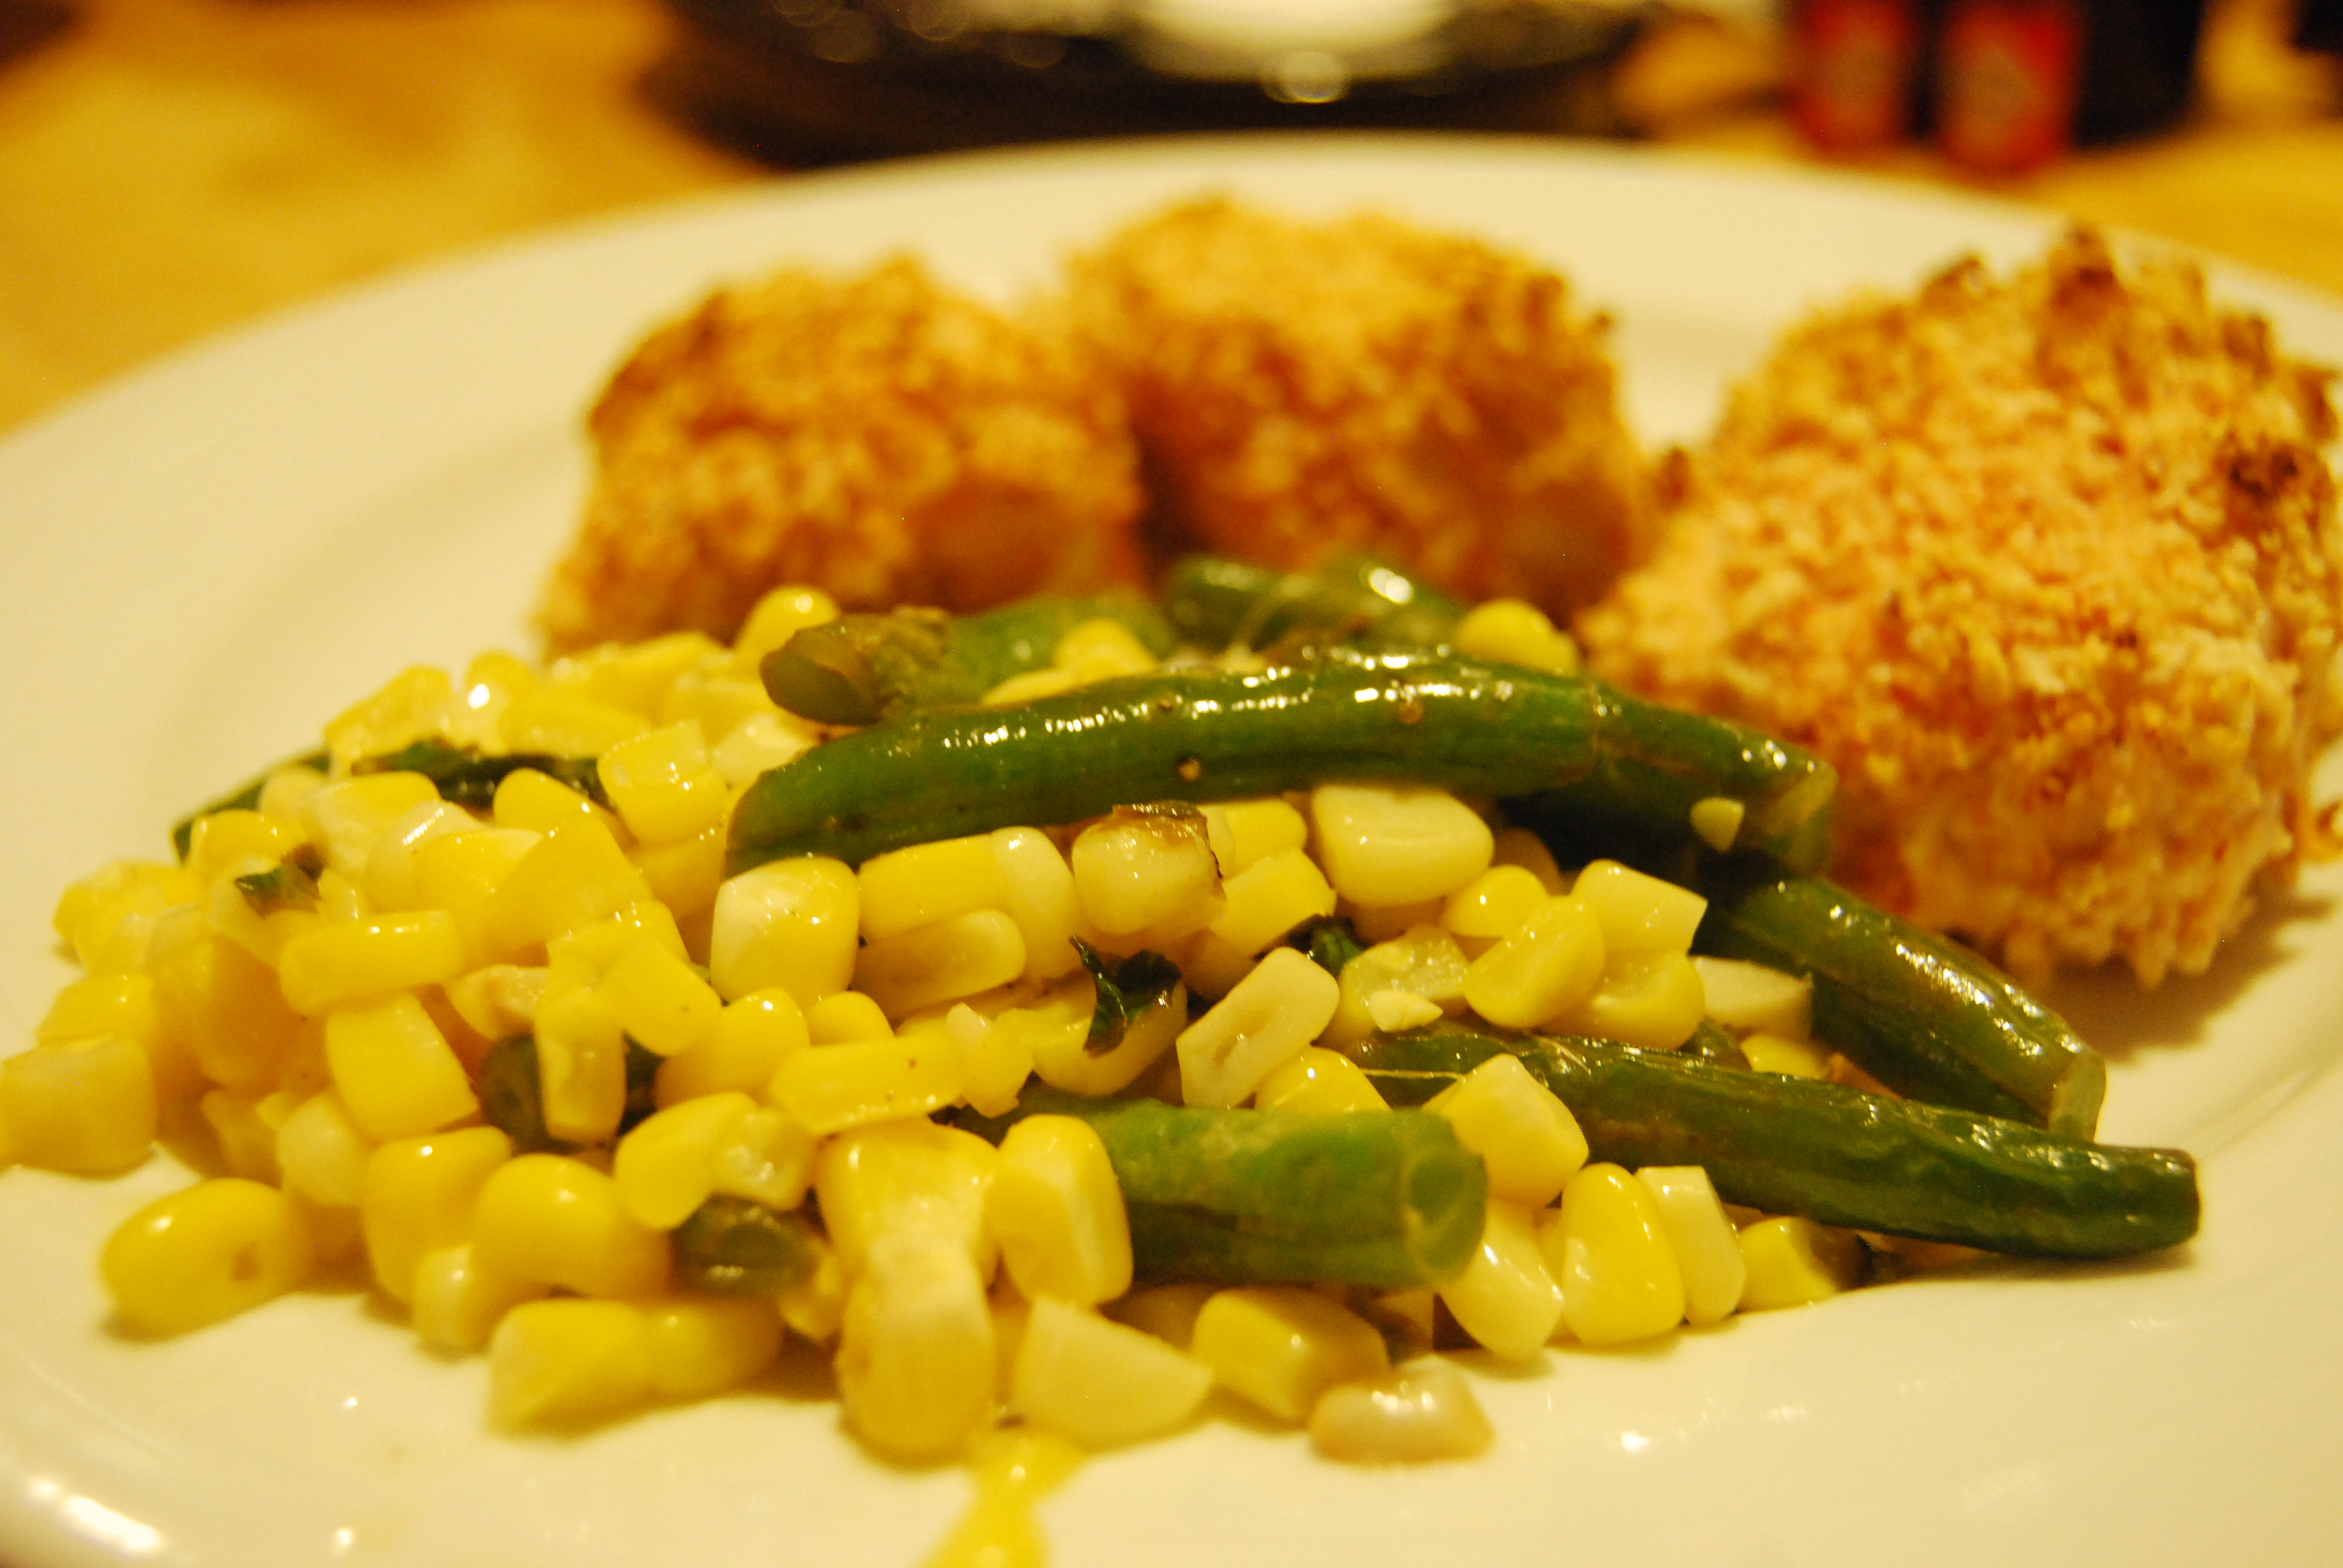
Our last night of camping, we made hot dogs and grilled corn. I kept the corn in the husk and wrapped it in tin foil, then placed it right on the grill. You’ll see it steaming away, be extra careful when you open the foil – it’ll be very hot! It was delicious!

IMG_2461


Kevin built a very impressive fire, which we fed all night!

IMG_2288


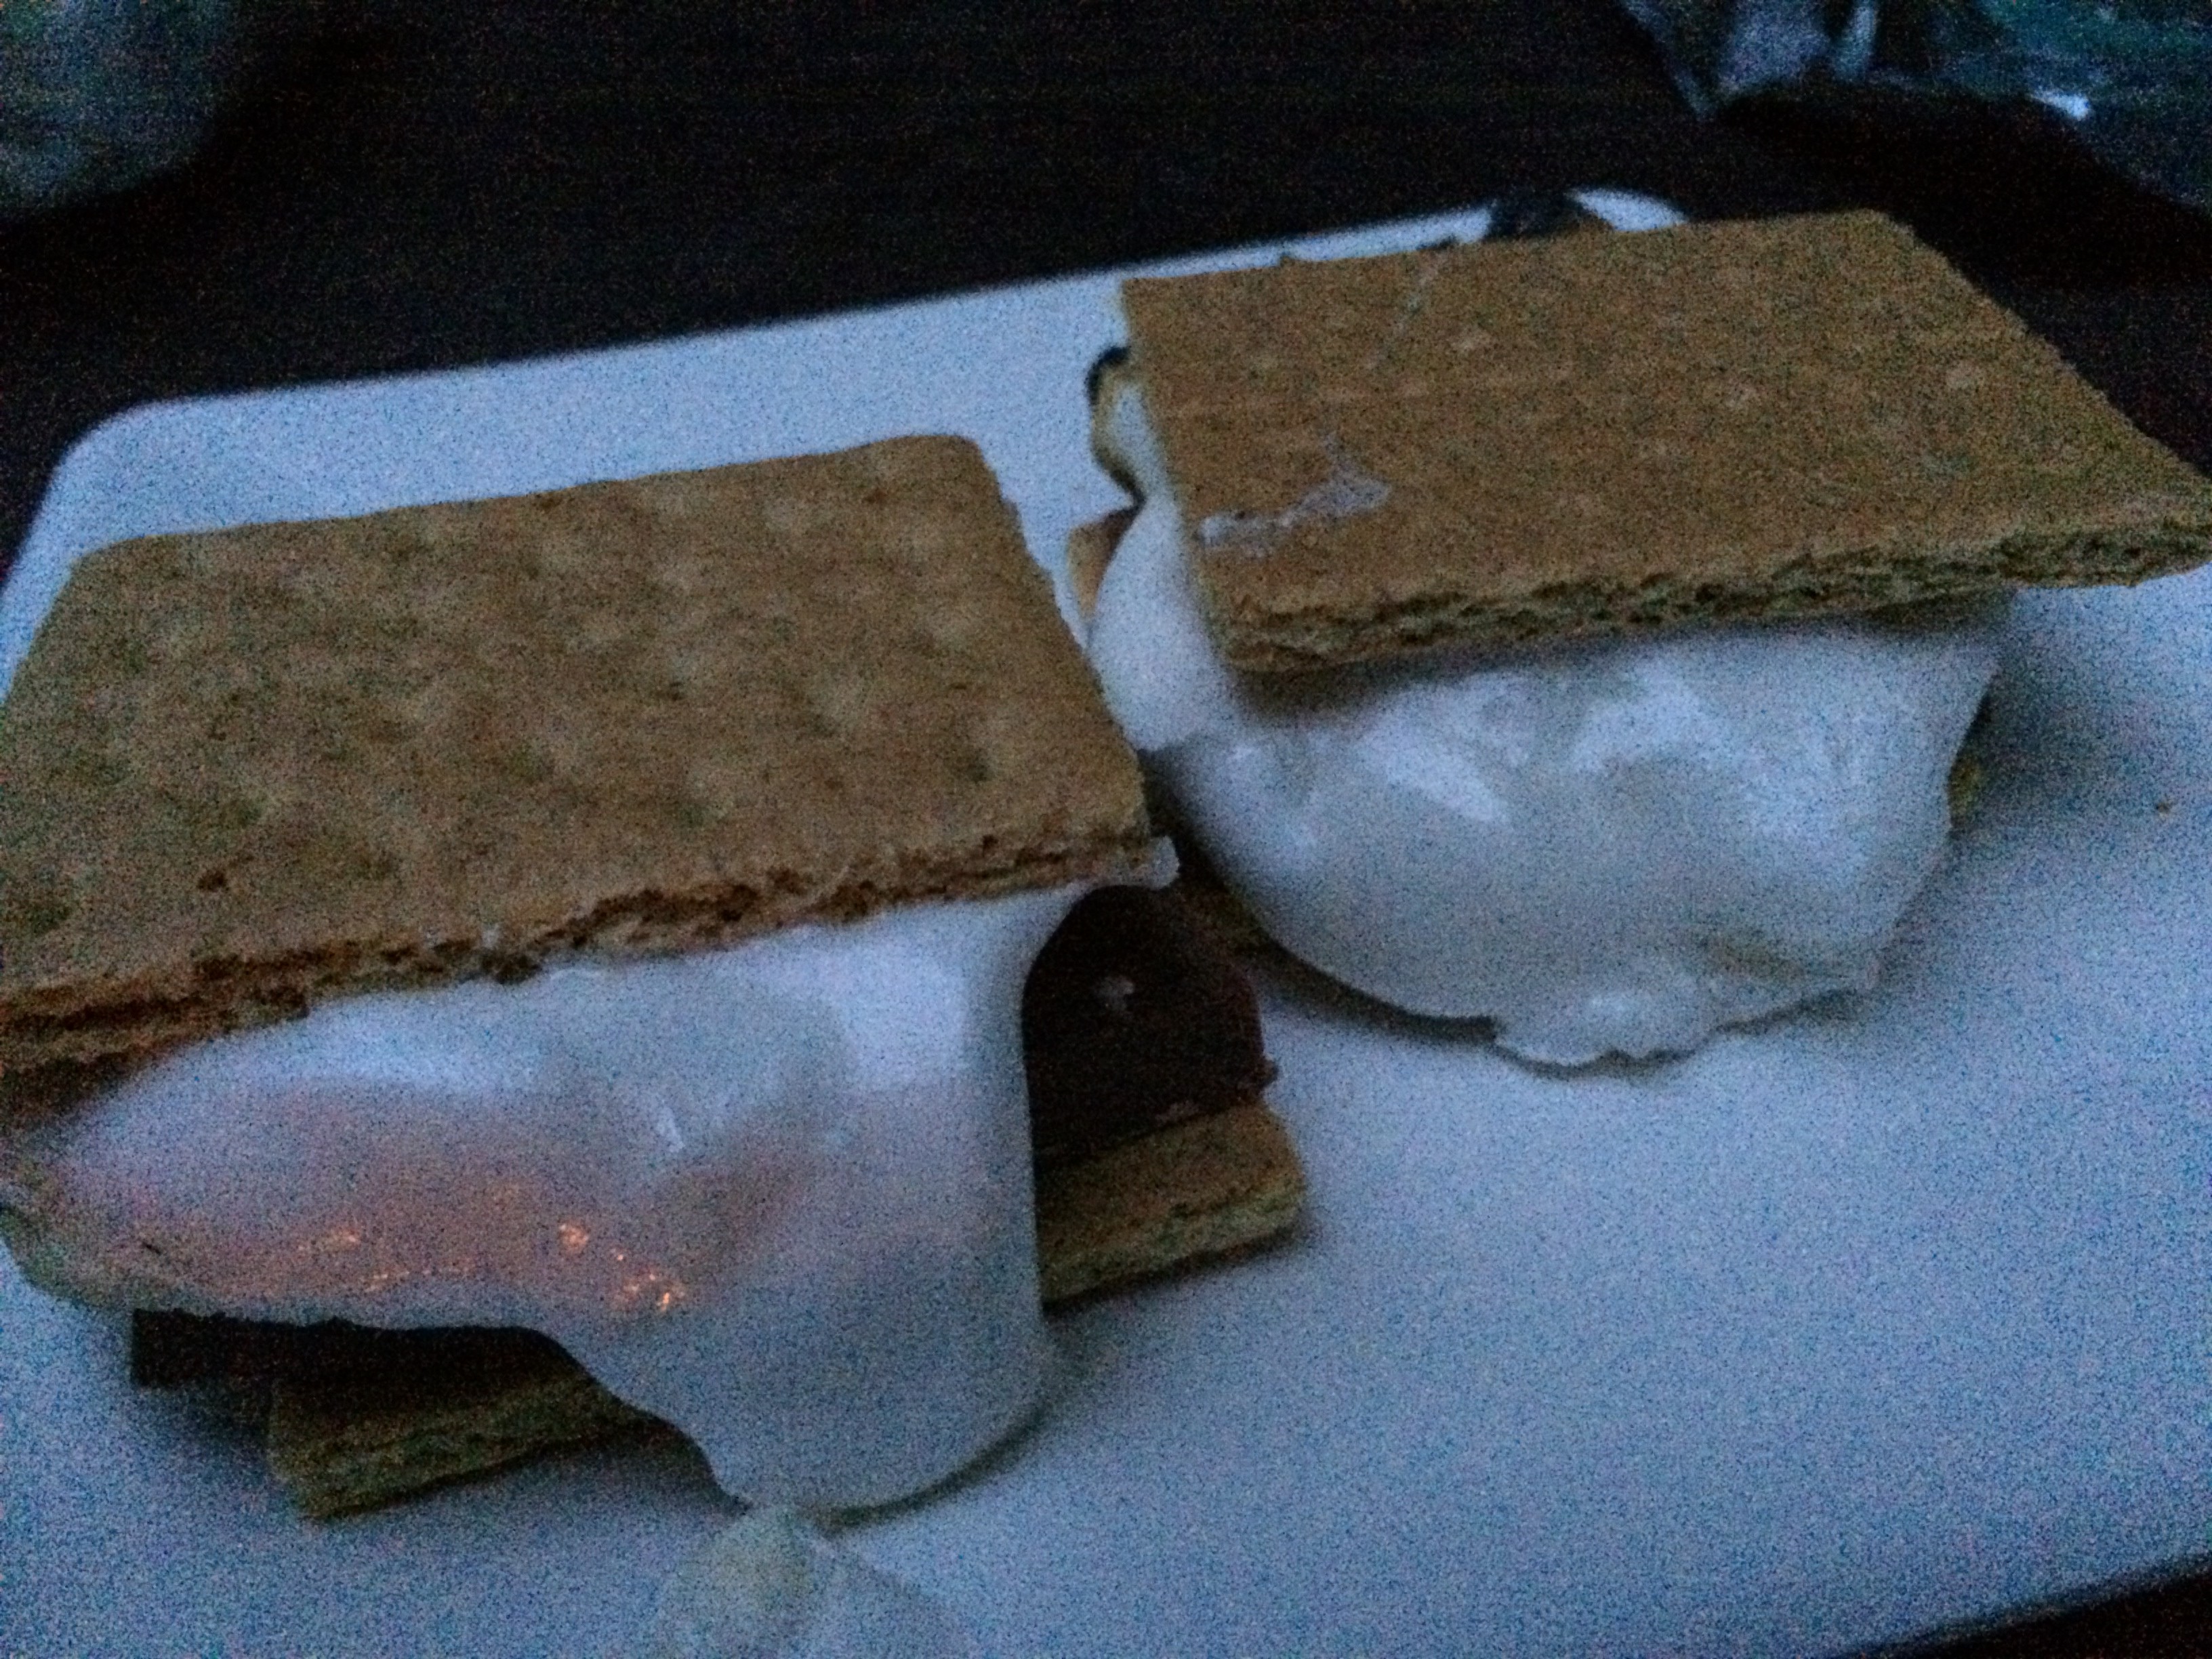
and we ate amazingly gooey s’mores! (check out the reflection of the fire in the marshmallow)

IMG_2287


It was wonderful to be out in a tent, hiking and cooking over a camp fire!


Balsamic Strawberries


IMG_2421


It’s strawberry season!!! I love making this treat in the summer. This dessert always wows my guests and they never know how ridiculously easy it is to make!

You’ll be surprised how well the vinegar works with the sweet, slightly tart strawberries. If you are skeptical, just make a very small batch, but I promise you will want to make it again!

I use very good balsamic vinegar (not the cheap stuff since it will give off odd flavors, but since you are only using a little bit, it’ll be worth the expense). I add sugar only if the strawberries aren’t very sweet. And I take a short cut from making individual pound cakes – I buy ‘dessert cups’ which you can find in packages of 6 in the produce department of most grocery stores.

I combine the vinegar, strawberries and sugar a few hours ahead (up to 6) and let it sit at room temperature so the flavors can blend and the vinegar can soften the berries.


Here is what you need:

DSC_4219

Balsamic Strawberries  (click here to print recipe without pictures)

1 pint strawberries, washed, hulled and sliced
2-3 tbsp good balsamic vinegar ( I always use 3-4 tbsp since I like a lot of ‘sauce’)
1-2 tsp sugar, optional
dessert cups
whipped cream


1. Combine strawberries, balsamic vinegar and sugar (if using). Let sit at room temperature for at least 30 min or up to 6 hours (preferable refrigerated for the first 5 hours).

2. Place 1 dessert cup on a small plate. Spoon 2 tbsp of strawberries and 2 tsp of ‘sauce’ onto cup. Top with whipped cream and serve!!!


See! I told you it was easy!


Blue Apron - a Review


DSC_4152


My friend was kind enough to send me a free week of Blue Apron meals. Each week consists of 3 meals for 2 people (one meal is usually vegetarian) and costs $60. They send you everything you need, except olive oil, salt and pepper and everything is premeasured and ready to go.

The menu for the week I got was: (1) Heirloom Potato and Kale Hash with Farm Eggs, (2) Lamb, Mint and Pea Orecchiette, and (3) Oven-Fried Chicken with Sauteed Green Beans and Corn.

Each meal takes about 40-60 min to prepare, including prep time.

I used a mandolin to slice the potatoes (and cut myself, so ALWAYS use the safety shield!)

DSC_4160

The best thing about Blue Apron is that everything is ready to go and they have very easy-to-follow directions for the whole meal. Anyone, even with limited culinary experience, can make these meals. Another plus is the variety of recipes that you are ‘forced’ to try, opening a whole new world of flavor combinations!  The meals range from 550-700 calories/serving and it teaches you about portion control (sort of).

The fact that I get a CSA share from Boston Organics every other week is the main reason that I won’t be using Blue Apron weekly. Also, the cost is $10/person/meal, which is cheaper than eating out, but more expensive than grocery shopping.


Hash:

DSC_4163 DSC_4167


Orecchitte:

DSC_4171 DSC_4175


Oven-Fried Chicken with Sauteed Green Beans and Corn:

DSC_4191 DSC_4190


Overall I was very impressed with the quality of the produce and the flavors of the meals. This is definitely something I would use during busy weeks when I don’t have the energy to think up dinner every night.


Asian Grilled Chicken and Bok Choy


DSC_4184


I love Asian food – all Asian food. I know that each country (and locations around the countries) have their own style, spices and flavors, but I love all of them!

Even if you don’t own most of the products in an Asian market (like I do), you are likely to have all the ingredients on hand anyway.

When I buy ginger, I cut it into 1-in pieces, freeze them individually and then place them in a plastic bag in the freezer for later use. Then you can grate them still frozen or defrost them at room temperature to cut them.


Grilled Chicken Thighs with Boy Choy    (click here to print recipe without pictures)

For the chicken:
3/4 cup soy sauce (I use low sodium)
1/3 cup (packed) dark brown sugar
2 tbsp fresh ginger, peeled and chopped
4 large garlic cloves, chopped
3 lbs boneless chicken thighs (though you can use as little as 1 lb.)

For the Boy Choy:
1 baby Bok Choy, cut into quarters vertically, keeping the stem intact
3 tbsp soy sauce
1 tsp brown sugar
2 garlic cloves, chopped
2 tsp chili oil (or 2 tsp peanut oil + 1/2 tsp red pepper flakes)

Garnish (optional): sesame seeds, thinly sliced scallions


1. For the chicken: Whisk all ingredients (except chicken) in a shallow baking dish large enough to hold all chicken in single layer. Add chicken, turn to coat and marinate for at least 15 min, or up to 3 hours, covered and in the fridge. Remove from fridge 15 min prior to grilling.

2. Preheat grill on high. Meanwhile, place the Bok Choy in a shallow dish with 1 tbsp of water. Cover partially and ‘steam’ in the microwave for 2-4 min until slightly tender. Whisk remaining ingredients in a measuring cup.

3. Drain the Bok Choy and add 1/2 the sauce, turn to coat and cover to continue steaming while chicken cooks. Reserve remaining sauce to baste during grilling.

4. Remove chicken from marinade and grill on high heat for 4-5 min/side until cooked through. Discard marinade.  After flipping the chicken, add Bok Choy to the grill and grill for 5 min, turning a few times to get grill marks on all sides. Baste with sauce before turning.

5. Serve with Jasmine rice and garnished with sesame seeds and scallions if desired. Enjoy!

DSC_4183


(adapted from Bon Appetit)