Candied Orange Peel


My dad moved to Israel just when it declared its independence. He had (and still has) a huge sweet tooth and the developing country did not have any candy stores, thus his mother would make candied orange peel from the orange grove in the front yard.

Every year I try to make him this delicacy for his birthday.

It takes time to make the candy and for it to dry, but this can be done in advance as long as it is wrapped and frozen (for up to 2 months).

DSC_4639

Candied Orange Peel – sugar coated or chocolate dipped  (click here to print recipe without pictures)

– 2 large oranges, 1/4 inch of top and bottom cut off
– 4 cups sugar, divided
– 3 cups water
– 6 oz dark chocolate, melted in a double boiler or in the microwave

1. Cut peel on each orange into 8 vertical segments. Remove each segment (including white pith) in 1 piece. Cut into 1/4-inch-wide strips.

DSC_4621

DSC_4623

2. Cook orange peel in large pot of boiling water 15 minutes; drain, rinse, and drain again.

3. Bring 3 cups sugar and 3 cups water to boil in medium saucepan over medium heat, stirring to dissolve sugar. Add peel. Return to boil. Reduce heat; simmer until peel is very soft, about 45 minutes. Drain.

4. For sugar coated orange peel: Toss 1/2 orange peels and 1 cup sugar on plate, separating strips. Lift peel from sugar; transfer to sheet of foil. Let stand until coating is dry, 1 to 2 days.

DSC_4626


5. For chocolate dipped orange peel: Line remaining orange peel in single layer, separating each strip, on sheet of foil. Let stand for 1-2 days. Once completely dry, dip 1/2 of each strip into melted chocolate and transfer back to foil. Let stand until dry, at least 5 hours.

DSC_4636


(adapted from epicurious)


Pina Colada Skewers


I had some friends over late in the summer and was looking for an easy and fun dessert. Earlier that week my Cooking Light magazine came and it had the perfect thing: Pina Colada Skewers!!!

It’s a dessert and cocktail in one! They were a huge hit!

IMG_2639

They take some time because you need to soak the pineapple overnight and the gelee needs to set for at least 4 hours. So plan accordingly, but they are so worth it!!!

I would highly recommend getting longer toothpicks, as mine were too short and I had to minimize the amount of fruit on each one.


 Pina Colada Skewers     (click here to print recipe without pictures)

1 1/2 cups shredded unsweetened coconut
1/4 cup heavy whipping cream
1 (13.5-ounce) can light coconut milk
2/3 cup sugar
3/8 teaspoon salt
1 cup coconut water
2 envelopes plus 1 teaspoon unflavored gelatin
1/2 teaspoon vanilla extract
Cooking spray
1/2 cup white rum
2 tablespoons fresh lime juice
1 whole pineapple, peeled, cored, and cut into 72 chunks
18 strawberries, halved lengthwise

1. Preheat oven to 350°.
2. Spread coconut on a baking sheet. Bake at 350° for 7 minutes or until golden, stirring after 4 minutes. Combine coconut, cream, coconut milk, sugar, and salt in a saucepan. Bring to a simmer over medium heat (do not boil). Remove from heat; cover and let stand 20 minutes.
3. Place coconut water in a medium bowl; sprinkle gelatin over top. Let stand 5 minutes or until solid.
4. Strain coconut milk mixture through a sieve over a bowl, pressing to extract liquid. Discard coconut. Gradually add coconut milk mixture to gelatin mixture, stirring with a whisk. Return mixture to pan; heat over medium heat just until gelatin dissolves (do not boil). Remove from heat; stir in vanilla. Pour mixture into an 8-inch square baking dish coated with cooking spray. Cool to room temperature. Cover and chill 4 hours or up to overnight. (The layers should separate naturally.)
5. Combine rum and lime juice in a large zip-top plastic bag; add pineapple, and seal bag. Refrigerate 4 hours or up to overnight, turning bag occasionally.

IMG_2637
6. Drain pineapple mixture. Cut coconut mixture into 72 cubes. Thread 2 pineapple chunks, 2 gelée pieces, and 1 strawberry half alternately onto each of 36 skewers.

IMG_2640

(from Cooking Light)


Zucchini Crust Pizza


I am lucky enough to work in a hospital filled with great nurses (some who grow amazing produce). One such specimen is this 4 lbs, 6 oz zucchini given to me late this summer.

IMG_2672


The obvious thing to do was make Zucchini Pizza. This is not zucchini placed as a topping on your traditional pizza, it is a pizza crust made from pure shredded zucchini!

Zucchini Crust Pizza     (click here to print recipe without pictures)

– 2 cups grated zucchini or yellow squash
– 1 tsp kosher salt
– 2 eggs, lightly beaten
– 1 1/2 cups shredded low-fat mozzarella cheese, divided
– 2 cups pizza sauce (or any pasta sauce you like)
– 1/2 cup grated Parmesan cheese
– optional veggie toppings: 1 large green +/- red bell pepper, cored, seeded and thinly sliced into rings; 1 tomato, sliced thick; 1 red onion, sliced vertically and roasted

1. In a colander, toss together zucchini and salt. Let sit for 10-30 min. Rinse well. Squeeze liquid from zucchini by hand and blot with paper towels to remove excess moisture

DSC_4699

2. Preheat oven to 375. Line baking sheet with parchment paper. Combine zucchini with eggs and 1 cup mozzarella in a bowl. Then place mixture in center of baking sheet, forming a 1/2-in thick round ‘pizza’.

IMG_2677

3. Bake until lightly browned and crisp (15-20 min)

DSC_4701

DSC_4702

4. Remove from oven, spread sauce and sprinkle with 1/2 cup mozzarella and Parmesan. Top with veggies (if using). Return to oven to bake for additional 10 min.

DSC_4703

5. Remove from oven and let sit for 5 min, then slice into pizza slices. Enjoy!

DSC_4613


Baked Eggplant Parm


Every summer my father plants gorgeous eggplants. While he doesn’t care for them, my mom and I go crazy.

I love eggplant parm and am still searching for the perfect eggplant parm sub in Cambridge (let me know if you have a favorite place). The eggplant is either undercooked and bitter or super oily. While that search is ongoing, my homemade version is superb!

The main issue with homemade eggplant parm is frying the eggplant, especially in the heat of the summer. This recipe does not fry the eggplant, rather the eggplant slices crisp in the oven, leaving you free to enjoy a nice summer rose instead of sweating over a hot stove

IMG_2658

Baked Eggplant Parm   (click here to print without pictures)

Eggplant
– 2 lbs globe eggplant, cut crosswise into 1/4-in thick rounds
– 1 tbsp kosher salt
– 2 cups bread crumbs
– 1 cup all-purpose flour
– 4 eggs
– 6 tbsp vegetable oil

Tomato Sauce
– 3 (14.5 oz) cans diced tomatoes
– 2 tbsp extra-virgin olive oil
– 4 cloves garlic, minced or pressed with garlic press
– 1/4 tsp red pepper flakes
– 1/2 cup fresh basil leaves, chopped
– salt and ground black pepper

– 4 oz  shredded mozzarella
– 1 ball fresh mozzeralla, sliced
– 1/2 cup grated Parmesan cheese
– 10 fresh basil leaves, torn for garnish

1. For the eggplant: Toss the eggplant with kosher salt in a colander set in the sink or over a bowl/plate. Let stand until eggplant releases liquid, about 30-45 min. Arrange eggplant slices on triple layer paper towels; cover with another triple layer and firmly press each slices to remove as much liquid as possible, then wipe off excess salt

2. Adjust oven racks to upper and lower middle positions. Place rimmed baking sheet on each rack. Heat oven to 425 degrees.

3. Combine flour and 1 tsp black pepper in a large zip-lock bag, shake to combine. Beat eggs in pie plate, set aside. Place bread crumbs on large dinner plate. Place 8-10 eggplant slices in bag with flour; seal bag and shake to coat eggplant. Remove slices, shaking off excess flour, dip in eggs, then coat evenly with bread crumbs. Set breaded slices on wire rack and repeat with remaining eggplant.

IMG_2649

4. Remove preheated baking sheets from oven, add 3 tbsp oil to each and tilt sheet to coat evenly with oil. Place breaded eggplant on each sheet in single layer. Bake until well browned and crisp, about 30 min – switching and rotating sheets after 10 min, flipping eggplant after 20 min. Leave oven on.

IMG_2652

5. For sauce: while eggplant bakes, process 2 cans diced tomatoes in food processor until almost smooth. Heat olive oil in large saucepan over medium-high heat,add garlic and red pepper flakes. Saute for 1-2 min until fragrant and garlic is light golden. Stir in processed tomatoes and remaining 1 can. Bring to a boil, reduce heat to medium-low and simmer, stirring occasionally, until slightly thickened and reduced, about 15 min. Stir in basil and season with salt and pepper.

6. To assemble: spread 1 cup tomato sauce in bottom of 13×9-in baking dish. Layer in eggplant slices in single layer. Spoon over sauce, top each slice with 1 or 1/2 slice of fresh mozzarella, sprinkle with shredded mozzarella. Top each slice with another slice of eggplant (to build little columns) and repeat with sauce and cheese. For top layer, dot with sauce, leaving majority of eggplant exposed so it will remain crisp; sprinkle with 1/2 cup parmesan and remaining shredded mozarella.

7. Bake until bubbling and cheese is browned, about 13-15 min. Cool 10 min, scatter basil over top and serve.


IMG_2659


Serve with a simple salad – greens tossed with lemon juice, good olive oil and kosher salt

IMG_2660

(adapted from Cook’s Illustrated)


Apple Honey Challah


Rosh Hashannah is the Jewish New Year. We celebrate by getting together with friends and family and sharing apples dipped in honey. The apples signify health and honey is sweet – symbolically wishing everyone a healthy and sweet new year.

This year, I decided to combine the traditional apples and honey with another Jewish favorite of mine, challah.

DSC_4674


Apple Honey Challah     (click here to print recipe without pictures)

For the dough:
– 4 1/4- 4 1/2 (670-710gm) all-purpose flour, plus extra as needed
– 1 1/4 cups warm water (105-110 degrees F)
– 1 tbsp active dry yeast
– 4 tbsp sugar (divided)
– 2 large eggs, lightly beaten
– 1/4 cup canola oil, plus extra for greasing
– 1.5 tsp table salt
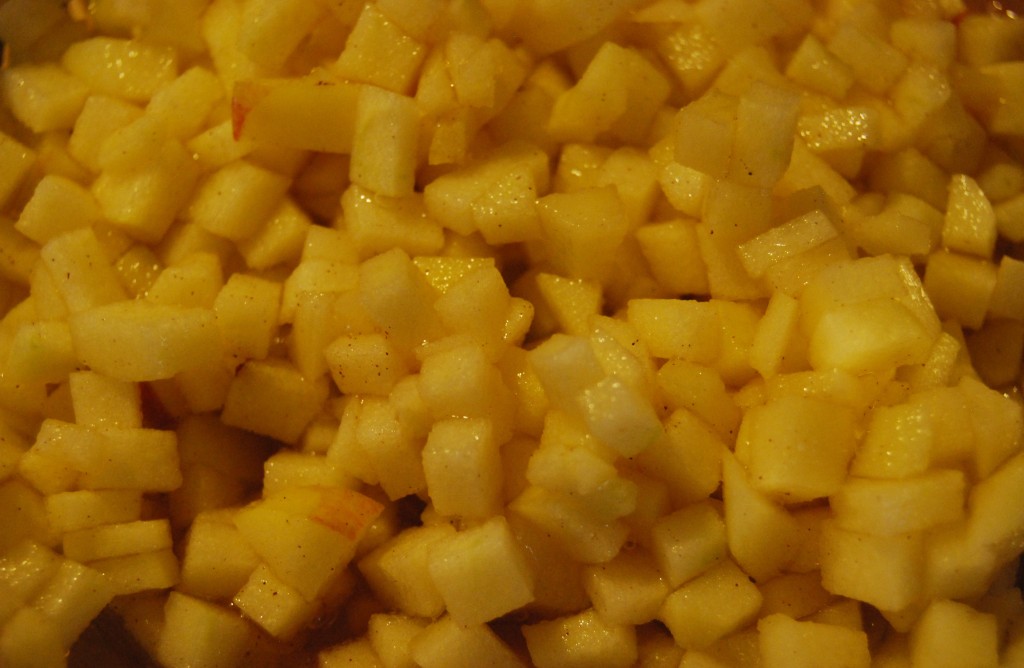
For the filling:
– 1.5 apples (Braeburn or Granny Smith), peeled, cored and finely diced
– 2 tbsp lemon juice
– 2.5 tbsp honey
– 1/4 tsp ground cinnamon

For the egg wash:
– 1 egg yolk
– 1 tsp water
– 1 tsp honey

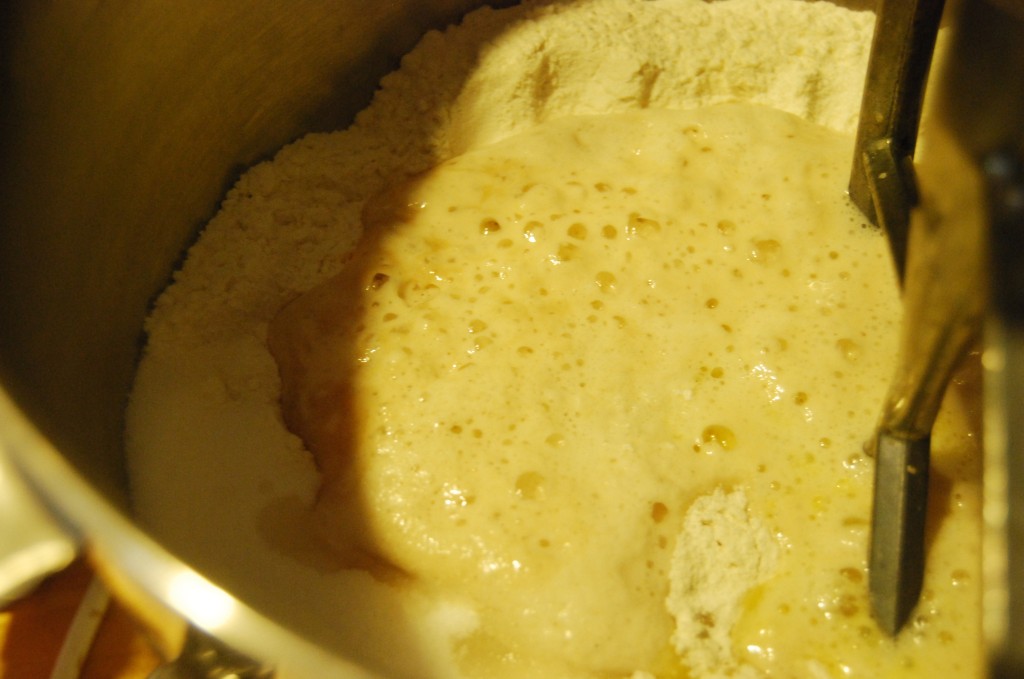
1. For the dough: Put 3 cups (470gm) of flour in mixer fitted with paddle attachment. Make a well in the center and pour in the water. Sprinkle the yeast and 1 tbsp sugar over water. Let stand until foamy, about 10 min.

DSC_4658

2. Add the remaining 3 tbsp sugar, eggs, oil, and salt to well. Beat together on medium-low speed until a shaggy mess forms, about 2 min. Beat in remaining flour, 1/2 cup at a time, until the stiff, sticky dough starts to pull away from the bowl.

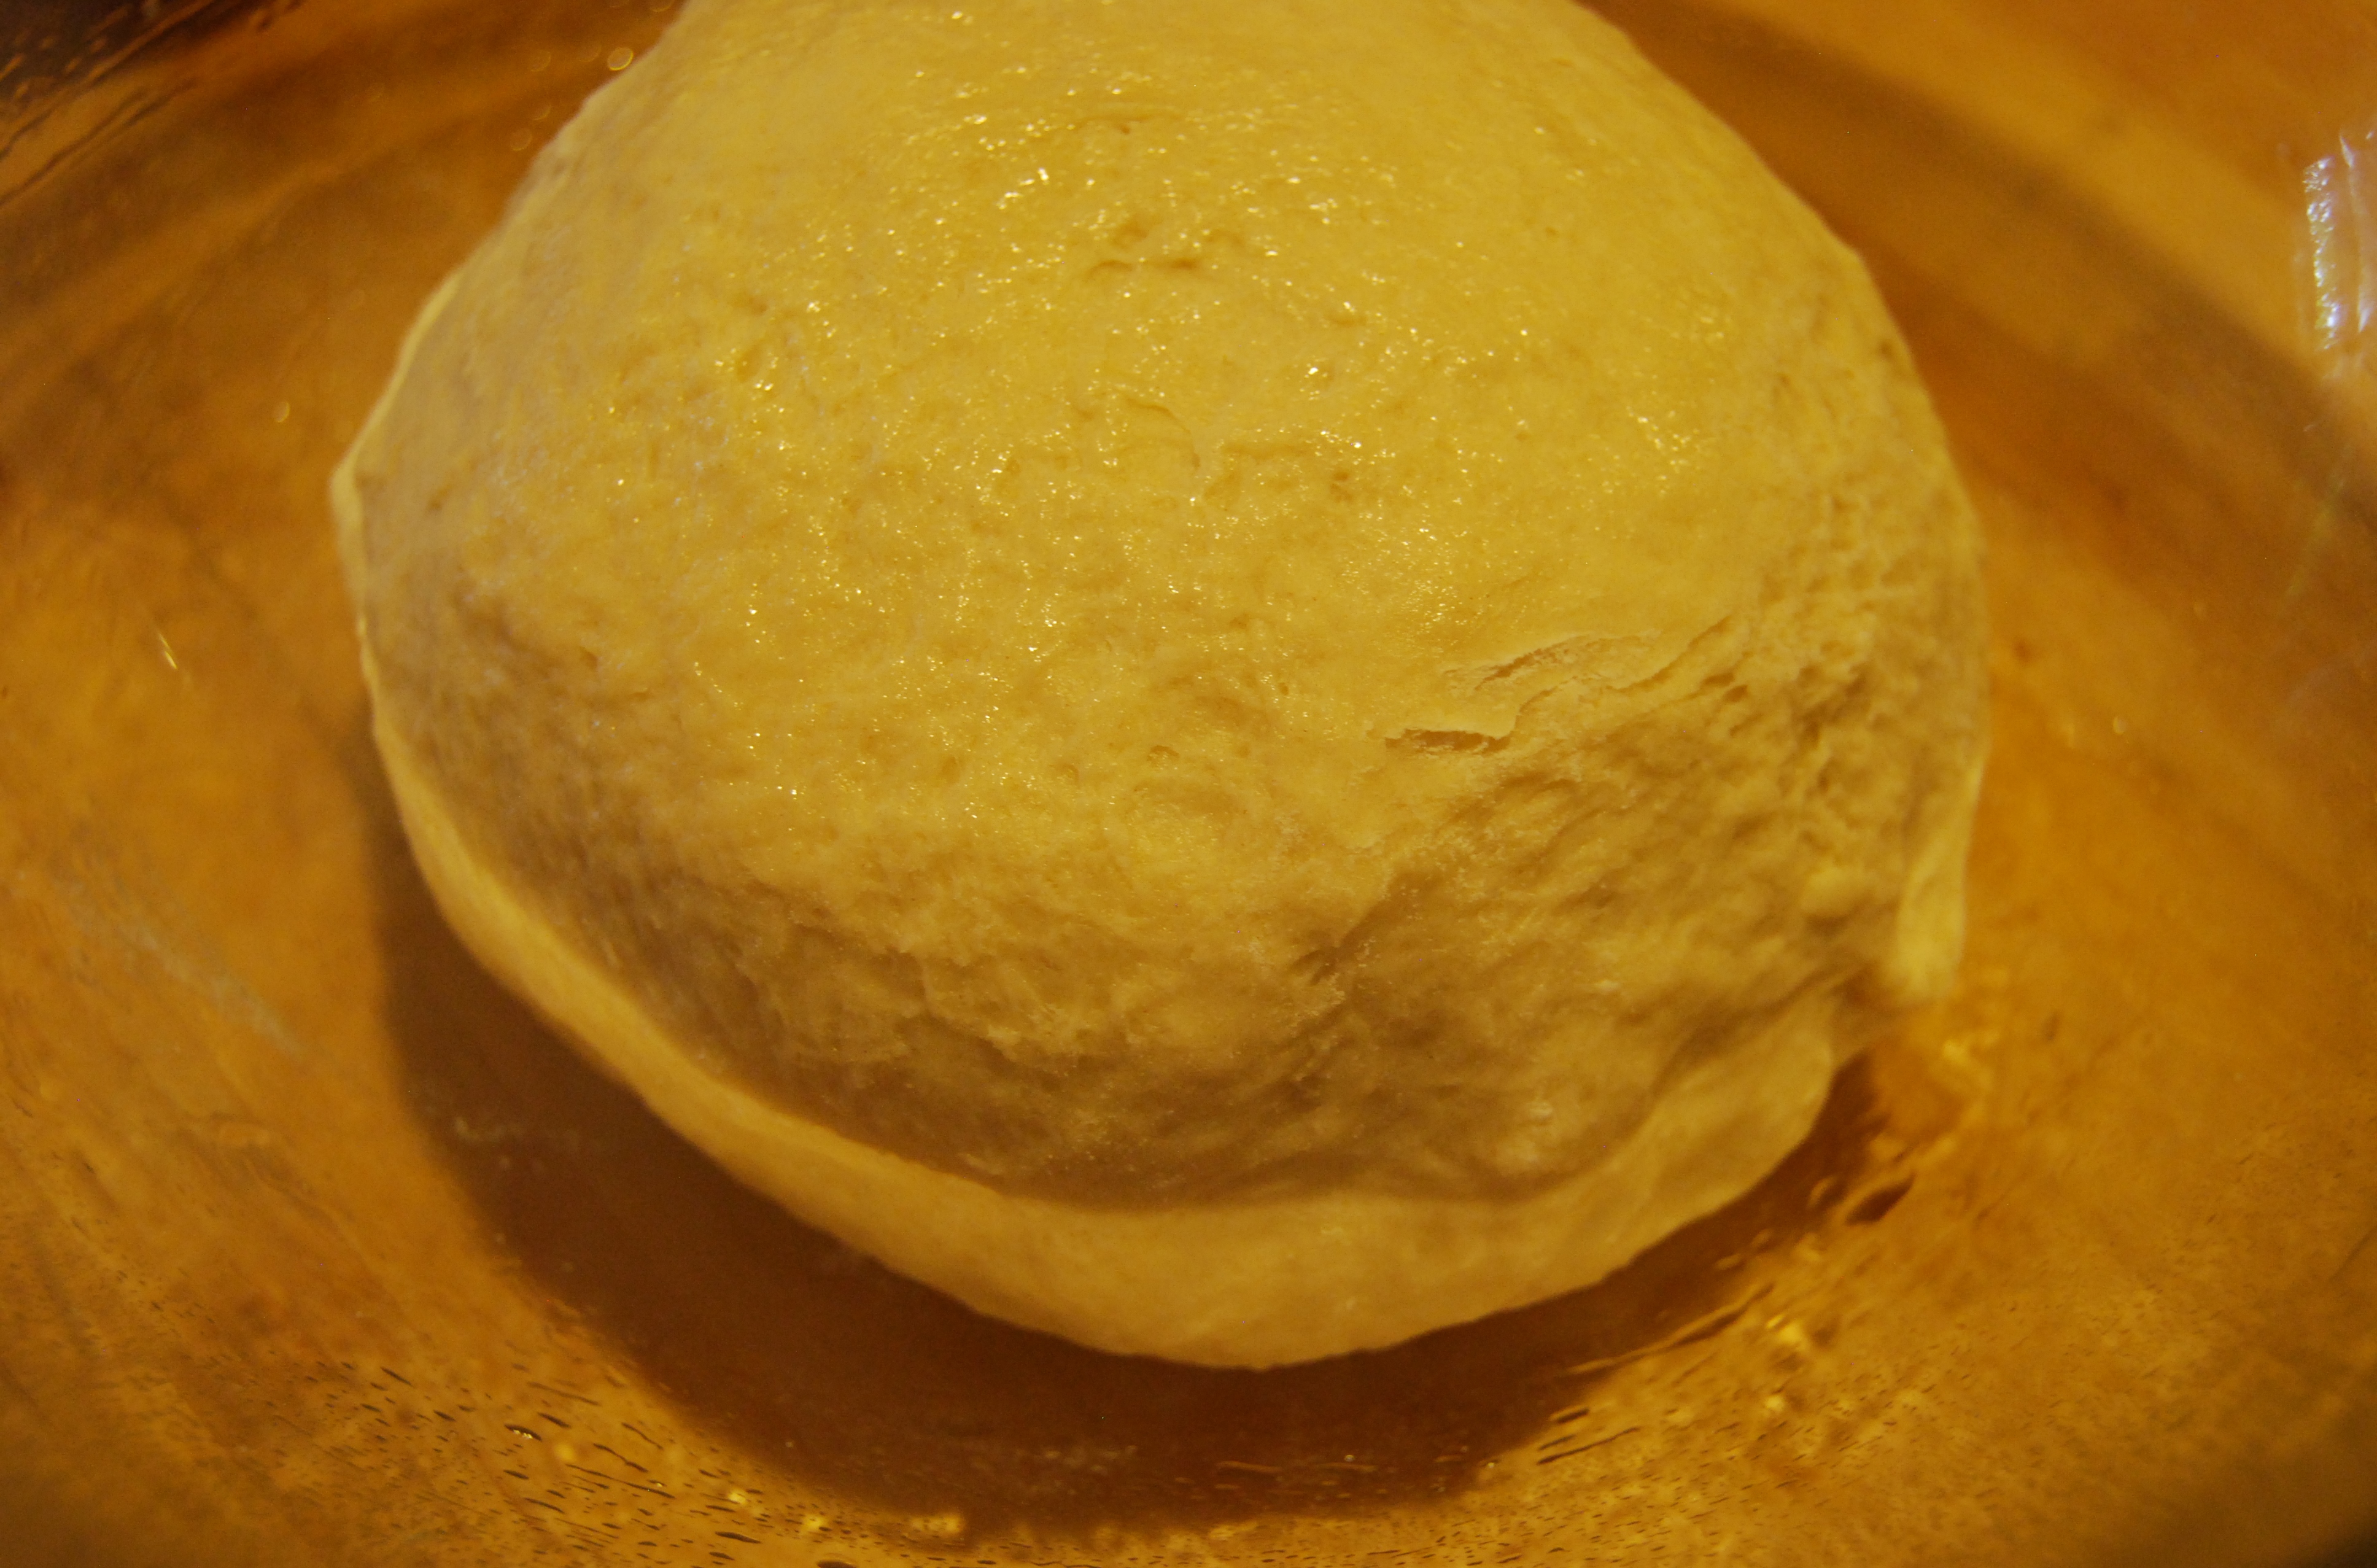
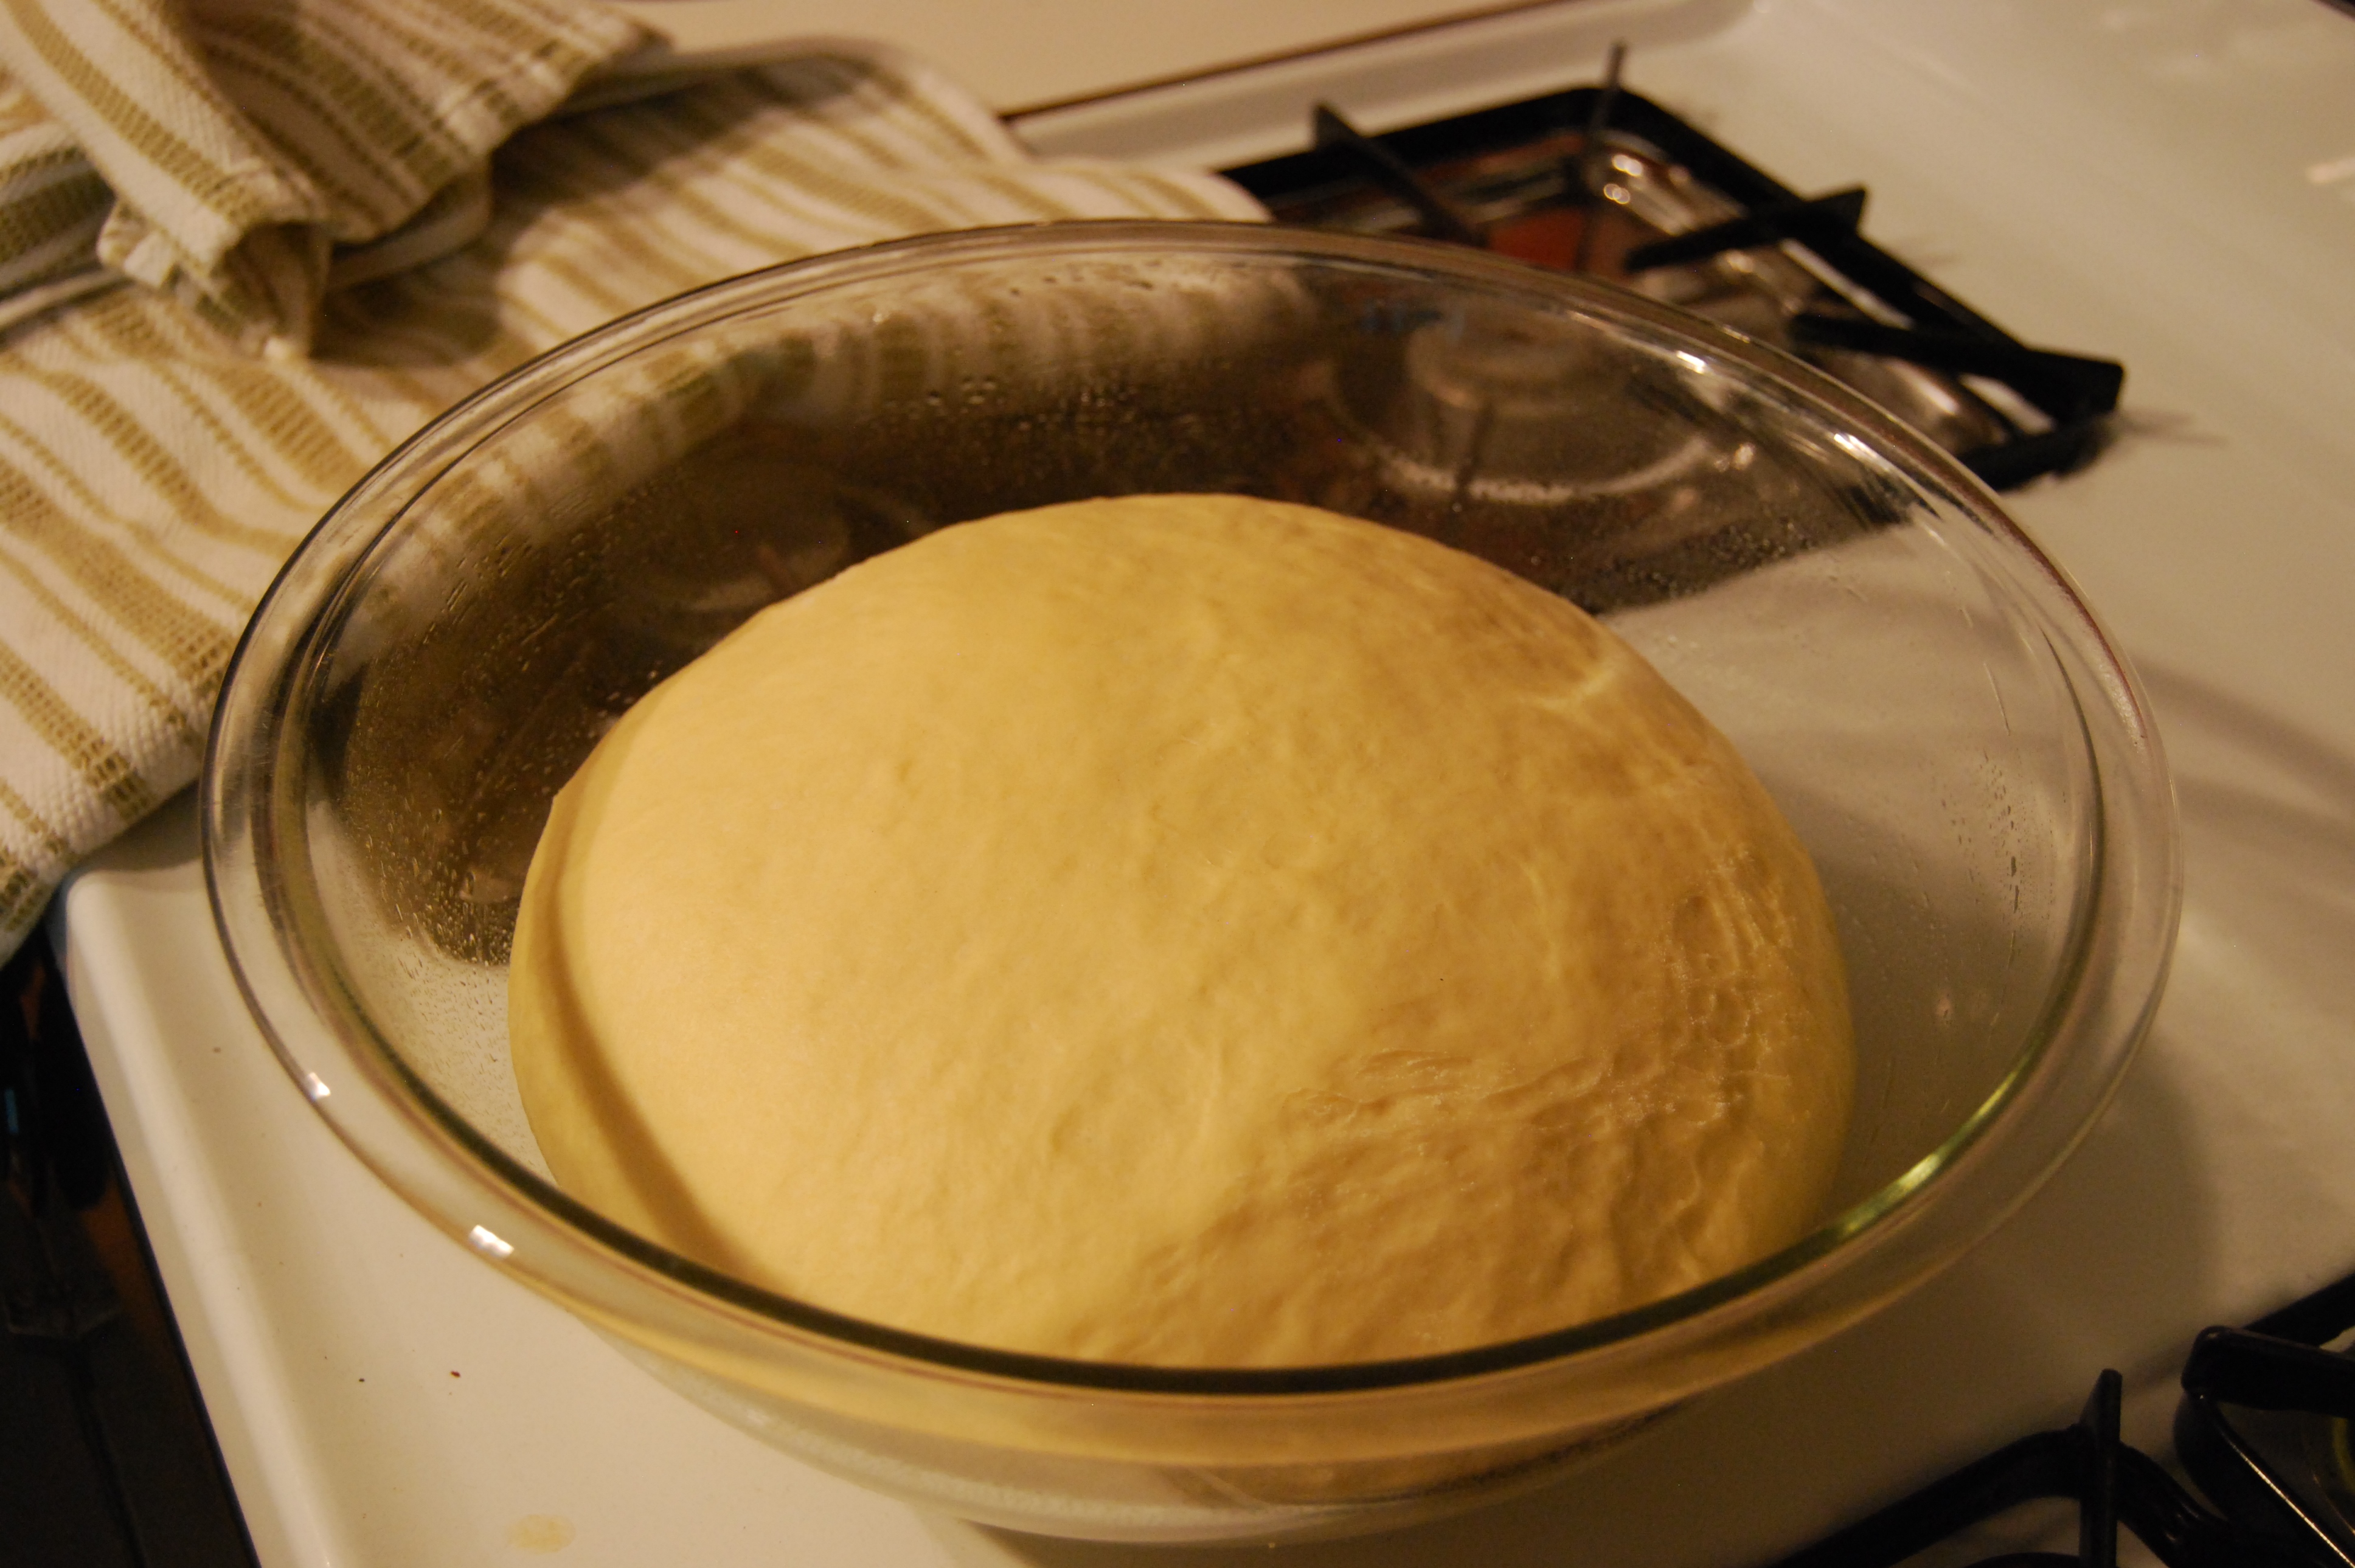
3. Switch to the dough hook. Knead on low, adding flour 1 tbsp at a time until smooth and elastic, 5-10 min. Transfer dough to a well-oiled bowl, turn once to coat, cover with kitchen towel and let rise at room temp until just doubled in size, about 1.5-2 hours.

DSC_4659

DSC_4661

4. Gently punch down the dough, flip it, re-cover and let rise again until doubled, about 1 hour.

5. While the dough rests, combine all filling ingredients in a small bowl and let sit for 20 min, then drain.

DSC_4663

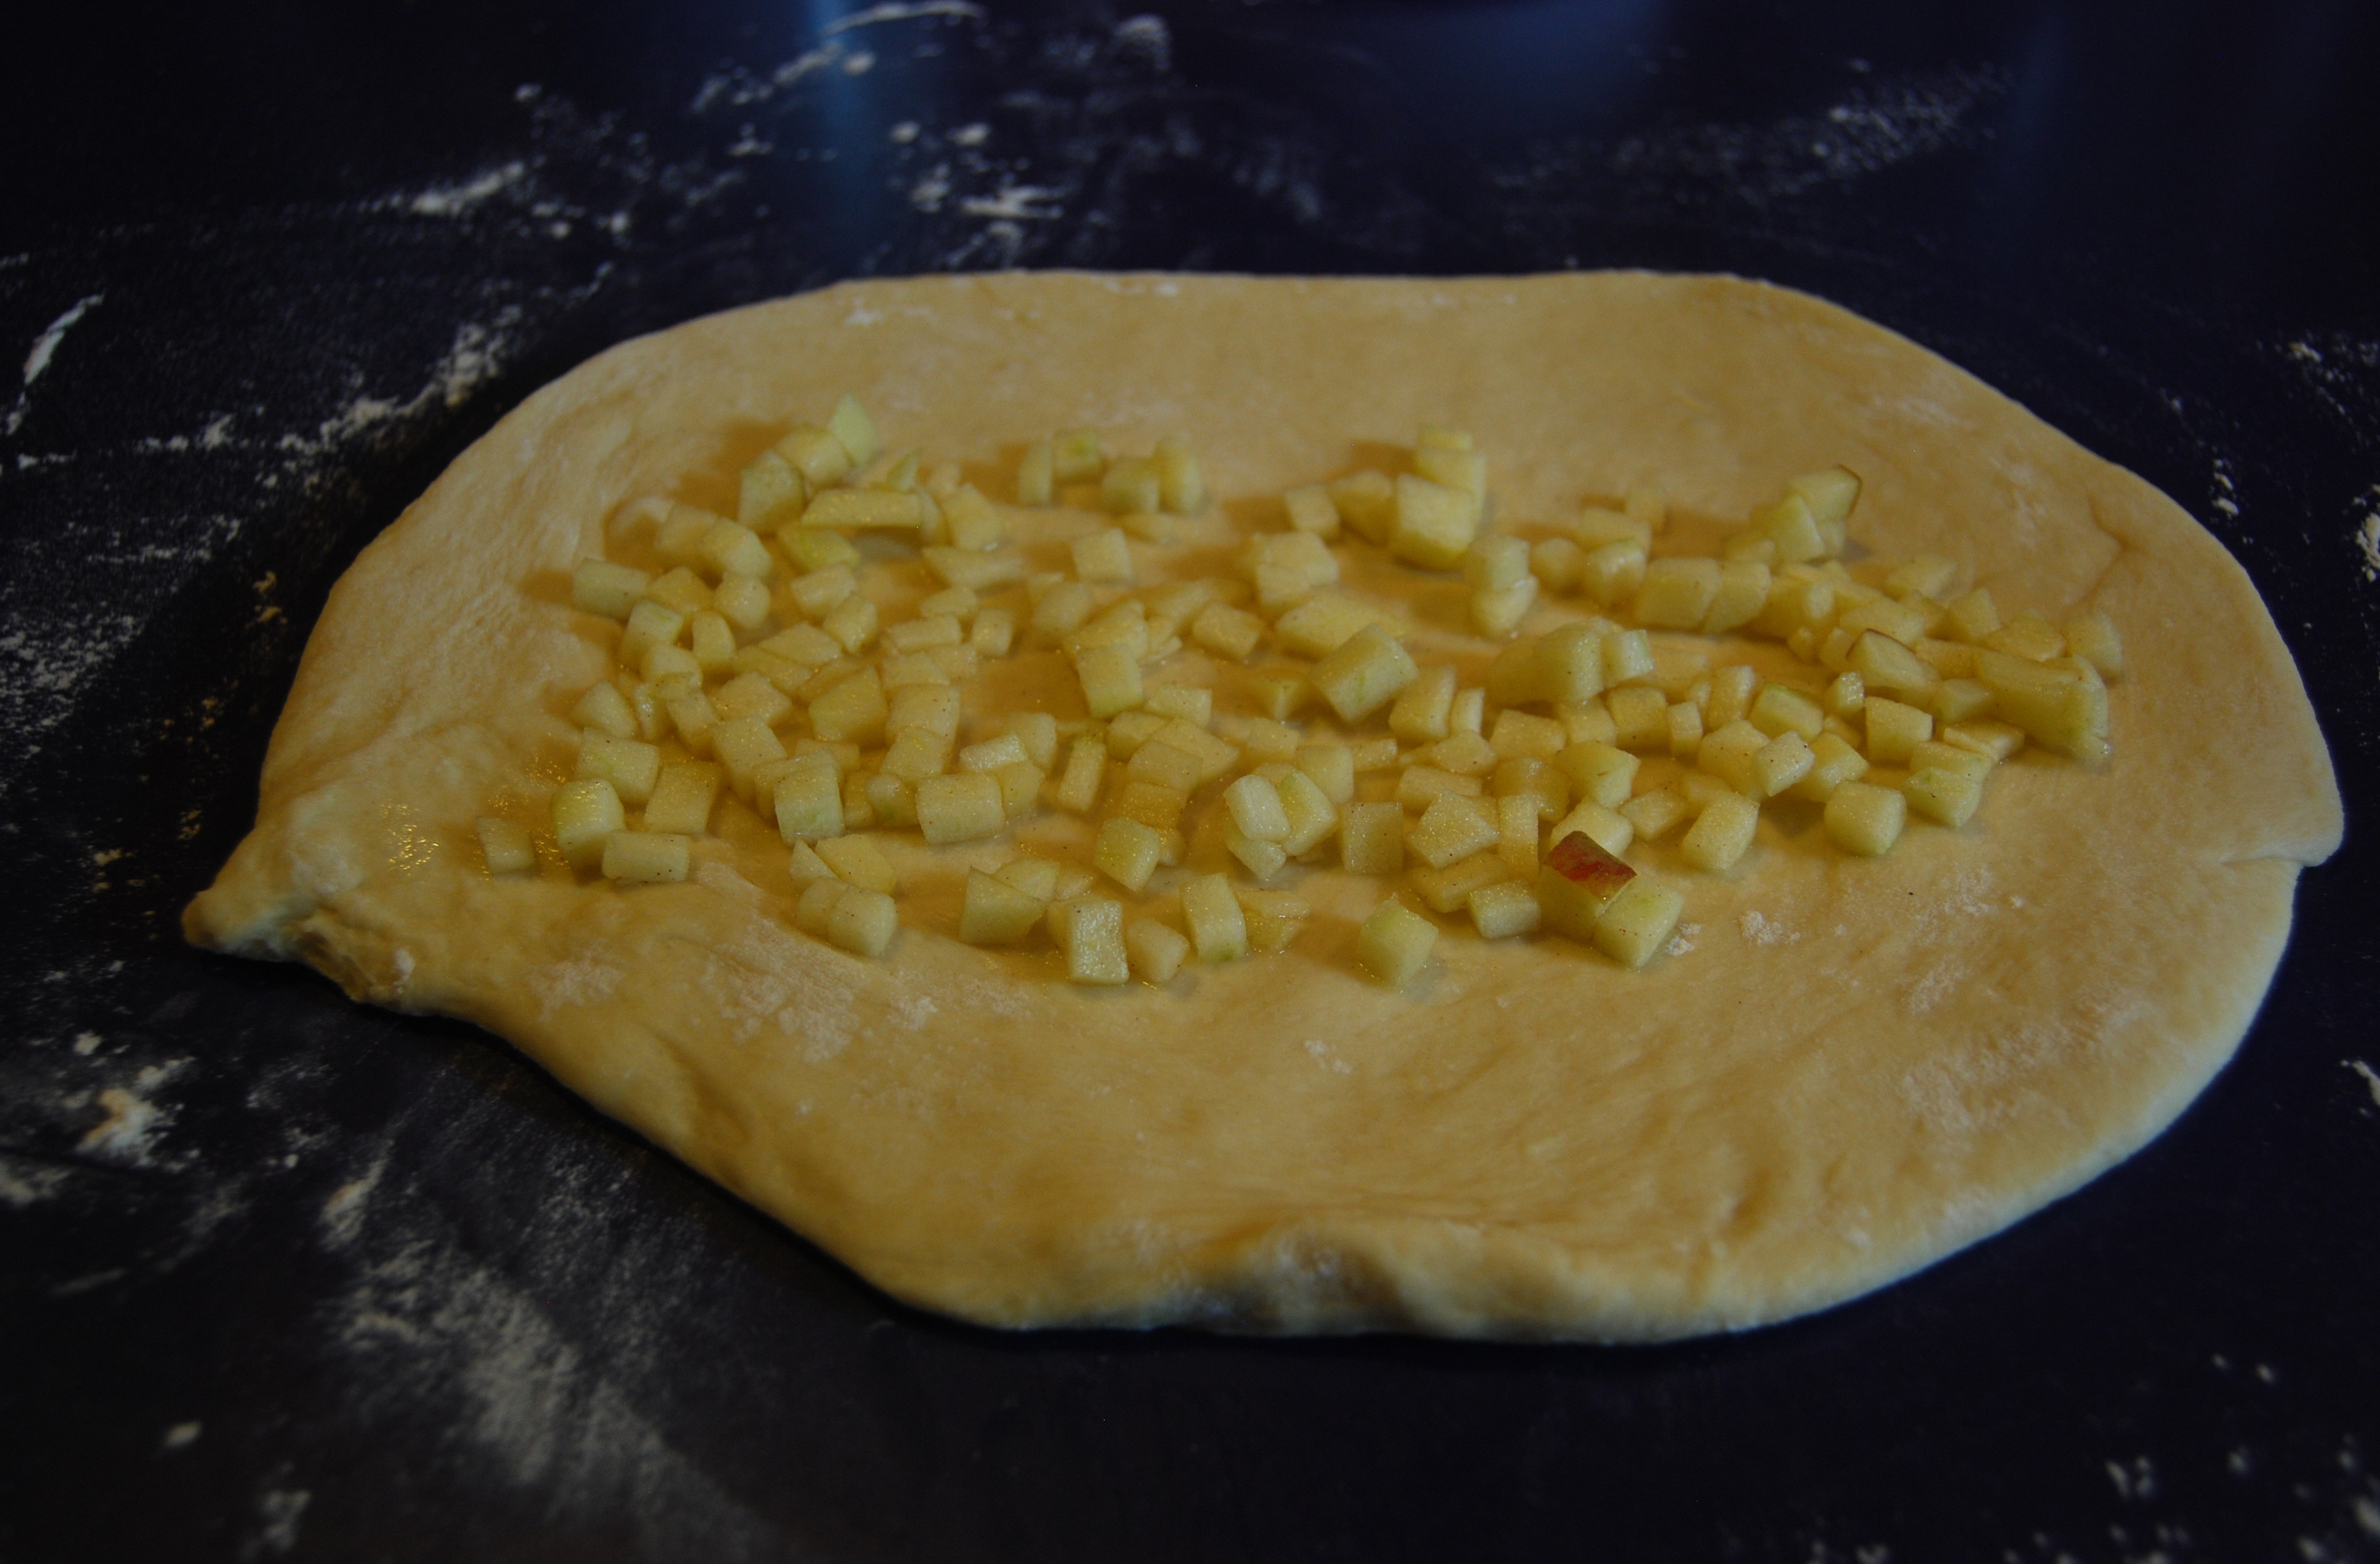
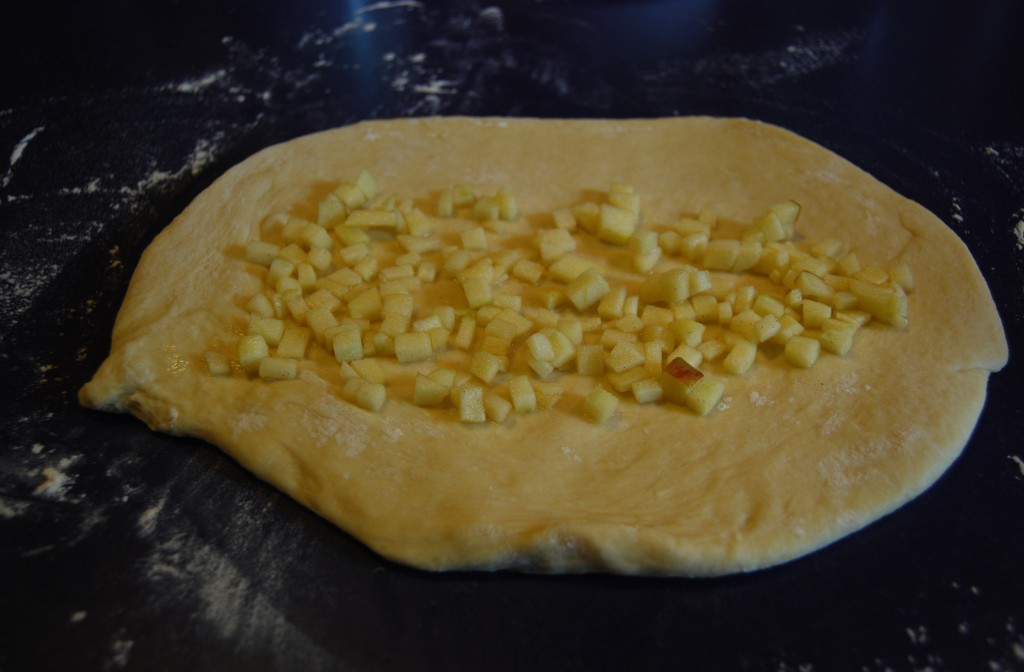
6. Divide the dough into 4 pieces. Roll out each piece with a rolling pin into a oblong or rectangular shape. Place 2 tbsp of filling on bottom third of dough (lengthwise) and roll dough into log. Pinch the seam to close. Set aside and repeat with remaining dough. Let dough rest for 10 min covered with kitchen towel.*

DSC_4667

DSC_4669

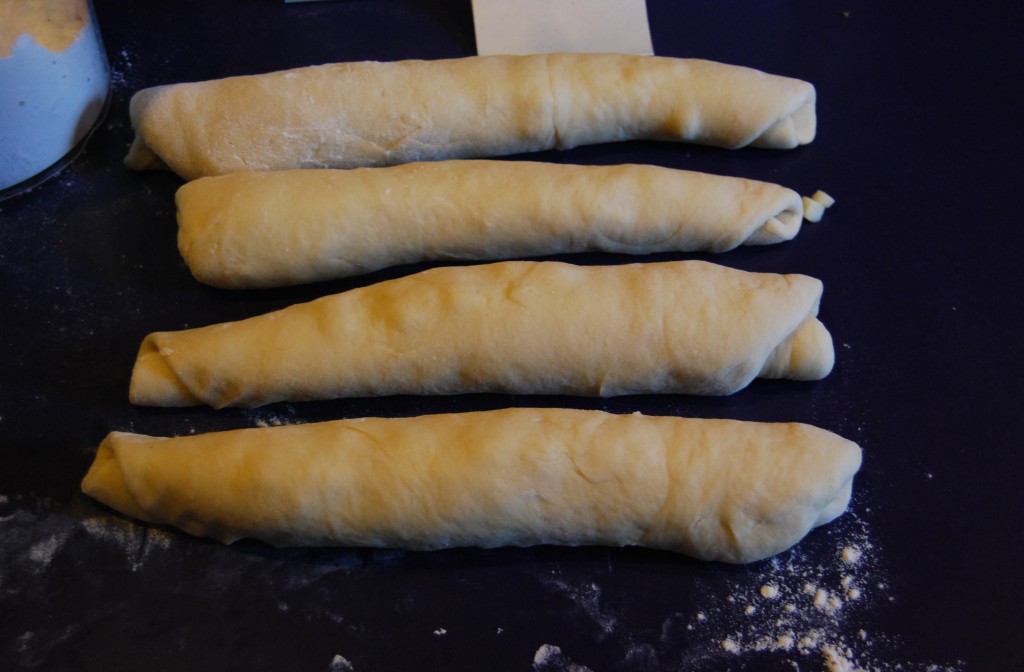
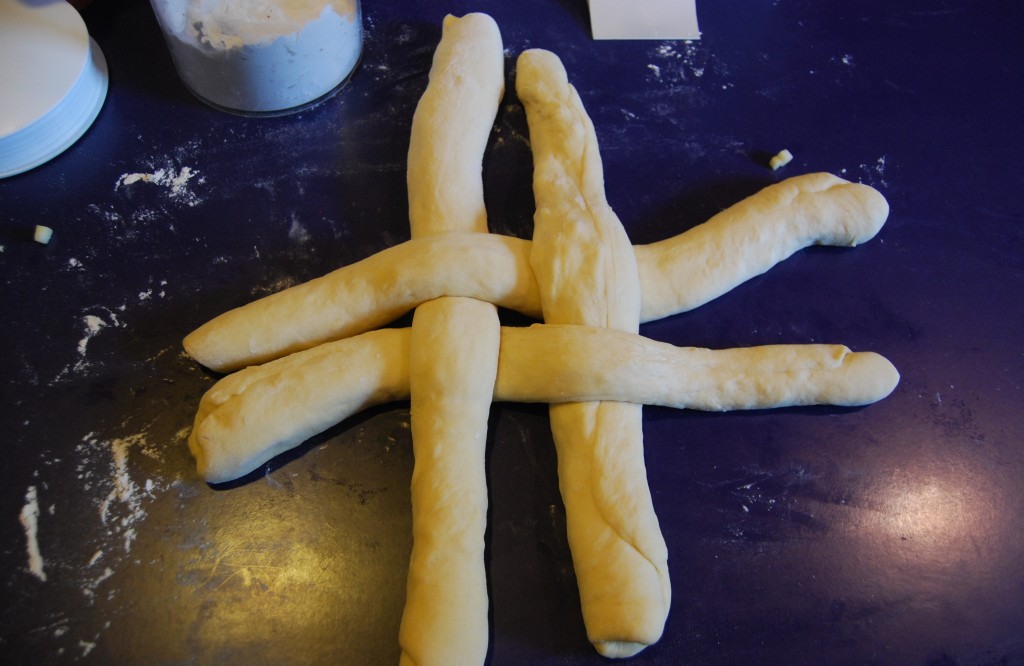
7. Roll each log into a long strand, carefully not to tear the dough.  See here for picture instructions
(a) Lay the pieces out in front of you, tic-tac-toe style
(b)Each strand should be placed in opposite directions; one side is over/under, the next row is then under/over. There should now be 2 sets of 2 strands each coming out from the four sides of the woven middle, one under and one over in each set

DSC_4670

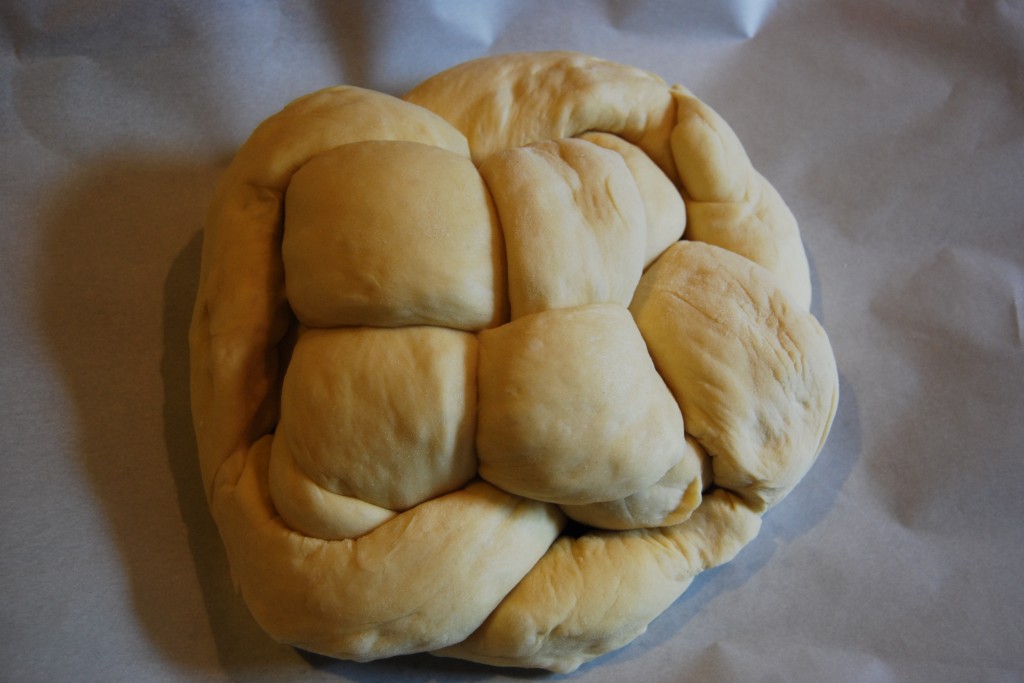
(c) From each set, pick up the one that was “under” and pull it over its partner, thereby placing each of these “unders” over their corresponding partner, in a clockwise rotation. Practically speaking, this means that the left piece of each set will be placed over the right piece of each set.
(d) When this rotation is done, work in the opposite direction, clockwise. What was formerly the right piece, will now go over the left piece in the counter clockwise direction
(e) To finish, pinch each set of two ends together firmly, then bring all four sets together towards the center
(f) carefully flip over your challah and place on a parchment paper lined baking sheet

DSC_4671

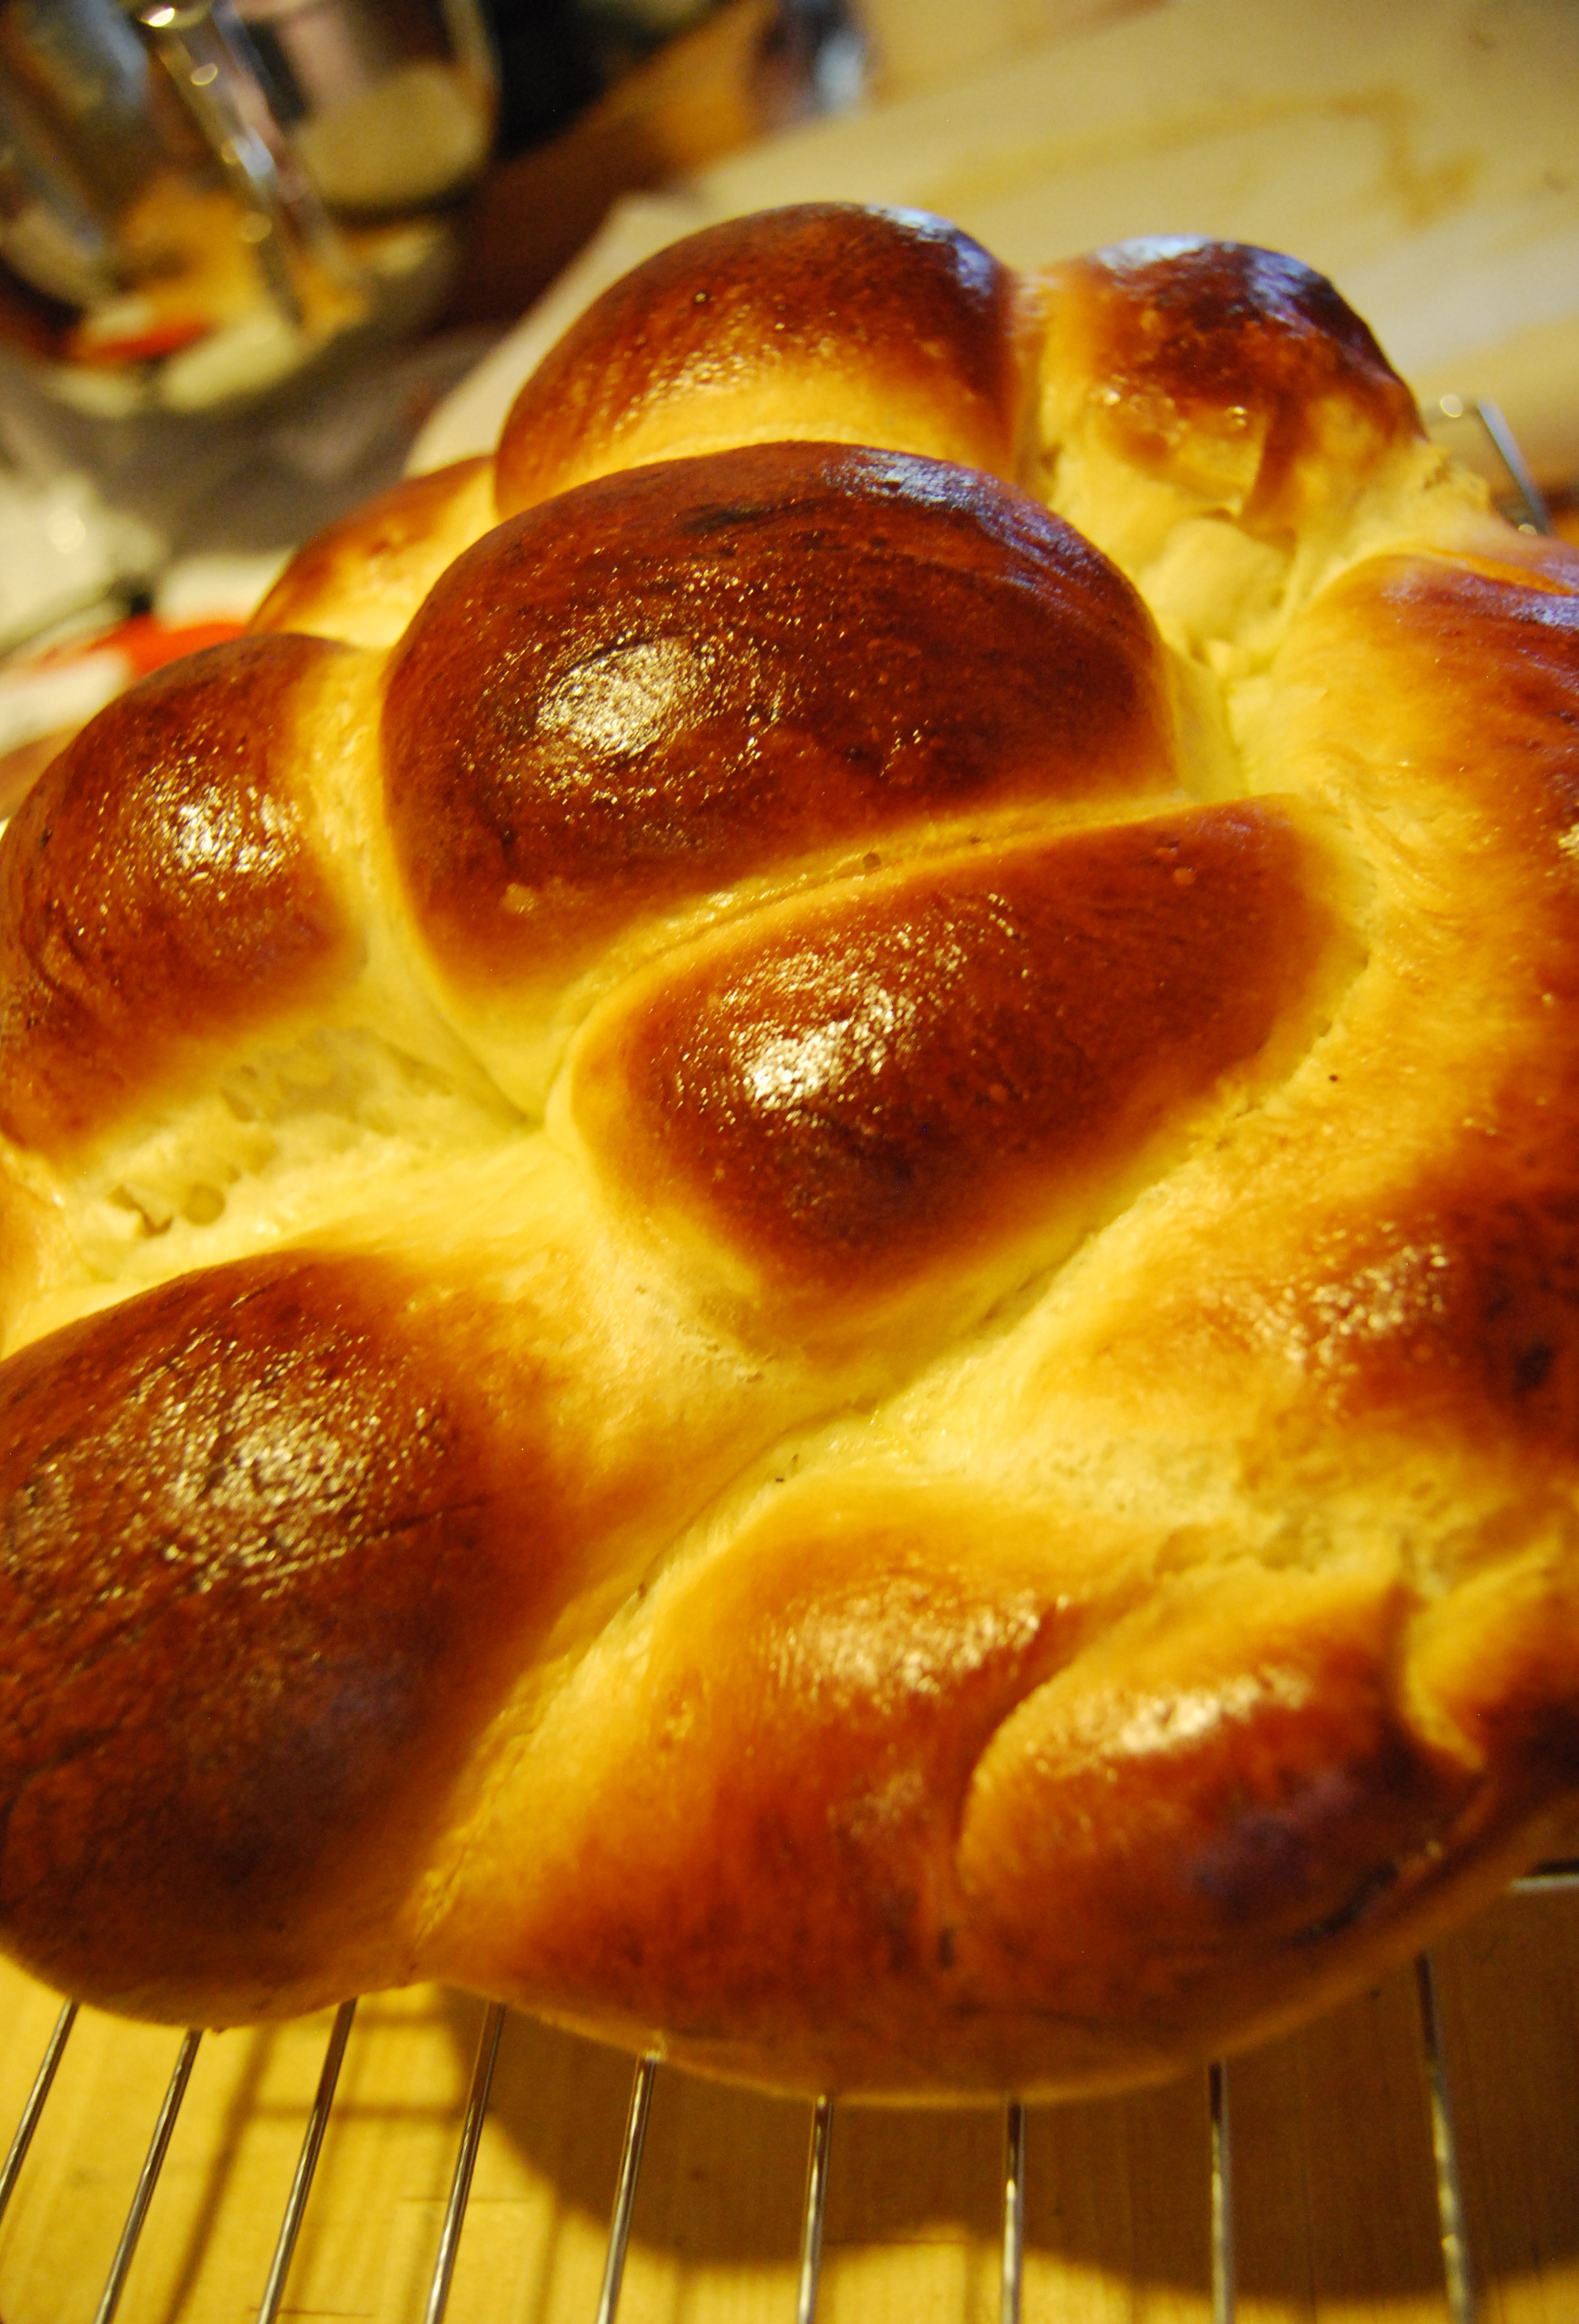
8. Preheat oven to 350 degrees. Whisk the egg wash ingredients and brush half onto the dough. Cover with kitchen towel and let rise for 40 min until almost doubled.

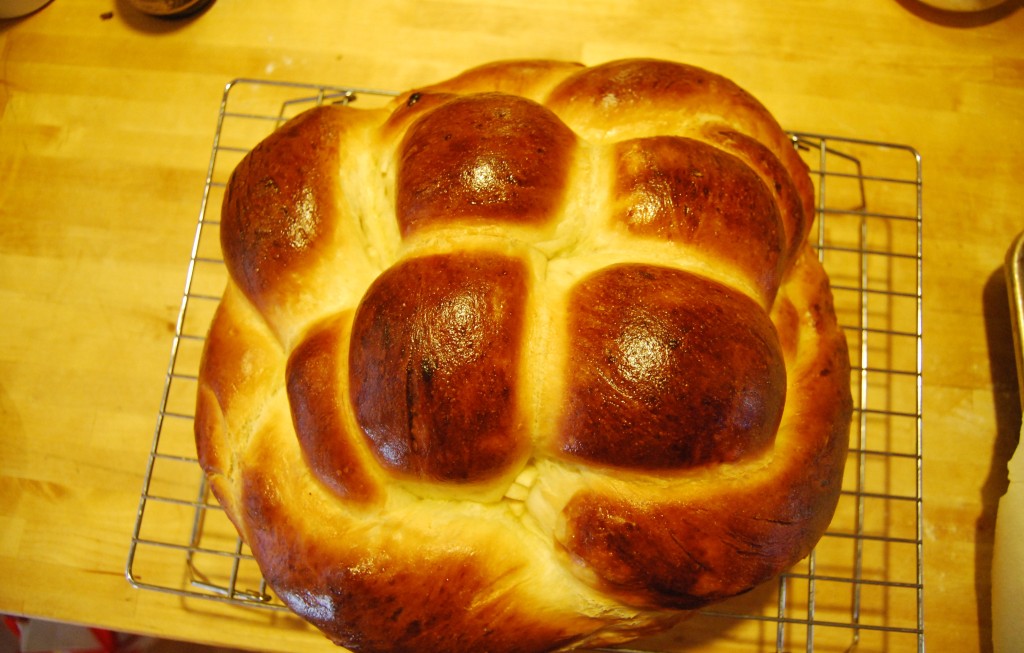
9. Uncover dough, brush with remaining egg wash and bake for 40-45 min until golden brown. Transfer to a rack to cool. Enjoy!

DSC_4675

*for an easier circular challah, roll the dough into 1 long rope, then place it in a spiral in a lightly greased 9-in cake pan. Or for a traditional challah look – divide the dough into 3 pieces, roll each into a long and braid.


(adapted from Williams Sonoma Bread cookbook)